The Allison 1000 — the five- and six-speed automatic behind the 6.6L Duramax in Silverado and Sierra 2500/3500 trucks, plus a long list of medium-duty and motorhome chassis — is one of the toughest units GM ever bolted up. But when it starts acting up, the valve body is where a huge share of the trouble lives. A truck that drops into failsafe (limp), bangs into gear, flares on the 2-3 and 4-5, or loses lockup usually has a valve or a solenoid circuit at fault long before anything in the gear train is actually worn out.
The problem is that these failures throw codes and symptoms that look like a burnt clutch pack or a bad solenoid, and the easy assumption — buy a solenoid, or pull the transmission — is often the wrong one. This is how the Allison 1000 valve body actually controls the transmission, what the common failures are, and a step-by-step way to test it before you spend a dime on parts.
The short version: The two signature Allison 1000 valve body failures are a sticking E-shift valve (shift valve 3 on the '06-'09 six-speeds) that sets P0872 and drops the truck into failsafe, and a worn control main relief valve bore that bleeds off control main and A & B trim pressure and causes harsh or flaring shifts. Both are hydraulic, not electrical. Confirm control main pressure, the solenoid commands, and the valve bores before you buy solenoids or condemn the clutches.
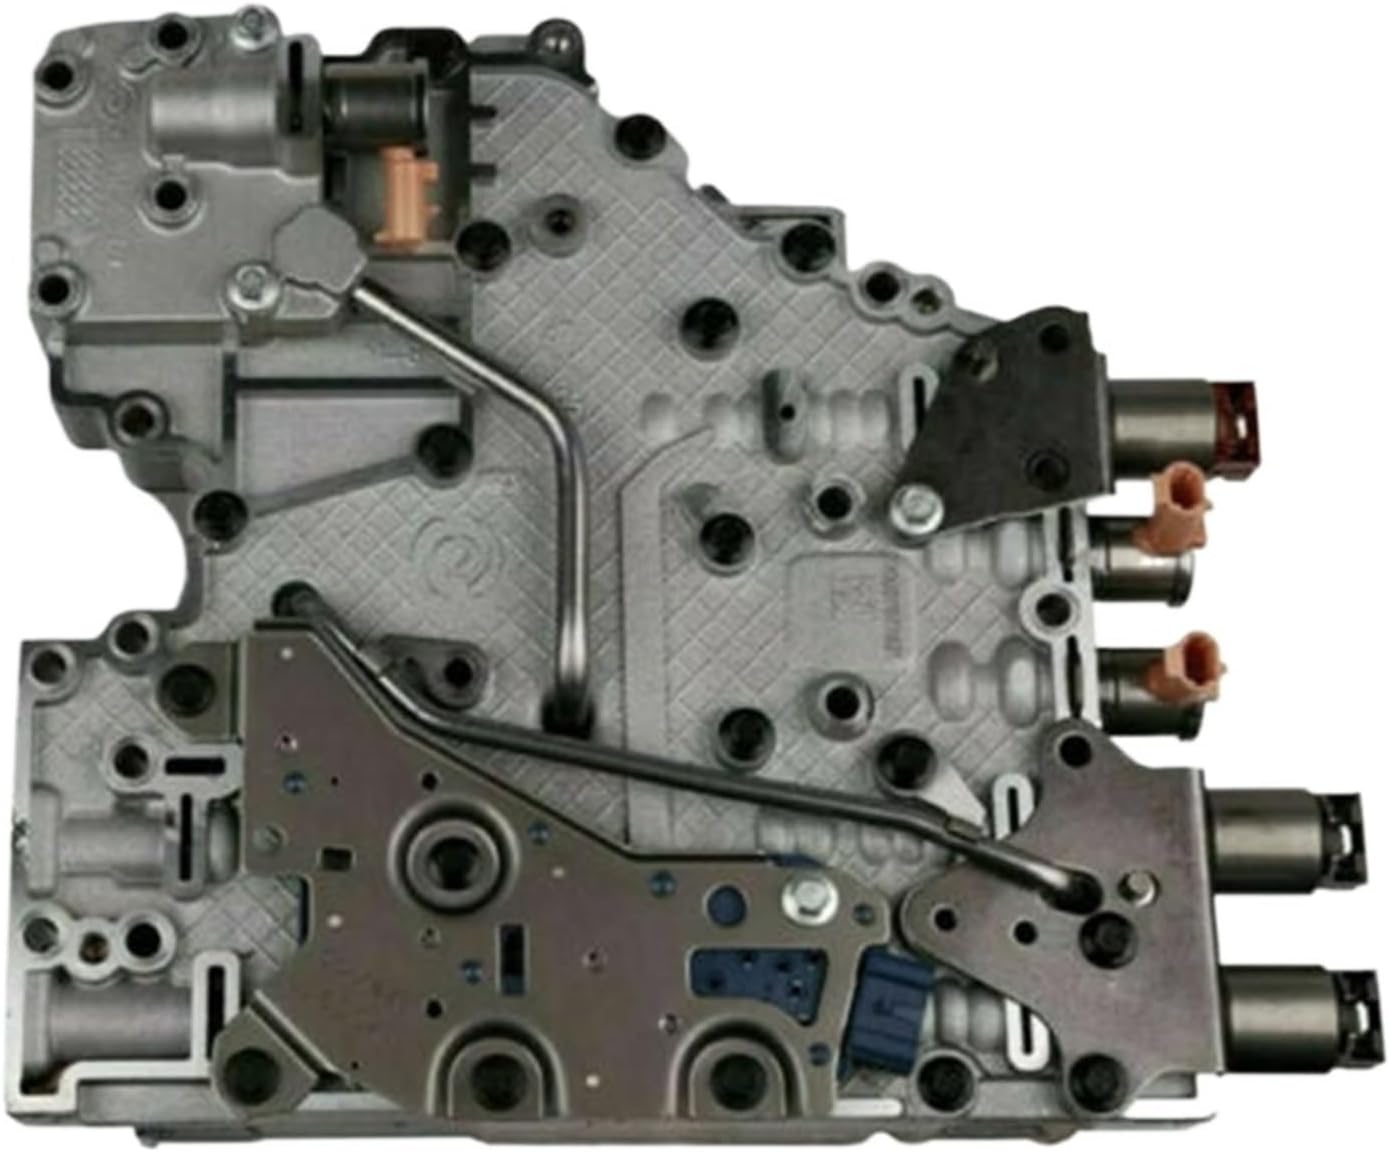
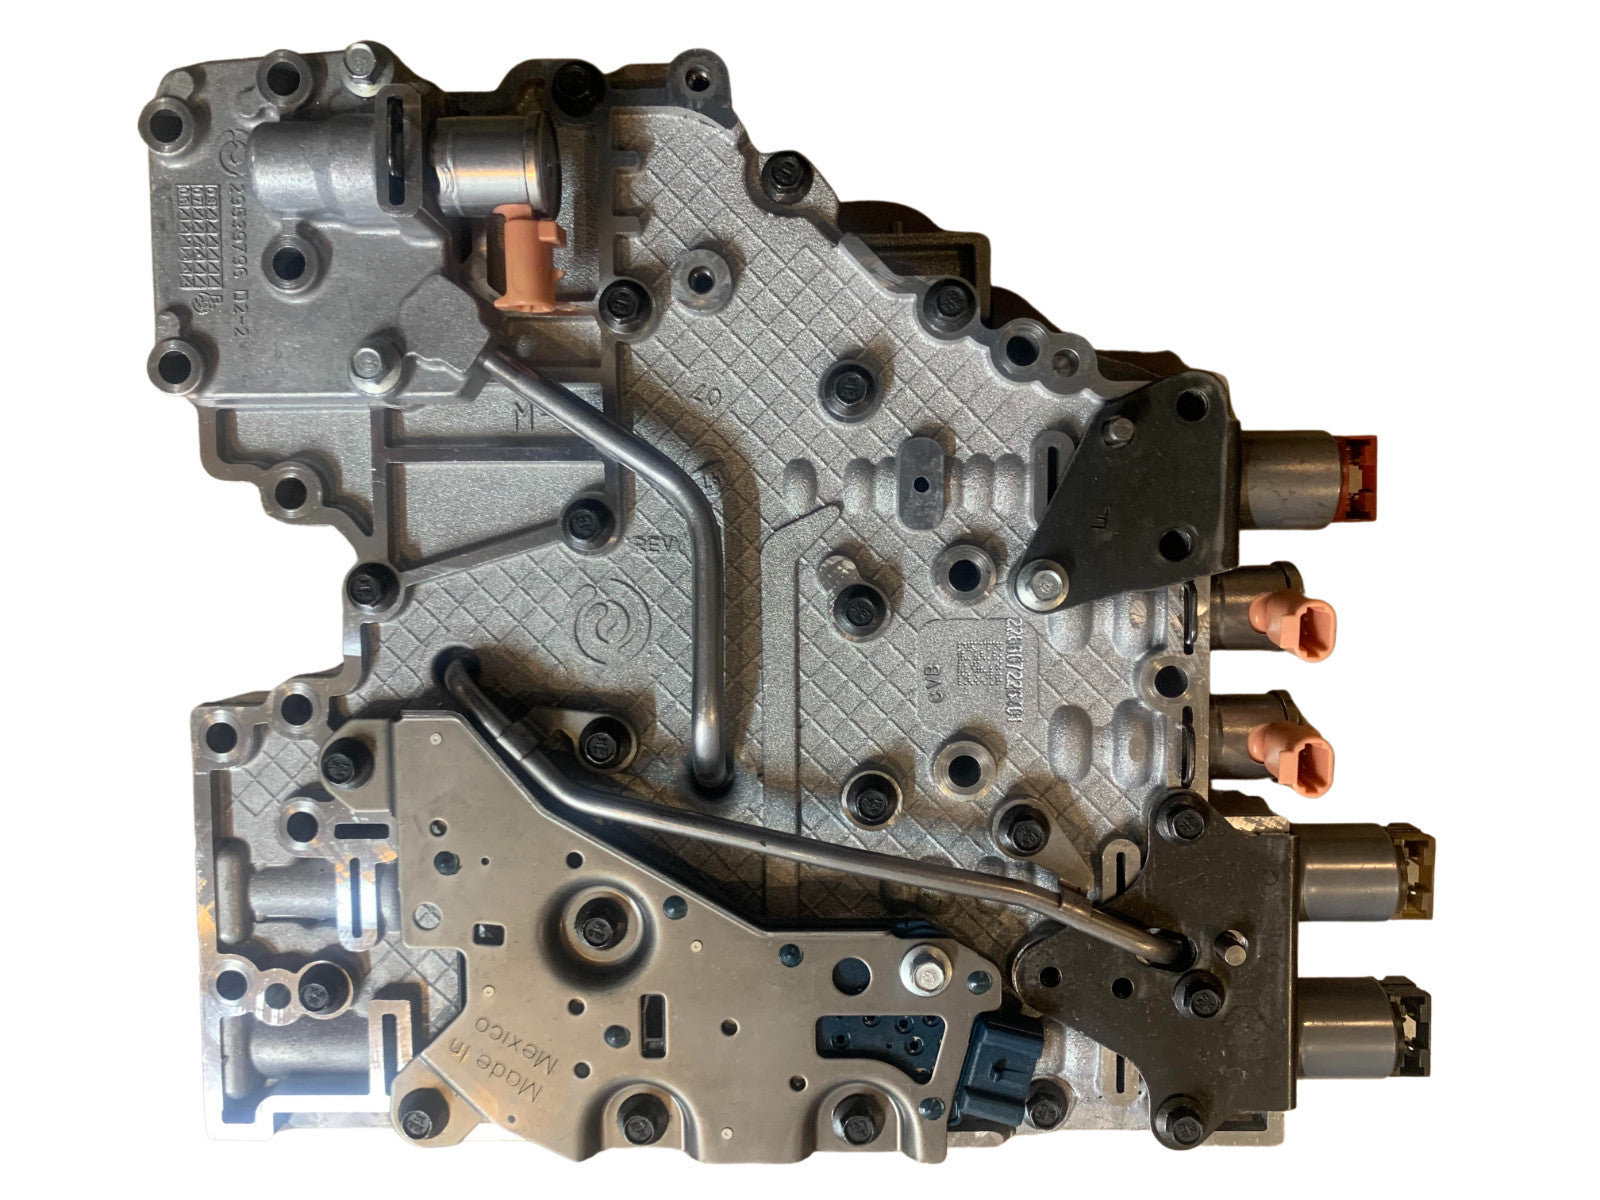
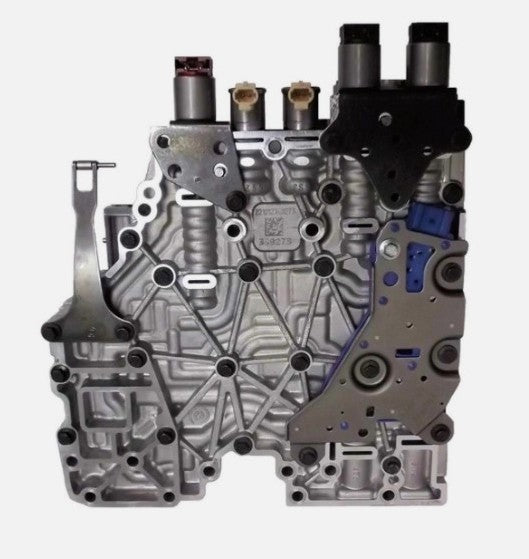
How the Allison 1000 Valve Body Controls Shifts
The Allison 1000 is a clutch-to-clutch unit with no governor or throttle cable. The TCM commands electronic solenoids, and the valve body turns those electrical commands into the hydraulic pressures that apply and release the clutches. A few key players matter for diagnosis:
- Main pressure is the base hydraulic supply from the pump. A separate control main circuit is regulated down from main and feeds the shift solenoids and the trim valves — it is the working pressure the shift logic runs on.
- Trim solenoids A and B are PWM-controlled and work together to control shift quality. One meters the apply rate of the oncoming clutch while the other controls the release of the offgoing clutch; the TCM varies the duty cycle, which sets pressure through the shift valves and on to a clutch, per Gears/ATRA.
- Shift solenoids and shift valves (SS1/SS2/SS3, historically the E-shift valve) route pressure to select which clutches are applied for a given gear.
- Feedback comes from a pressure switch that the TCM watches to confirm a valve actually moved. If the switch doesn't change state when it should, the TCM sets a code and protects the transmission by going to failsafe.
Sonnax notes the valve body itself came in four versions — '01-'03 and '04-'05 five-speeds, and '06-'09 and '10-later six-speeds — and they don't all interchange. Identifying which one is on the bench (tube count and solenoid count are the quick tells) matters because the common failure points differ by version.
Symptoms of a Failing Allison 1000 Valve Body
Valve body trouble on these units shows up as a recognizable set of complaints. Any one of these should put the valve body on your suspect list:
- Failsafe / limp mode — the truck suddenly restricts itself, often with the MIL on, and may clear after a restart only to do it again. This is the classic E-shift valve signature.
- Harsh, banging shifts, or a hard reverse engagement.
- Flare or slip on the 2-3 and 4-5 shifts — engine RPM jumps as the shift takes too long to complete, sometimes only after the fluid warms up.
- TCC surge, TCC slip, or lost lockup, often with a P0741.
- Intermittent, temperature-sensitive behavior — drives fine cold, misbehaves hot, or is fine one minute and stuck the next.
The Real Causes Behind Those Symptoms
When an Allison 1000 comes in with the complaints above, the cause is almost always one of a handful of well-documented valve body faults. They overlap in how they drive, so you diagnose to tell them apart rather than guessing.
1. Sticking E-shift valve / shift valve 3 (failsafe, P0872)
Per Sonnax, the most common problem with '01-'09 valve bodies is the sticking E-shift valve — called shift valve 3 on the '06-'09 six-speeds. The bore becomes damaged on the inboard end and the valve hangs up. When it sticks, even for a split second, the TCM sees that the pressure switch did not change state, sets P0872, and puts the transmission into failsafe. The maddening part, as Sonnax puts it, is that "the valve can be free one minute and stuck the next." Causes are a weak return spring, an out-of-round or worn bore, and casting flashing/ridges in the bore.
2. Worn control main relief valve bore (harsh/flare, low control main)
On '00-later units, Sonnax reports that wear in the control main relief valve bore reduces control main pressure to the shift solenoids and reduces A & B trim pressures. The valve reacts a stiff spring against small-diameter spools, which creates heavy side loading that wears the bore. As Sonnax states, "as bore wear becomes excessive ATF is allowed to escape into the exhaust backfill circuit or directly to the sump and critical pressure is reduced to the shift solenoids and A & B trim valves causing shift issues." That lost pressure is a direct path to harsh and flaring shifts.
3. Worn trim valve bores (2-3 and 4-5 flare)
A worn trim valve leaks off the very pressure it is supposed to meter into the clutch. In a Gears/ATRA case study of a truck flaring on the 2-3 and 4-5 with soft reverse, line pressure was good and no codes were set — but a vacuum test found the trim "A" valve held only 12 in-Hg. After the bore repair it held 22 in-Hg and the flare was gone. Clean fluid and no debris pointed the tech to the valve body rather than the C3 clutches.
4. F-trim valve sleeve wear (TCC slip, P0741)
Sonnax notes the second most common issue on the earlier bodies is the F-trim valve sleeve (used '02-'04): the sleeve's inside diameter wears, causing TCC surge, TCC slip and a P0741. Left alone, the slipping converter overheats the fluid and accelerates damage.
5. Warped castings / cross-leaks
These valve bodies (except '10-later) use no separator plate gasket, so the halves must be flat and true. Sonnax lists warped castings as the third common problem — the fix is careful flat-sanding of both halves to eliminate cross-leaks on reassembly.
How to Test Your Allison 1000 Valve Body / Control Valve Body
The order below moves from cheapest and least invasive to most, and it keeps you from pulling a transmission that only needed a valve. Work the steps in sequence.
- Pull codes and read freeze frame first. Note the exact DTC. P0872 points at the E-shift valve/pressure-switch circuit (failsafe); P0741 points at the TCC/F-trim circuit. Do not act on the word "solenoid" in a code description — on this unit these are very often hydraulic (a stuck valve or worn bore), not a failed solenoid.
- Check fluid level and condition. Low fluid and burnt, debris-laden fluid change the whole diagnosis. Clean fluid with a shift or flare complaint strongly favors a valve body/hydraulic cause; dark fluid with metal or friction material in the pan means you also have clutch damage to account for.
- Test main and control main pressure at the tap. Connect a gauge to the transmission's main pressure port and verify pressure against the service-manual spec at idle in Park/Neutral, in a forward range, and in reverse, then at raised RPM. Main pressure that is in spec but shifts that are still harsh or flaring points downstream — to the control main circuit and the trim/shift valves — because Sonnax attributes reduced control main and A & B trim pressure to control main relief valve bore wear rather than to the pump. Low main across the board is a pump/regulator problem, not a shift-valve problem.
- Watch the solenoids on live data (PIDs). With a capable scan tool, monitor trim A and B commanded vs. actual current, and the shift solenoid states, through several shift cycles. In the Gears/ATRA case, the commands to the trim solenoids barely changed from cold to hot even as the shifts started to flare — that consistency is what let the tech rule out the computer and the solenoid electrically and move to the valve body. If commanded and actual current track together but the shift is still wrong, the fault is hydraulic.
- Diagnose failsafe (limp) vs. a harsh/flare complaint separately. A repeatable drop into failsafe with P0872 is the E-shift/shift-valve-3 story — expect it to be intermittent and temperature-sensitive. A harsh or flaring shift with no failsafe and good main pressure is the control main relief or trim valve story. Sort which bucket you are in before opening anything, because the repair location is different.
- Air-check the clutch circuits. With the pan and valve body approach, apply regulated shop air (start around 35 psi, then up to max shop pressure) to the clutch feed circuits and confirm each holds without leaking. A circuit that holds air rules the clutch and its seals in, and pushes the fault back to the valve body.
- Vacuum test the individual valves. This is the definitive valve body test. Vacuum test the trim valves, the control main relief valve, the E-shift/shift valve 3 bore, and the F-trim sleeve. Per the Gears/ATRA benchmark, a good trim valve holds in the low-20s in-Hg — a reading like 12 in-Hg means a worn bore that is leaking off pressure. Sonnax's guidance is the same: if a valve fails to hold the recommended minimum in-Hg, or wear is visible, that bore needs to be reconditioned and fitted with an oversized valve.
- Inspect for stuck valves and warped castings. Feel each valve for free movement in its bore, look for scoring and casting flashing (especially the E-shift bore), and check both valve body halves for flatness. Remember these bodies run without a separator plate gasket, so any warpage cross-leaks pressure between circuits.
Follow that order and the Allison 1000's most common failures stop being a guessing game. A large share of "solenoid" codes and shift complaints on this unit are a stuck valve or a worn bore in the valve body — a valve-body-level repair, not a teardown and not a shotgun solenoid swap. The units that genuinely have clutch damage reveal themselves through the fluid and the air check well before you commit to pulling the transmission.
Repair vs. Replacement
Once you know which valve is at fault, you have three routes. For a single worn or sticking valve, the targeted fix is a bore repair with an oversized valve — Sonnax makes oversized/reamer kits for the E-shift valve, the control main relief valve (37000-19), the trim valves, and the F-trim circuit specifically so the repaired bore won't fail the same way again. For a body with multiple worn bores, warpage, or an uncertain history, a remanufactured valve body that has already had the known wear areas corrected is the faster, more reliable path. And any time you have the valve body off, flat-sand the halves and use fresh gaskets/seals where applicable so you don't reintroduce a cross-leak. Whichever route you take, refill with the correct Allison-approved fluid and relearn adaptives after the repair.
Allison 1000 valve body parts, shipped from the USA
We stock Allison 1000 valve body repair kits, oversized valve and reamer kits for the E-shift, control main relief and trim circuits, remanufactured valve bodies, shift and TCC solenoids, spacer plates, and the seals and fluid to finish the job right.
Shop Allison 1000 parts →Doing the job? Our line pressure testing walkthrough covers the gauge-at-the-tap procedure referenced in step 3, and our Allison 1000 parts catalog has the valve body kits, oversized valves, solenoids, and fluid the repair calls for.
Sources
- Sonnax — Oversized Control Main Relief Valve (37000-19), on control main relief valve bore wear reducing control main pressure to the shift solenoids and A & B trim pressures, and the vacuum-test/oversized-valve repair. sonnax.com/parts/4812-oversized-control-main-relief-valve
- Sonnax — Identifying Allison 1000/2000/2400 Valve Bodies (Jeff Parlee, TASC Force), on valve body versions and the common failures: sticking E-shift valve / shift valve 3, P0872 and failsafe, F-trim sleeve wear (P0741), and warped castings. sonnax.com/tech_resources/607-identifying-allison-1000-2000-2400-valve-bodies
- Sonnax — GM Allison 1000/2000/2400 Valve Body Layout, identifying the shift, trim, and control main valves and bore locations referenced in testing. sonnax.com/tech_resources/728-gm-allison-1000-2000-2400-valve-body-layout
- Sonnax — 1000/2000/2400 Solenoid Identification, on the PCS, trim, shift, and TCC solenoids and how they are identified by connector and casting. sonnax.com/tech_resources/364-1000-2000-2400-solenoid-identification
- Gears Magazine (ATRA) — Proceed with Caution: Allison 2-3 and 4-5 Flare Shift Repairs, on how trim A/B solenoids control shift quality, comparing cold vs. hot commanded/actual solenoid current, air-checking the C3 circuit, and vacuum testing the trim valves (12 in-Hg failed, 22 in-Hg after repair). gearsmagazine.com/magazine/proceed-with-caution-allison-2-3-and-4-5-flare-shift-repairs
- Gears Magazine (ATRA) — Damn, That Was A Hard Shift: Allison 1K/2K Shift Concerns After Repair, on harsh-shift and shift-quality diagnosis on the Allison 1000/2000 after valve body work. gearsmagazine.com/magazine/damn-that-was-a-hard-shift-allison-1k-2k-shift-concerns-after-repair