Cooler lines are one of the easiest parts of a 4T65E job to get wrong. The lines on these Impalas, Grand Prixs, LaCrosses and Montanas are 15 to 25 years old now. The steel sections rust where they run along the subframe, the rubber sections go hard, and the fittings at the radiator and the case weep until somebody notices a wet spot under the front of the car. Replacing a line is not hard. Replacing it so the transaxle actually gets cooled and lubricated afterward takes a little more thought.
This guide covers how the 4T65E cooler circuit is plumbed, which connector is feed and which is return, how to swap a line without creating a new leak, when GM says the cooler has to be flushed and flow tested, and how to refill and check the level. Everything here is backed by GM bulletins, NHTSA recall records, the owner manual and Sonnax; the sources are listed at the bottom.
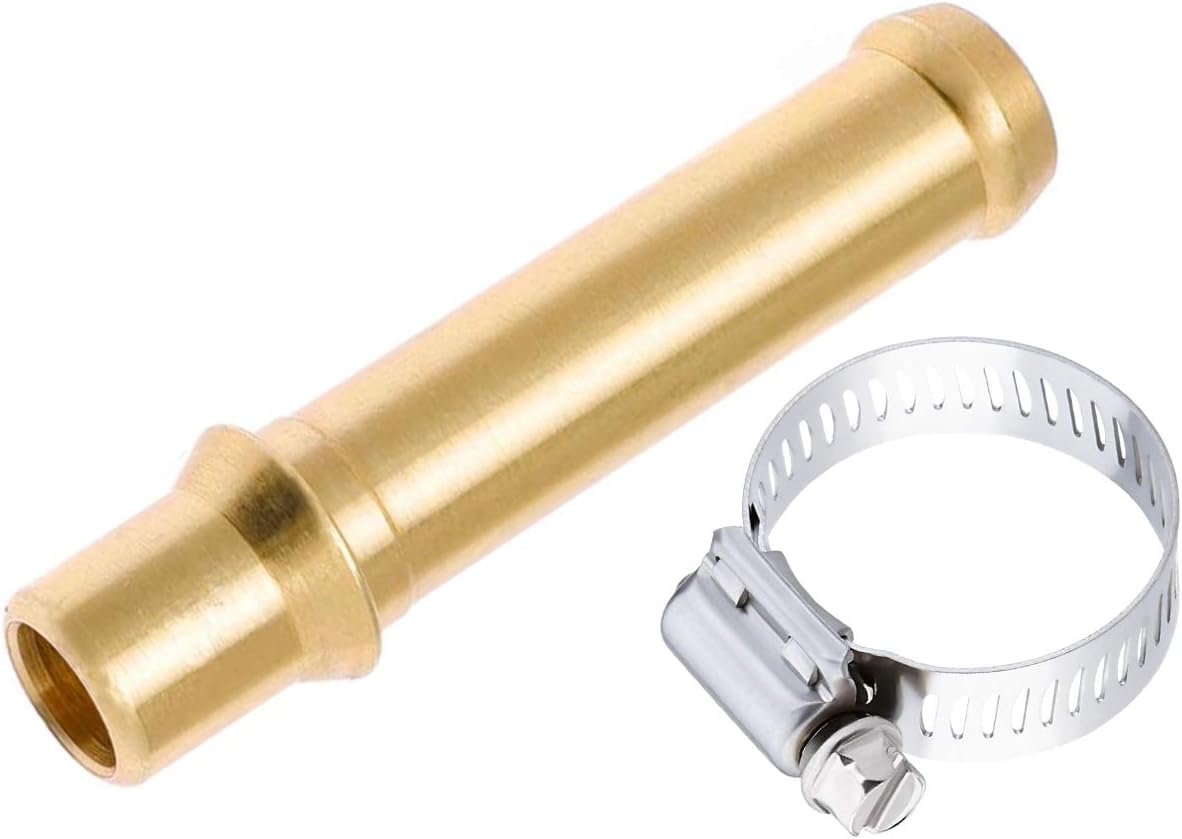
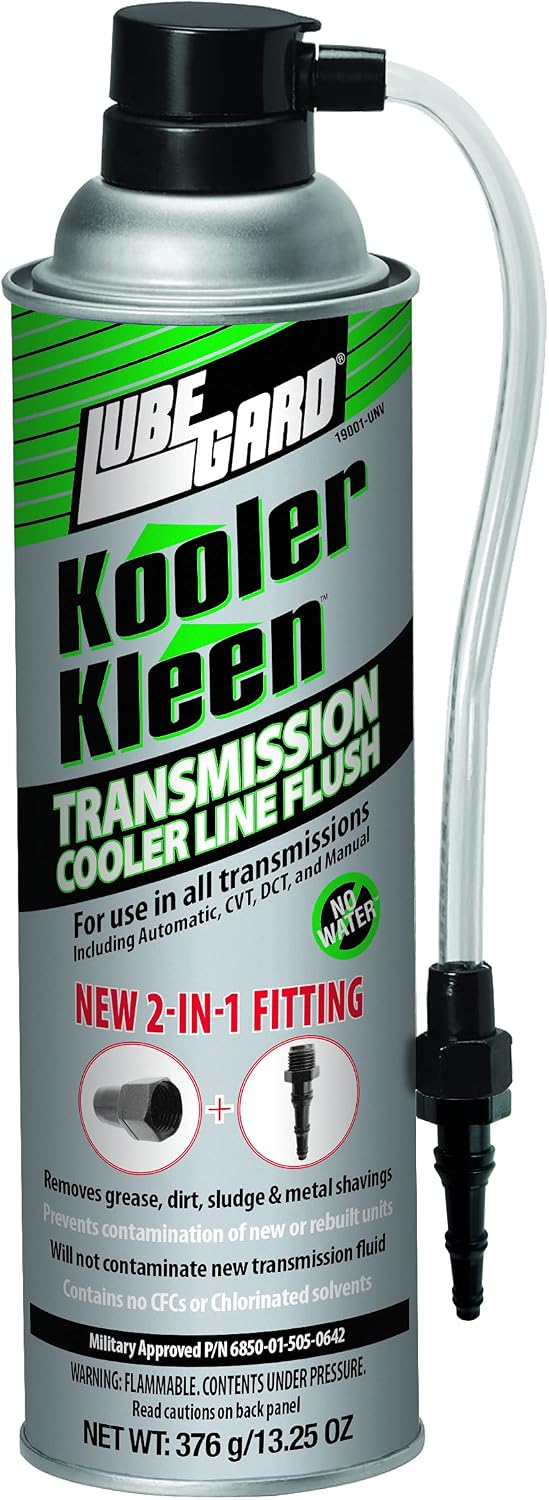
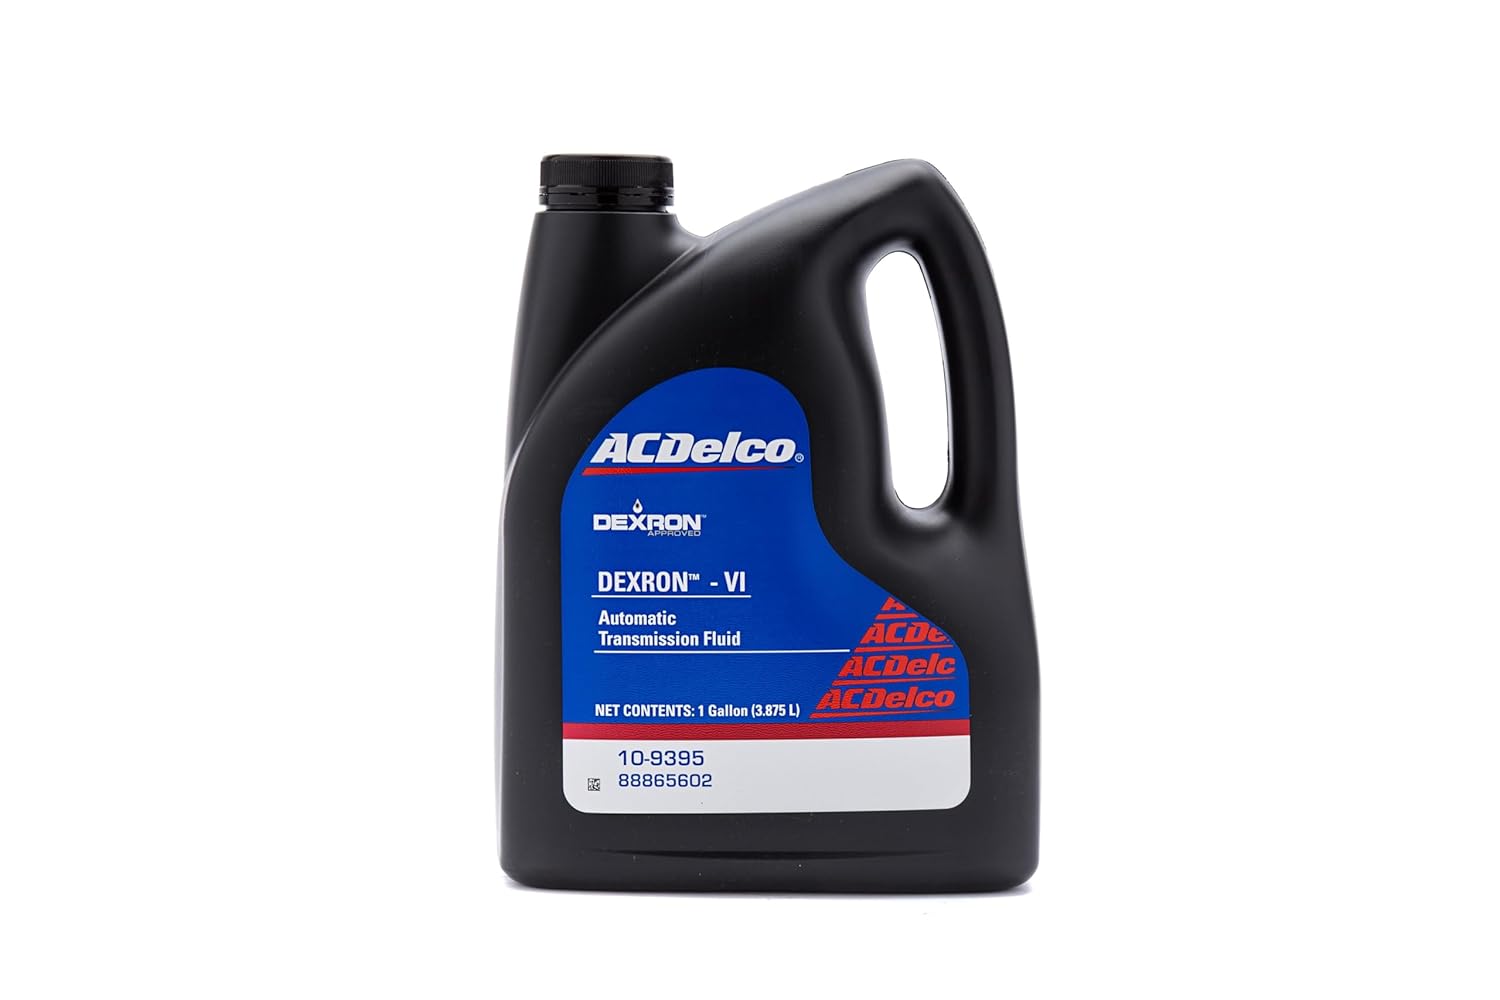
How the 4T65E cooler circuit is plumbed
The 4T65-E sends hot fluid out of the case, through a steel line to the cooler built into the radiator tank (plus an auxiliary cooler on cars that have one), and back into the case on a second line. GM's flow-test bulletin 02-07-30-052I spells out the direction for every GM automatic of that era. For the 4T65-E, the cooler feed (fluid exiting the transmission) is the vertical (top) connector and the cooler return (fluid entering the transmission) is the horizontal (bottom) connector. The 4T60 and 4T60-E it replaced use the same layout.
That matters for three reasons. First, if you are only replacing one line, you need to know which one so you do not order the wrong part. Second, any flow test is read at the return, so the hookup has to be right or the reading means nothing. Third, the return side is what the transaxle gets back after the cooler. Sonnax's 4T65-E troubleshooting article points out that contamination tends to pile up around the return cooler checkball seat, and that the real question on teardown is whether the debris was leaving the transmission or coming back from the cooler. Debris parked in a cooler does not stay there. It comes home on the return line.
Why 4T65E cooler lines fail
- Rust on the steel sections. The lines run low across the front of the car and sit in road salt. Rust usually starts where a line is clipped or where it touches the subframe and holds water.
- Hardened or cracked rubber sections. The short hose sections that let the lines flex with engine movement go hard with heat and age and start to weep at the crimps.
- Fittings that are not fully seated. GM's snap-in style cooler connections only seal when the line is all the way home and the retainer is locked. GM recalled 489,936 2014-2015 trucks and SUVs under NHTSA recall 14V-152 because a cooler line might not be securely seated in its fitting, with the stated risk that leaking oil could hit a hot surface and start a fire. That recall is not a 4T65E recall, but it is the same failure mode you can create yourself by not seating a new line.
- Separation under load. NHTSA recall 96V-015 covered 585,182 GM cars built from August 1991 through July 1995, including 3800 V6 cars with the 4T60-E, the 4T65E's direct predecessor. The cooler line could separate in low temperatures under high transmission load, and the consequence NHTSA lists is a vehicle fire from the spilled fluid. Cold fluid is thick, the pressure in the cooler circuit climbs, and a tired line or fitting lets go.
The common thread is that ATF leaking near an exhaust manifold is a fire risk, not just a mess. If the fitting is wet, fix it. Do not just keep topping it off.
Before you replace anything: confirm the leak
A wet cooler fitting at the case is often fluid tracking down from somewhere higher, usually the vent or the side cover seam. Clean the area, add dye if you have it, bring the fluid up to temperature and look with the engine running. The cooler circuit is under pressure only when the engine is running, so a cooler leak that only appears hot and running is typical. Our 4T65E fluid leak guide walks through the full top-down order.
While you are under there, look at the whole run of both lines, not just the wet spot. If one steel line is rusted through, the other one has the same age and the same exposure.
Replacing the line, step by step
- Mark feed and return. Tape or paint-pen the top (feed) and bottom (return) lines at the case before you disconnect anything.
- Have a catch pan and caps ready. Each line holds some fluid and the cooler drains back slowly. Cap the case fittings so nothing gets in.
- Release the fittings with the right tool. Snap-in GM connections need the retainer released or a disconnect tool; prying on them destroys the fitting or the retainer. Threaded connections need a flare-nut (line) wrench and a backup wrench on the fitting so you do not twist the line or load the radiator tank.
- Note the routing and every clip. Photograph the run. The lines are clipped to each other and to the body so they do not vibrate or rub. A line that rubs on a bracket will wear through again.
- Compare the new line before installing it. Lay it next to the old one and check the bends, the overall length and the end form. Aftermarket lines with a slightly different bead or end length are a common source of a fitting that will not latch or will not seal.
- Use new fitting seals where the design has them and inspect the case and radiator fittings themselves. If a case fitting is cracked or its retainer is broken, replace the fitting rather than hoping the new line will seal against it.
- Seat and pull-test every connection. Push the line in until the retainer locks, then pull back on it firmly. If it moves out, it was not seated. That is the condition behind recall 14V-152.
- Reinstall every clip and check clearance to the exhaust, the axle and the steering rack with the wheels turned lock to lock.
Thread torque for threaded case or radiator fittings varies by application and fitting type, so take it from the service information for that VIN rather than a generic chart.
When GM requires a cooler flush and flow test
This is where most line jobs and most rebuilds go wrong. GM's warranty bulletin 17-NA-066 requires the transmission oil cooler and the cooler pipes to be flushed and flow tested after the transmission is removed for repairs, including the auxiliary cooler if the car has one, and it points 2011-and-earlier vehicles (which covers every 4T65E) to bulletin 02-07-30-052. The same bulletin says in-car valve body replacement and leak repairs, such as converter or output seals, do not require it.
The reason is in 02-07-30-052I in plain words: insufficient oil flow through the ATF cooling system will cause premature transmission failure. A restricted cooler starves the return side, the fluid runs hotter, and on GM automatics the cooler return is what feeds lubrication. A fresh rebuild bolted to a cooler still packed with clutch material and metal from the old unit is how a new transaxle fails in the first few thousand miles.
What the GM procedure actually does
- The GM tool is the J-45096 TransFlow. In flush mode it cycles fluid through the cooler circuit with high-pressure air pulsed into the stream to break loose debris. In flow mode it measures flow in gallons per minute.
- It needs at least 90 psi of shop air at the tester, and the supply fluid must be at or above 65°F (18°C). The minimum acceptable flow depends on fluid temperature and comes from the flow chart in service information.
- The tool is calibrated for roughly 2 GPM at room temperature. GM treats readings above 2.5 GPM as a tool setup problem, not a great result.
- A flush and flow test uses 5 to 8 quarts of Dexron-VI.
- If flow is under the minimum with good shop air, GM's direction is to repair the restriction, meaning replace the cooler or the lines, and then run a second flow test to prove the repair.
Without a TransFlow, a shop flusher with a flow gauge or a chemical cooler flush followed by clean-fluid rinsing in both directions is the next best thing. Whatever you use, finish by blowing the lines out with low-pressure air and confirming a strong, steady stream at the return line with the engine running briefly before you call it done. If the radiator's internal cooler stays restricted after flushing, or the unit had a catastrophic failure, replace the radiator or add a new auxiliary cooler in the return line rather than gambling a rebuild on it.
Refill and level check
GM's capacity chart for 4T65E-equipped cars lists 7.4 qt (7.0 L) total and specifies Dexron-VI. A line swap only loses what was in the lines and what drained from the cooler, so add a quart, start the engine, and set the level hot. The owner manual procedure is: fluid at 180 to 200°F, parked level with the engine running, shift through every range pausing a few seconds, back to Park, idle a few minutes, then read both sides of the dipstick and use the lower reading. It has to be in the crosshatch. More detail is in our 4T65E fluid type and capacity guide.
| What you see | Likely cause | Fix |
|---|---|---|
| Wet at the radiator end, running only | Fitting seal or line not fully seated | Reseat and pull-test; new fitting seal or fitting |
| Rust flake and wet spot along the run | Steel line rusted through | Replace the line (check its partner too) |
| Weep at a hose crimp | Aged rubber section | Replace the line assembly |
| Running hot or TCC complaints after a rebuild | Restricted cooler or lines | Flush and flow test; replace cooler if flow stays low |
| ATF in the coolant or coolant in the ATF | Internal radiator cooler leak | Replace radiator; flush both systems |
If the transaxle is coming out anyway
A lot of cooler line jobs are found during a rebuild or a reseal, which is exactly when GM wants the cooler flushed. If the unit is out, reseal it completely while the lines are off, and do not install it until the cooler circuit has passed a flow check.
4T65E Overhaul Gasket & Seal Kit, 1997-Up
Every gasket and seal for a full 4T65E reseal. The right kit when the unit is out and the cooler lines are already disconnected.
View the overhaul gasket kit at CoreTransmissionParts →Need something else? Browse all 4T65E parts at CoreTransmissionParts
Need parts for this job?
Dexron-VI, cooler flush, cooler line fittings, gasket kits and rebuild parts for the 4T65E, shipped from the USA.
Shop 4T65E parts →FAQ
Which 4T65E cooler line is the feed and which is the return?
GM bulletin 02-07-30-052I lists the 4T65-E cooler feed, the fluid leaving the transaxle, at the vertical (top) connector on the case and the return at the horizontal (bottom) connector. Mark both lines before you pull them so the new ones go back the same way and any flow test is hooked up in the right direction.
Do I have to flush the cooler when I replace a 4T65E cooler line?
If the line is being replaced for a leak or rust on a healthy transaxle, GM's warranty guidance in bulletin 17-NA-066 does not call for a cooler flush on leak repairs. If the transaxle came out for an internal repair or the converter was replaced, GM requires the cooler and lines to be flushed and flow tested, because debris left in the cooler goes straight back into the rebuilt unit.
What fluid do I use after replacing a 4T65E cooler line?
Dexron-VI. GM's owner manual for 4T65E-equipped cars lists Dexron-VI and a total system capacity of 7.4 quarts (7.0 L). A line swap only loses what was in the line and what drained out of the fittings, so add a small amount, then set the level with the hot check procedure rather than pouring in a fixed number.
Is a leaking transmission cooler line dangerous?
It can be. NHTSA recall 96V-015 replaced cooler lines on 585,182 GM cars, including 3800 V6 cars with the 4T60-E, because a line could separate in cold weather under load and spill fluid that could start a fire. ATF hitting a hot exhaust manifold is a real fire risk, so a wet cooler fitting is not something to keep topping off.
Related guides
- 4T65E fluid leak: common spots and fixes
- 4T65E transmission fluid type and capacity
- 4T65E filter and pan service guide
- 4T65E TCC shudder diagnosis
- 4T65E common problems and diagnosis
Shop the part for this fix
If the cooler lines are off because the 4T65E is coming out, the overhaul gasket and seal kit covers every seal on the case.
View the 4T65E gasket kit at CoreTransmissionParts →Sources
- GM Service Bulletin 02-07-30-052I, "Automatic Transmission Oil Cooler Flow Test Essential Tool J-45096 TransFlow" (June 2013), via NHTSA — backs the 4T65-E feed (vertical/top) and return (horizontal/bottom) connector table, the J-45096 flush and flow functions, the 65°F supply fluid requirement, and the statement that insufficient cooler flow causes premature transmission failure. static.nhtsa.gov (PDF)
- GM Bulletin 17-NA-066, "Automatic Transmission Oil Cooler Flush and Flow Test" (March 2017), via NHTSA — backs the requirement to flush and flow test the cooler and lines (including auxiliary cooler) after transmission removal, the exemption for in-car valve body and leak repairs, 90 psi shop air, the 2 GPM calibration and 2.5 GPM limit, 5-8 quarts of Dexron-VI, and replace-and-retest on low flow. static.nhtsa.gov (PDF)
- NHTSA Recall 96V-015, GM transmission oil cooler lines — backs 585,182 vehicles built August 1991 through July 1995, including 3800 V6 cars with the 4T60-E, cooler line separation in low temperatures under high load, and the fire consequence. api.nhtsa.gov
- NHTSA Recall 14V-152, "Transmission Oil Cooler Line/Fire" (GM recall 14121), quarterly report and recall record — backs the 489,936-vehicle population, the cooler line not securely seated in its fitting, and the fire risk. static.nhtsa.gov (PDF) / api.nhtsa.gov
- Sonnax, "Troubleshooting the 4T65-E: A Matter of Interpretation" — backs contamination collecting at the return cooler checkball seat and the need to judge whether debris is leaving the transmission or returning from the cooler. sonnax.com
- GM, 2008 Chevrolet Impala Owner Manual, "Automatic Transmission Fluid" and "Capacities and Specifications" — backs the 7.4 qt (7.0 L) capacity, the Dexron-VI specification, and the hot level check procedure. assets.gm.com (PDF)