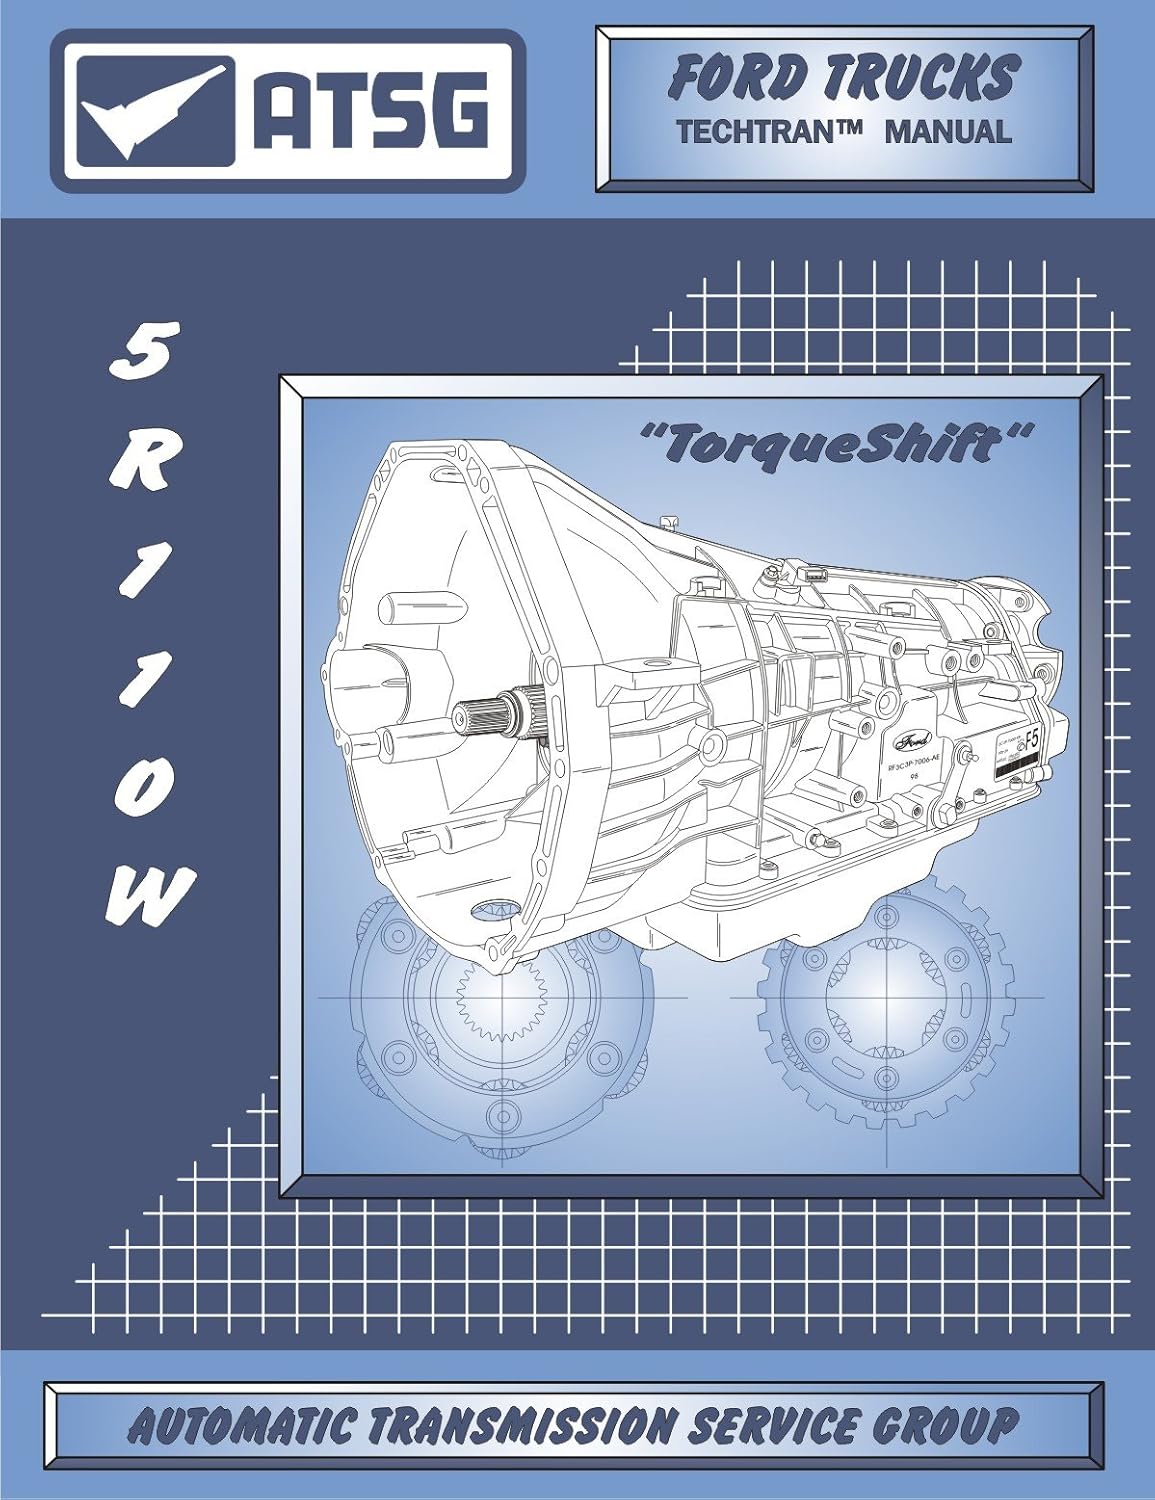
Search "5R110W pan bolt torque" and you mostly find guesses: a number from an aftermarket pan's install sheet, a forum post citing a different Ford truck entirely, or a generic "tighten until snug" answer that is useless on an aluminum transmission case. The real figure comes from ATSG's 5R110W TorqShift technical manual, and it is specific: twenty bolts, torqued to 15 N-m (11 ft-lb). Get that wrong in either direction and you either strip soft aluminum threads or leave the pan rail unevenly clamped, which is exactly how a "reusable" gasket starts to seep.
This post walks through the real spec, the bolt itself, the gasket reuse rule Ford and ATSG both call out, and the full pan-off service in the order ATSG documents it. The torque and bolt-count figures come straight from the ATSG technical manual's disassembly and assembly procedures and its torque specification table. The service interval and remote-filter requirement come from Transmission Digest's coverage of the unit. Everything is listed under Sources at the bottom.
The real spec: 20 bolts, 15 N-m (11 ft-lb)
ATSG's 5R110W technical manual documents the pan twice: once pulling it off during disassembly, once putting it back during assembly. Disassembly step 10 says to "remove the twenty oil pan bolts" and lift the pan free. Assembly mirrors it exactly: step 42 installs the pan and the 20 pan bolts, and step 43 reads "Torque pan bolts to 15 N-m (11 ft.lb.)". The manual's torque specification table at the back lists the same entry, "Transmission Oil Pan to Case (20)," at 15 N-m / 11 ft-lb, so the procedural step and the reference table agree.
Eleven ft-lb feels low if you are used to steel-case domestics where pan bolts run 12-15 ft-lb and up. It is not a typo. The 5R110W case around the pan rail is aluminum, and the bolts thread directly into it with no insert. ATSG's own bolt identification chart for this transmission lists the pan-to-case fastener as a 14mm-long bolt, 9.8 strength class, with a 10mm wrench head. Small bolt, soft case, light spec. Run it to a steel-case number and you will pull threads out of the case long before the bolt breaks.
| Fastener | Torque | Notes |
|---|---|---|
| Transmission oil pan to case (20 bolts) | 15 N-m (11 ft-lb) | ATSG assembly step 43 and torque spec table |
| Pan bolt size | 14mm long, class 9.8 | 10mm wrench head, per ATSG bolt chart |
| Solenoid body bolts (all) | 10 N-m (89 in-lb) | For reference only — do not use the pan spec here or vice versa |
Why you can't eyeball this one
Two failure modes sit on either side of 11 ft-lb, and both show up as the same symptom: a leak at the pan rail that someone "just fixed" six months ago.
Under-torque and the pan rail never develops full clamp load on the gasket. The bead seals fine the day you button it up, then starts seeping once the fluid gets hot and thin and the bolts settle. It reads like a bad gasket when the actual problem was never getting the clamp load there in the first place.
Over-torque is worse, because it is harder to walk back. Case threads in aluminum strip quietly: you keep turning, it keeps feeling tight, and then it is not tight anymore because the threads are gone. Past that, a bolt that is over-torqued enough to deform the pan flange locally can crush the gasket's rubber bead right at that hole, which is the same failure ATSG's Pete Luban documented in Transmission Digest ("Reusable Gasket – Not!") on the 6R140W, the TorqShift's Super Duty successor: rubber eroded away at the bolt holes, and because the two front pan-bolt holes are drilled through into the bellhousing, the leak showed up at the front and the unit was pulled for a pump reseal it never needed. Correct, even torque across all 20 bolts is what keeps that bead intact.
Tightening sequence: don't just go around the pan in order
ATSG's written steps don't spell out a numbered star pattern for this specific pan, but the manual is explicit about working outward from the center on the nearby solenoid body bolts: "Torque all of the solenoid body retaining bolts to 10 N-m (89 in.lb.), beginning in the center and working in a circle outward." The same logic applies to the pan, and it is standard shop practice on any multi-bolt pan rail: a crisscross or star pattern spreads clamp load evenly instead of cocking the pan against one side of the gasket.
- First pass, by hand or low-torque driver. Snug all 20 bolts in a crisscross pattern, opposite corners first, working around the pan. Don't torque anything yet — just get even contact.
- Second pass, torque wrench to 15 N-m (11 ft-lb). Same crisscross order. This is the pass that sets the actual clamp load.
- Third pass, verify. Go around once more confirming every bolt is at spec. The first bolts you torqued will often read slightly loose once their neighbors compress the gasket — that is normal, not a bad bolt, just retorque it.
The reusable gasket, and when it isn't
ATSG's manual repeats a specific note at both removal and installation: "the pan gasket is reusable as long as none of the beads are broken." That is a real, factory-documented design, not a shortcut someone invented to skip a parts order. But it is conditional, and the condition is on you to check.
Pull the gasket off with the pan and lay it flat under good light. Run a finger around the rubber bead that rings the pan perimeter and every bolt hole. You are looking for a bead that is still round and proud, not flattened, torn, or missing material anywhere — especially right at the bolt holes, since that is where erosion and over-torque damage shows up first. If it looks and feels uniform, it can go back in. If any section is compromised, replace it; a few dollars of gasket is cheaper than doing this job twice.
Filter: which one depends on the year
While the pan is down, the fluid filter and its seal get replaced as a matter of course — ATSG's step 11 removes and discards both, and step 40 installs a new filter and seal before the pan goes back on. What filter you're replacing depends on the model year.
Early 5R110W units use an external bypass filter design: most fluid runs through the cooler while roughly ten percent passes through a small orifice into a serviceable screw-on remote filter in the cooler line, then feeds the rear lube circuit. Per Transmission Digest's coverage, Ford called for replacing both the bottom-pan filter and this remote cooler-line filter at every fluid service, every 30,000 miles regardless of operating conditions. Skip the remote filter and you've only serviced part of the filtration system.
Transmission Digest's technical editor Mike Riley reports that for 2008, Ford replaced the external bypass system with a newly designed sump filter and a revised pump and pump cover built for the non-bypass design. On those trucks there is no separate remote canister to service — the pan filter carries the whole job, and it needs to be the correct later-style filter, not an early-style part that happens to physically fit.
The pan-off service, in ATSG's order
Here is the sequence as ATSG documents it, condensed to the pan-specific steps:
- Support the transmission and rotate or position it so the pan faces up (or get under the vehicle with the pan accessible and drain what you can first if it's in the truck).
- Remove the 20 pan bolts and lower the pan.
- Disconnect the transmission range sensor connector if your access requires it, and remove the old pan gasket.
- Inspect the gasket beads. Reuse if intact; replace if not.
- Remove and discard the old fluid filter and filter seal.
- On 2003-2007 trucks, service the remote cooler-line filter at the same time.
- Install the new filter and seal — confirm the old filter seal is fully out of the pump bore first, since a leftover seal will keep the new one from sealing.
- Set the gasket (reused or new) on the case surface over the locating dowels.
- Install the pan and all 20 bolts, snug in a crisscross pattern.
- Torque all 20 bolts to 15 N-m (11 ft-lb) in the same crisscross order, then verify every bolt on a final pass.
After the pan work, Ford's current Motorcraft fluid chart lists the 5R110 TorqShift under MERCON LV, authorized to back-service a unit originally filled with the now-discontinued MERCON SP. Fill to the correct level with the engine running and the transmission at operating temperature, checked on the dipstick, not by counting quarts poured in — a pan-off service never gets a full fluid change anyway, since the converter and cooler circuit stay full the whole time. Ford's 2009 Super Duty owner guide spells out the check: drive about 20 miles to reach 150-170°F, park level with the parking brake set, run the shifter through every range with your foot on the brake, then read the dipstick in Park with the engine running [6]. The same guide lists the 5R110 at about 17.5 quarts (16.6 L) of MERCON LV including the remote filter element change, and says that figure is only an approximate dry fill; the dipstick's normal operating range sets the real level [6]. If you top it off cold (50-95°F ambient band), Ford warns it can read overfull once it gets hot [6].
One more thing worth checking while you're in there
If the truck runs in cold climates or tows heavily, Mike Riley's lubrication-focused writeup on this transmission stresses confirming adequate cooler flow under all conditions and checking the thermal bypass valve, since low one-way clutch failures on later units have been linked to lube flow problems in extreme cold. The pan is down, the filter's out, and the cooler lines are already disturbed — it's the right moment to confirm flow at the cooler return rather than waiting for a cold-weather complaint to send you back under the truck.
Need parts for this job?
Our 5R110 TorqShift parts page has the filter kits, Motorcraft MERCON LV, solenoid kits, valve bodies and master rebuild kits for this unit, all checked out on site. If the pan comes down and the fluid tells a worse story — friction material on the magnet, a burnt smell — our 5R110W common problems guide covers what's actually failing underneath.
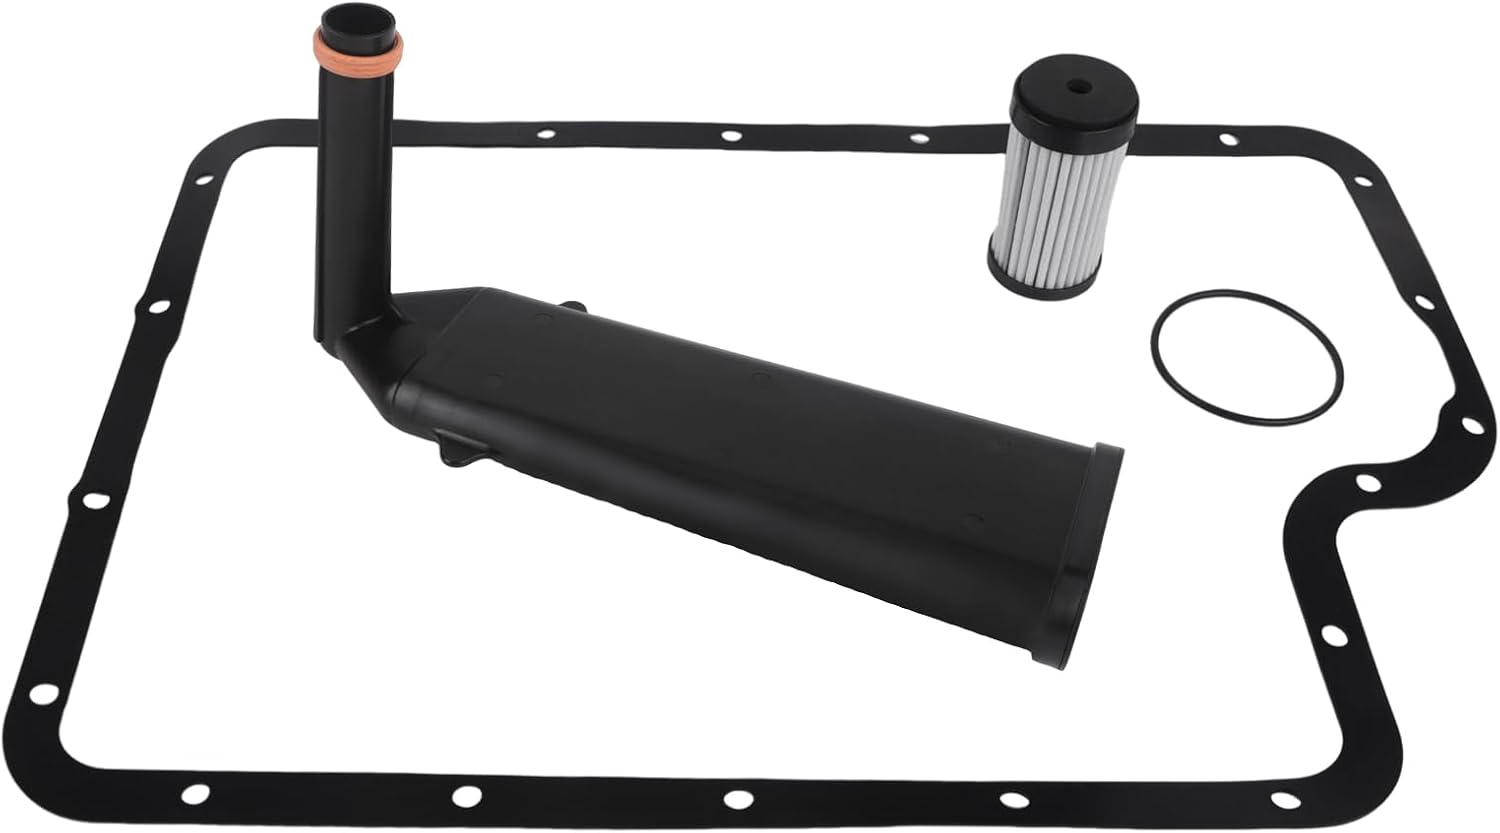
Shop the part for this fix: 5R110W filter kit
The 5R110W transmission filter kit covering the pan-side filter for a correct pan-off service. Confirm your model year, since 2008-up units use the redesigned non-bypass sump filter. More 5R110W parts are at CoreTransmissionParts.
See the filter kit at CoreTransmissionPartsFAQ
How many bolts hold on the 5R110W transmission pan?
Twenty. ATSG's 5R110W TorqShift technical manual lists the oil pan to case connection as twenty bolts, both for removal (step 10 of disassembly) and reinstallation (step 42 of assembly). Count them as you pull the pan so you know you got every one before the pan drops.
What is the torque spec for 5R110W pan bolts?
15 N-m, which is 11 ft-lb. That is the factory figure from ATSG's 5R110W technical manual, assembly step 43, and it matches the torque specifications table at the back of the same manual. Eleven ft-lb is light by hand-tool standards, which is normal for bolts threaded into an aluminum case.
Can I reuse the 5R110W pan gasket?
Yes, with a condition. ATSG's manual notes the pan gasket is reusable as long as none of the beads are broken, and repeats that note at both removal and installation. Inspect the rubber bead around each bolt hole and the perimeter under good light; if any section is flattened, torn, or missing material, replace it rather than gambling on a slow leak.
What size are the 5R110W pan bolts?
ATSG's bolt identification chart lists the pan-to-case bolt as a 14mm-long bolt with a 10mm wrench head and a 9.8 strength class. Use a 10mm socket, not a larger one that can round off the flange head.
Do I need to replace the remote cooler-line filter when I service the pan?
On 2003-2007 trucks with the external bypass filter, yes. Transmission Digest's coverage of the 5R110W reports Ford called for replacing that remote filter at every fluid and bottom-pan filter service, not just the pan-side filter. Skipping it leaves roughly ten percent of the fluid circuit running on an old element.
Related guides
- 5R110 TorqShift Service Guide
- 5R110W Common Problems and Fixes
- 5R110W Fluid Change Cost
- 5R110W Fluid Leak Common Spots
- 5R110W Valve Body Symptoms
Sources
- ATSG (Automatic Transmission Service Group), Ford 5R110W (TorqShift) technical manual (2004), Transmission Disassembly and Transmission Assembly sections, and Torque Specifications table. Backs the 20 pan bolts (disassembly step 10, assembly steps 42-43), the 15 N-m (11 ft-lb) pan bolt torque, the reusable-gasket note at both removal and installation, the fluid filter and filter seal replacement steps, the solenoid-body "center outward" tightening note, and the pan bolt's 14mm length, 10mm head and 9.8 strength class from the bolt identification chart. ATSG manual (PDF)
- Transmission Digest, "Ford 5R110W (TorqShift)." Backs the 30,000-mile fluid and bottom-pan filter interval regardless of operating conditions, the remote filter passing about 10 percent of flow and being replaced at each service on 2003-2007 trucks, and MERCON SP not being interchangeable with MERCON or MERCON V. transmissiondigest.com
- Mike Riley, Transmission Digest, "5R110W Lubrication Concern: Warm Weather, No Problem, but Winter's Coming." Backs the 2008 change from the external bypass filter to a newly designed sump filter and revised non-bypass pump, and the advice to verify cooler flow and the thermal bypass valve. transmissiondigest.com
- Ford Motorcraft, "Automatic Transmission Fluid Chart," version 21 (published 9/2026). Backs the 5R110 TorqShift listing under MERCON LV and the authorization to back-service a MERCON SP-filled unit with MERCON LV. fcsdchemicalsandlubricants.com (PDF)
- Pete Luban (ATSG), Transmission Digest, "Reusable Gasket – Not!" (May 2012). Backs the eroded rubber bead at the pan-bolt holes on Ford's reusable molded pan gasket, and the front two pan-bolt holes drilled through into the bellhousing so a gasket leak looks like a front pump leak (documented on the 6R140W). transmissiondigest.com
- Ford Motor Company, 2009 F-250/350/450/550 Owner Guide (3rd printing), Maintenance and Specifications. Backs the 5R110 capacity of about 17.5 quarts (16.6 L) including the remote filter element change, the Motorcraft MERCON LV (XT-10-QLV) fill, the note that the capacity is an approximate dry fill with the level set by the dipstick, and the hot-check procedure (about 20 miles, 150-170 degrees F, cycle the ranges, check in Park running, 50-95 degrees F ambient band). Ford owner guide (archived PDF)