A 6L80 that shows up on the lift at 120,000 miles with no documented fluid service is not a mystery truck. It is a predictable set of wear points in a predictable order, and GM's own bulletins and Sonnax's own teardown data tell you where to look before you start throwing parts at it. This is the checklist I run on any 6L80 or 6L90 past 100,000 miles, whether it is a customer complaint or a used truck I am buying parts for sight-unseen.
1. Fluid and Filter First -- GM's "Lifetime" Fill Is the Biggest Lie on This List
Before any diagnostic work, drop the pan. What is in the pan tells you more about this transmission's history than the odometer does. GM's own bulletin 20-NA-142 names depleted fluid additives as the direct cause of shudder and surging complaints on these units, which is GM admitting in writing that the lifetime-fill position does not hold up past normal service life. If the truck has no documented fluid service by 100,000 miles, that is service item one, not a maybe.
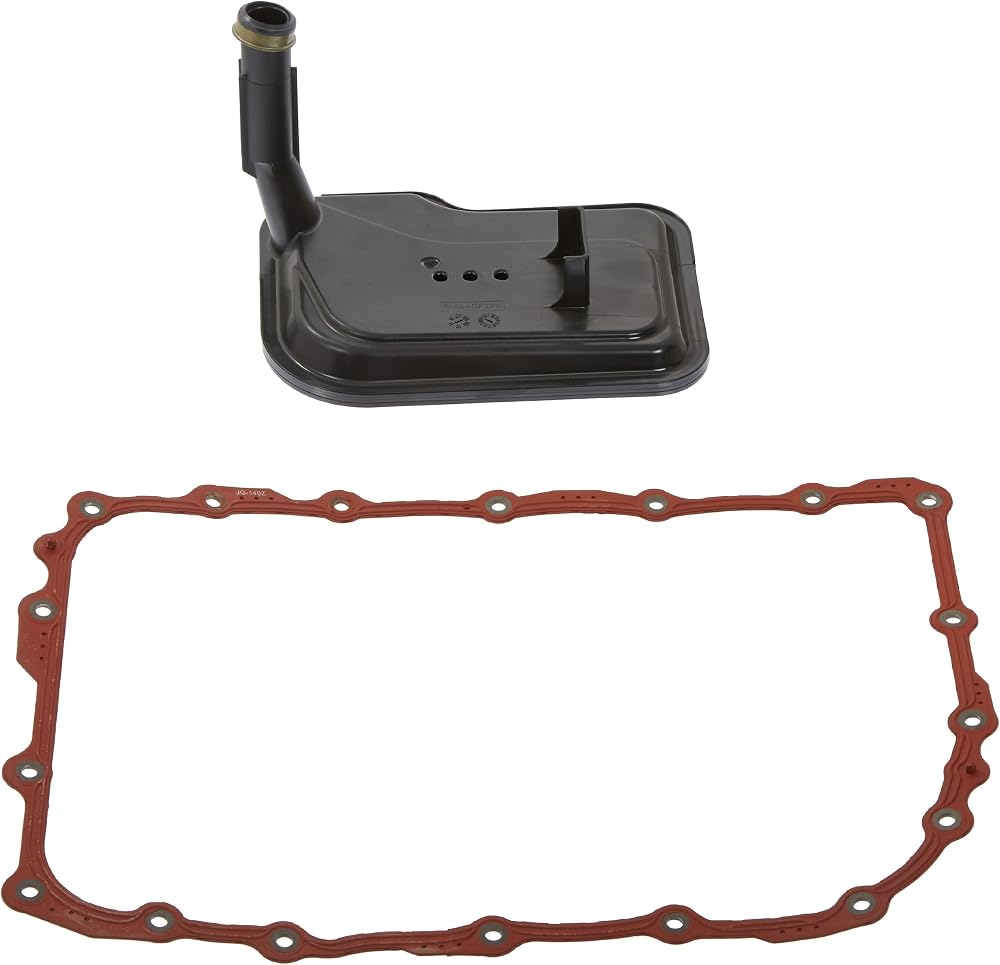
GM TechLink also split what used to be a single combined part. The original Transmission Oil Filter and Seal Kit, part 24236933, covering the 6L50 (RPO MYB), 6L80 (RPO MYC) and 6L90 (RPO MYD), is now sold as a filter alone, part 24236517, and a seal alone, part 24225347. Current GM service procedure requires the seal be replaced any time the filter comes out, but the fluid pan gasket itself is reusable and only needs replacing if it is stuck to the case or the pan. Know which parts you actually need before you order, since a lot of shops are still ordering the old combined number out of habit.
2. Check Line Pressure Before You Touch the Torque Converter
P0741, Torque Converter Clutch Stuck Off, is the code that sends the most high-mileage 6L80s into a converter replacement that may not have been necessary, or that was necessary but got diagnosed backward. GM's bulletin PI1393B (2015 model-year Silverado, Suburban, Tahoe, Express and GMC equivalents with 6L80/6L90) is explicit about the order of operations: check transmission line pressure against the Line Pressure Check procedure in SI before condemning the converter. The reasoning is mechanical, not procedural -- loose torque converter clutch friction material passing through the pump can damage the pump itself, which drops line pressure and damages clutches on its own. A pump that is already compromised will set the same code as a slipping converter.
GM's newer bulletin, MC-10205540 (2021, covering 2014-2019 trucks with transmission codes MYB, MYC and MYD), narrows the likely cause by mileage. Under 10,000 miles, GM points to a damaged turbine shaft front bushing. Above 30,000 miles, GM points to damaged torque converter clutch friction material. On a 6L80 with six figures on the odometer, you are solidly in the second category, but the diagnostic order from PI1393B -- pressure first, parts second -- still applies.
3. The Converter Itself: What Sonnax Found on Teardown
Sonnax's own tech advisory on the 300mm 6L80/6L90 converter (the full-size truck and SUV application) describes a specific, repeatable failure: the clutch piston and front cover making metal-to-metal contact as the piston cycles, over many miles of use. That contact generates the debris that shows up in the pan and gets blamed on everything except the converter. Sonnax's own working theory -- stated as a theory, not a confirmed root cause -- is that the stamped cover runs slightly wavy under load and the thin, roughly .020 inch carbon friction material cannot keep up with the piston's apply motion indefinitely. Eventually the friction material breaks down.
What the bulletin does state as fact: the symptoms are a slipping sensation with intermittent clunks, the check engine light, code P0741 with TCC slip percentage out of range, and a pan full of debris alongside a worn pump bell housing. Sonnax's fix is a forged front cover (GM-CC-13) and forged steel piston plate (GM-DA-17P) that stay flat and rigid under the same load that deforms the stamped OE parts. If a teardown shows heavy metal debris in the pan with no obvious hard-part failure, that converter is the first place to look, and an updated converter belongs in the estimate from the start rather than as a comeback two months later.
4. Pump Endplay and Stator Bushings
Most 6L80/6L90 units land on a rebuilder's bench because of torque converter failure, and that failure routinely takes the pump down with it. A machinist's writeup in Gears magazine, ATRA's technical publication, lays out what that actually means on the bench: incoming units typically show .010 to .035 inch of endplay, against a target of .004 to .006 inch. GM provides no factory shim adjustment for endplay, so getting into that target range after a pump repair -- which removes material from the stator support and bell housing -- requires aftermarket shims and a measurement taken before the unit comes apart, not after.
The same article flags bell housing warpage of .001 to .002 inch at the pump-mating surface as common and enough on its own to cause apply issues in the circuits feeding the 1-2-3-4 and 3-5-Reverse clutches -- check it with a straight edge and feeler gauges. It also calls out alignment: centering the stator support body to the pump body with the factory tool (or equivalent) matters, because poor alignment causes premature bushing wear on its own, independent of mileage. And it flags something most shops never check on a transmission complaint -- the bell housing-to-engine block ground path. Rust on the aluminum bell housing is a sign of a compromised ground, and the article recommends adding a ground strap from the bell housing to the battery negative terminal whenever pump bushing damage is found.
5. Vacuum Test the Valve Body Before You Condemn Clutches
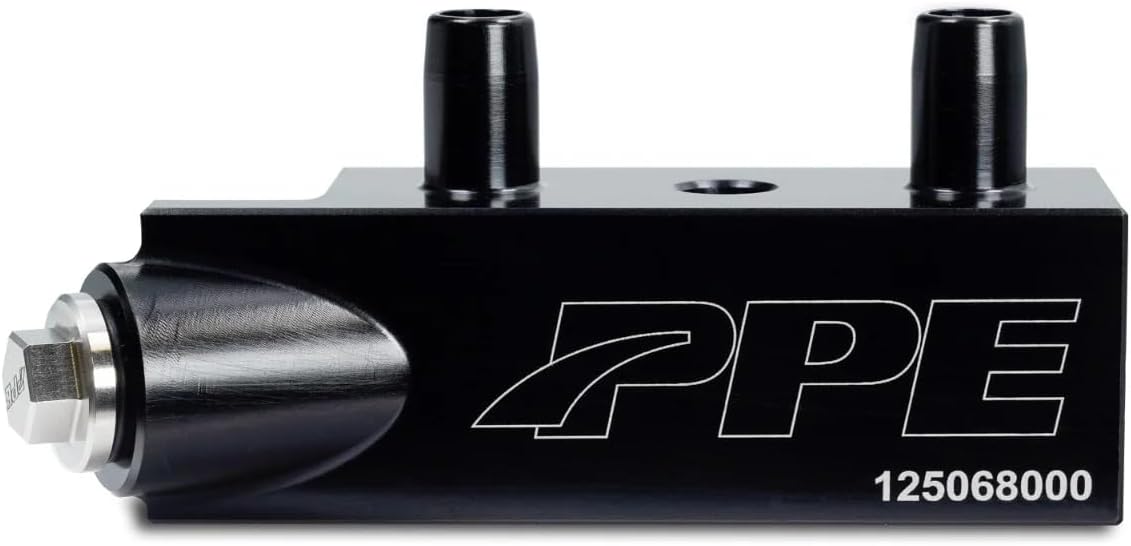
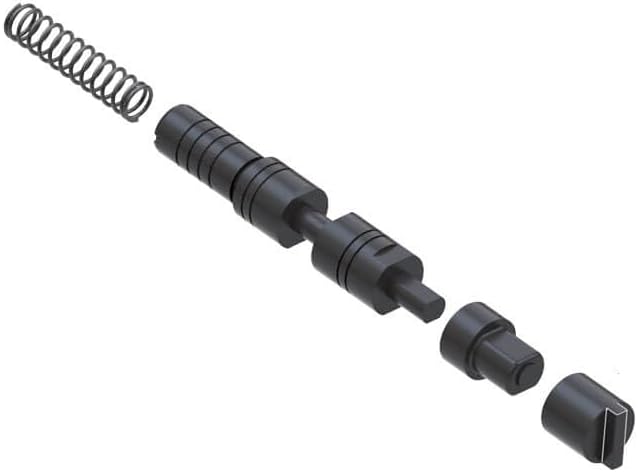
Flare, delayed engagement, and slipping at high mileage get blamed on worn clutch packs more often than the evidence supports. Sonnax's product line for the 6L45/6L50/6L80/6L90 family maps specific valve bore wear to specific symptoms, and it is worth knowing the map before you order a rebuild kit: a worn converter feed limit valve bore shows up as high TCC slip RPM and P0741; a worn pressure regulator valve bore causes erratic, high, or low line pressure and clutch slippage; a worn boost valve bore causes low line rise in Drive and burnt clutches; and a worn TCC regulator valve bore causes overheating, failsafe mode, and harsh or inconsistent TCC apply. Vacuum testing the valve body against these bores, before replacing a clutch pack, is how you avoid a comeback where the rebuilt pack slips for the exact same hydraulic reason the original one did.
Why this step gets skipped
Vacuum testing takes bench time most shops would rather spend reassembling. But a clutch pack replaced on a pressure problem will slip again, usually within a few thousand miles, and that comeback costs more labor than the vacuum test would have. On a transmission with this much documented wear-point history, treat vacuum testing as part of the teardown, not an optional add-on.
6. The Checklist, In Order
- Drop the pan. Inspect fluid color and debris content before anything else.
- Replace filter (24236517) and seal (24225347) together; reuse the pan gasket only if it is not stuck or damaged.
- If P0741/P0742 is present, check line pressure before suspecting the converter.
- Inspect the converter for metal debris in the pan and a worn pump bell housing -- the two travel together.
- Measure pump endplay before teardown; target .004-.006 inch with shims as needed.
- Check bell housing flatness and the ground strap from bell housing to battery negative.
- Vacuum test the valve body bores before replacing any clutch pack on a pressure-related complaint.
Sources
- General Motors Service Bulletin 20-NA-142, May 2022 (hosted by NHTSA). Backs: depleted fluid additives named as the cause of 6L80/6L90 shudder and surging, used here to support the fluid-service-first checklist item. static.nhtsa.gov/odi/tsbs/2022/MC-10213032-0001.pdf
- General Motors TechLink — "6-Speed Automatic Transmission Oil Filter and Seal Now Available Individually." Backs: original combined kit 24236933 split into filter 24236517 and seal 24225347 for 6L50/6L80/6L90; pan gasket reuse guidance. gm-techlink.com/?p=18133
- General Motors Dealer Bulletin PI1393B, June 2015 (hosted by NHTSA). Backs: checking transmission line pressure before condemning the torque converter on a P0741 complaint; loose converter clutch friction material damaging the pump. static.nhtsa.gov/odi/tsbs/2015/MC-10113709-9999.pdf
- General Motors Bulletin MC-10205540, 2021 (hosted by NHTSA). Backs: mileage-based P0741 cause split for 2014-2019 MYB/MYC/MYD transmissions -- turbine shaft front bushing under 10,000 miles, converter clutch friction material above 30,000 miles. static.nhtsa.gov/odi/tsbs/2021/MC-10205540-9999.pdf
- Sonnax Tech Advisory — "6L80/6L90 Transmission: Consider an Updated Converter in Your Next Rebuild," March 2020. Backs: clutch piston/front cover contact mechanism on the 300mm converter, associated symptoms, and the forged front cover (GM-CC-13) and piston plate (GM-DA-17P) fix. sonnax.com/tech_resources/845
- Gears Magazine (ATRA) — "The Devil's in the Details: A Machinist's Look at the 6L80/6L90 Units," January/February 2021. Backs: incoming endplay of .010-.035 inch versus a .004-.006 inch target, bell housing warpage tolerance, pump alignment and ground-strap guidance. gearsmagazine.com/magazine/the-devils-in-the-details-a-machinists-look-at-the-6l80-6l90-units
- Sonnax — GM 6L45, 6L50, 6L80, 6L90 Vacuum Test Guide product/parts page. Backs: valve bore wear mapped to converter feed limit, pressure regulator, boost, and TCC regulator symptoms. sonnax.com/tech_resources/439
FAQ
At what mileage should a 6L80 get its first fluid service?
GM calls the 6L80 fill lifetime, but field experience and GM's own bulletin 20-NA-142 (covering shudder caused by depleted fluid additives) say otherwise. Pull the pan at 50,000 miles, inspect what comes out, and set the interval from there -- every 30,000 to 50,000 miles depending on towing and ambient heat. A truck with no documented fluid service past 100,000 miles should get the pan dropped before anything else on this checklist.
Does a 6L80 P0741 code always mean a bad torque converter?
No. GM's bulletin PI1393B says to check transmission line pressure first, because low line pressure from a worn pump can set the same code as a slipping converter clutch. GM's 2021 bulletin MC-10205540 splits the likely cause by mileage: under 10,000 miles, suspect a damaged turbine shaft front bushing; above 30,000 miles, suspect damaged torque converter clutch friction material. On a high-mileage truck, the converter is the more likely cause, but confirm line pressure before you condemn it.
Why do 6L80 torque converters fail at high mileage?
Sonnax's teardown data on the 300mm 6L80/6L90 converter points to the clutch piston and front cover making repeated metal-to-metal contact as the apply piston cycles over many miles. The stamped cover can run slightly wavy and the thin .020 inch friction material can't absorb that motion indefinitely, so the lining eventually breaks down and sends debris through the pump and valve body. Sonnax's fix is a forged front cover and forged piston that stay flat under load.
What causes delayed engagement or flare on a high-mileage 6L80?
On units with real mileage, the usual suspects are a worn pressure regulator valve bore in the pump, worn boost valve bores, or aluminum stator shaft bushings that have scored from low oil flow at startup. Any of these drop line pressure or apply pressure enough to cause flare, slip, or delayed engagement without a single clutch being worn out. Vacuum testing the valve body before replacing clutches is how you tell the difference.
Is pump endplay really worth checking on a 6L80 teardown?
Yes. A machinist's writeup in Gears magazine notes that 6L80/6L90 units typically come in with .010 to .035 inch of endplay, against a target of .004 to .006 inch, and GM provides no factory shim adjustment for it. Pump repair removes material and changes that number further, so endplay has to be measured before teardown and corrected with aftermarket shims, or the rebuilt unit inherits the same premature wear pattern that brought the original in.
Related guides
- 6L80 Transmission Service Guide: Fluid, Filter, and What to Watch For
- 6L80 P0741: Torque Converter Clutch Stuck Off - Causes, Diagnosis, and Fix
- 6L80 Torque Converter Shudder: Diagnosis and Fix
- 6L80 Valve Body Problems: Symptoms, How to Test, and Replacement
- 6L80 Pump Failure Symptoms and Replacement