A C6 pan and filter service is one of the easiest jobs on any Ford automatic: no electronics, no fill plug games, one filter held on by screws, and one external band adjuster. It is also a job that gets done wrong constantly, and nearly always in the same three places: an overtightened pan that leaks forever after, the wrong filter for the year of the case, and a band that never gets touched.
This is the procedure we use, with the torque figures and part numbers from Ford and from the aftermarket companies that build C6 parts. Short version: pan bolts at 12-16 ft-lb, filter matched to the case year (1966-1974 vs 1975-1996), band adjusted while you are under there, and the final level set hot on the dipstick. Sources are numbered and listed at the bottom.
C6 pan and filter specs at a glance
| Item | Spec | Source |
|---|---|---|
| Pan bolt torque | 12-16 ft-lb | Ford Racing C6 pan instructions [1] |
| Pan bolts (Ford Racing deep pan) | 17 socket-head cap screws, 5/16"-18 x 1", with lock washers | Ford Racing [1] |
| Filter to valve body | 80-100 in-lb (Ford Racing deep pan procedure) | Ford Racing [1] |
| Valve body screws (if disturbed) | 25-35 in-lb and 40-50 in-lb, by location | TransGo SK C6 [3] |
| Filter kits | 1966-1974 (tapered pan) and 1975-1996 styles; Ford service filter D3TZ-7A098-B called out for the Ford Racing pan | Sonnax [2], Ford Racing [1] |
| Total capacity | 12.0 qt 4x2, 13.5 qt 4x4 (1996 F-Series) | Ford owner guide [4] |
| Severe-duty interval | Fluid, filter and pan seal every 21,000 miles | Ford owner guide [4] |
| Level check temperature | 150-170°F, engine running, in Park | Ford owner guide [4] |
What you need before you start
- A filter kit that matches the case year. C6 filters come in two styles. Early units, 1966-1974, used a tapered pan and the early filter; 1975 and later units use the later filter. Sonnax notes that its heavy-gauge C6 pan can replace the early '66-'74 tapered pans, but only if the transmission is updated to the '75-later style filter [2]. That tells you the filter and the pan go together. Pull the old filter and compare before you open the new one.
- A pan gasket. A rubber-steel or steel-shim gasket is more forgiving of an old, slightly dished flange than a plain cork one.
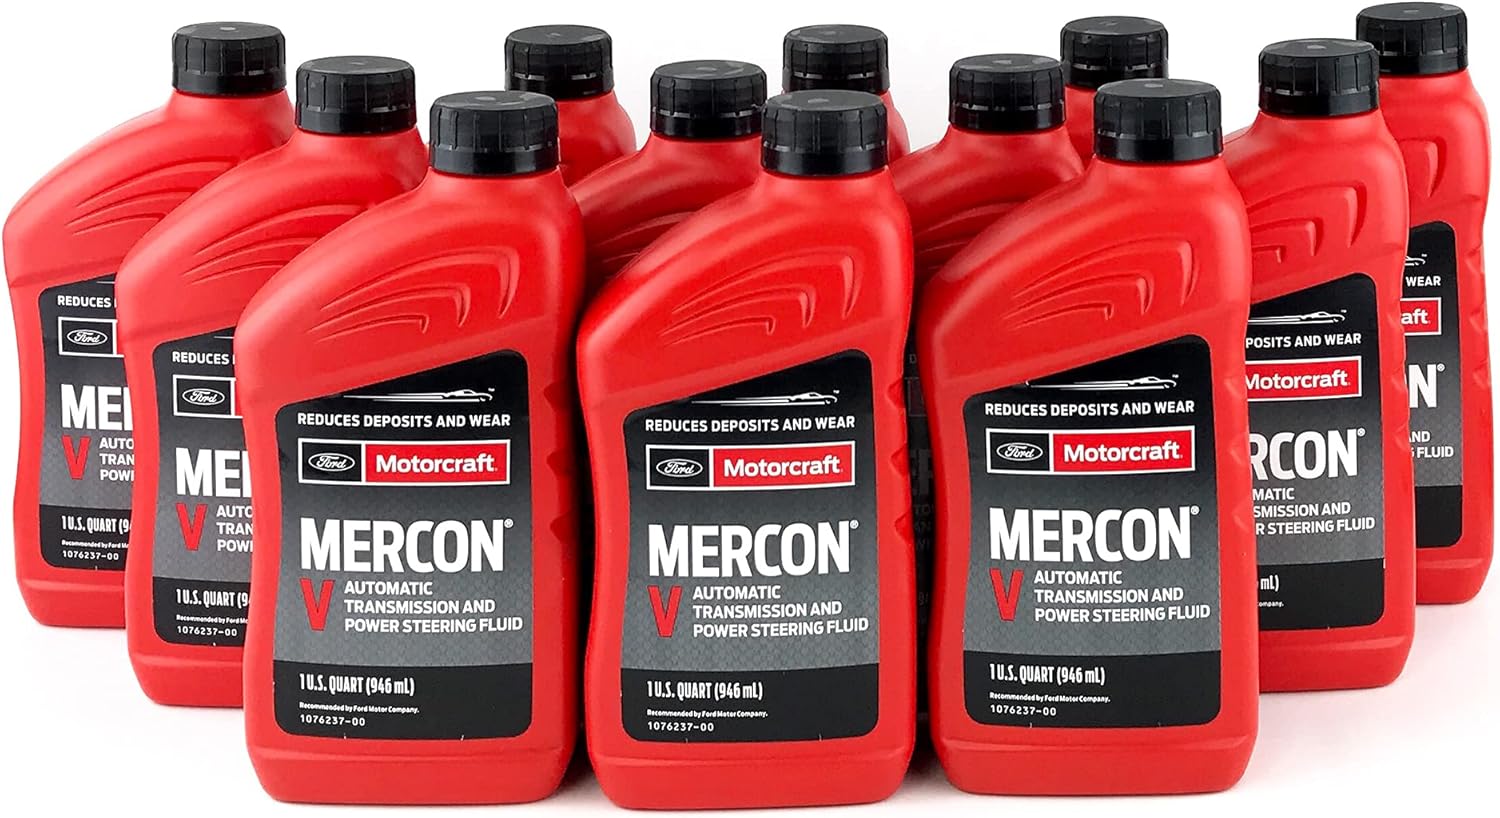
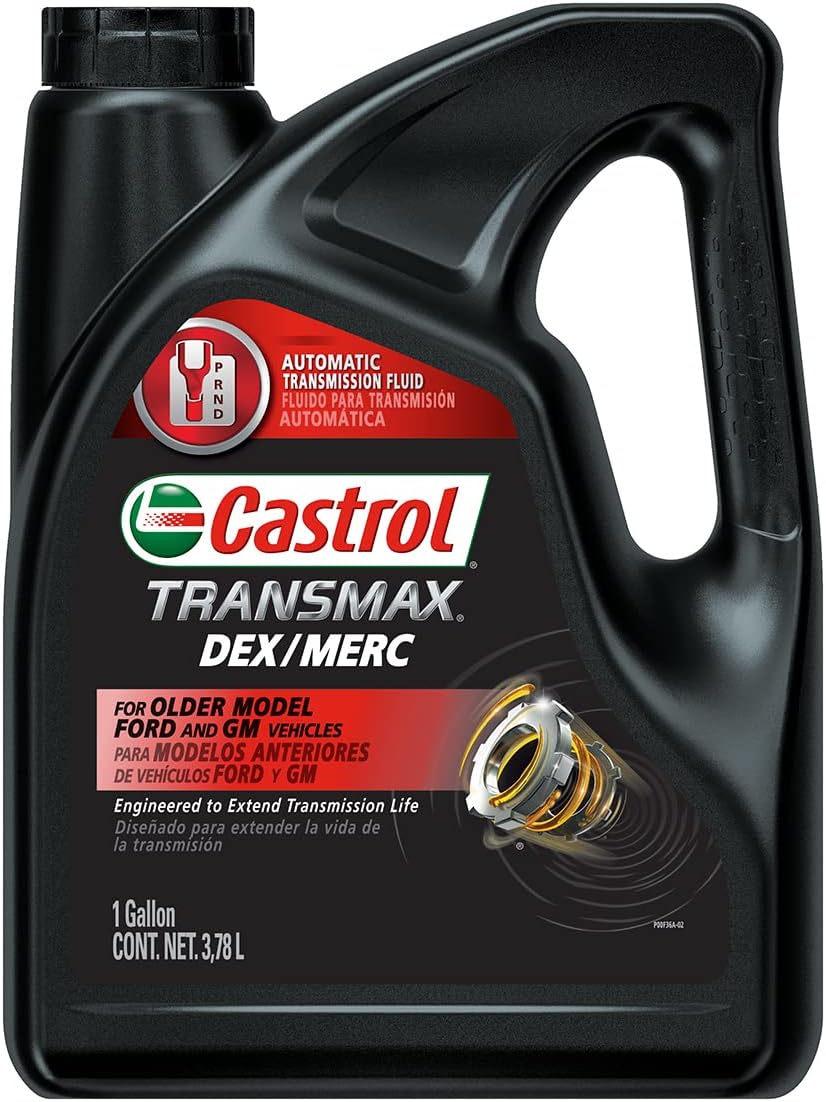
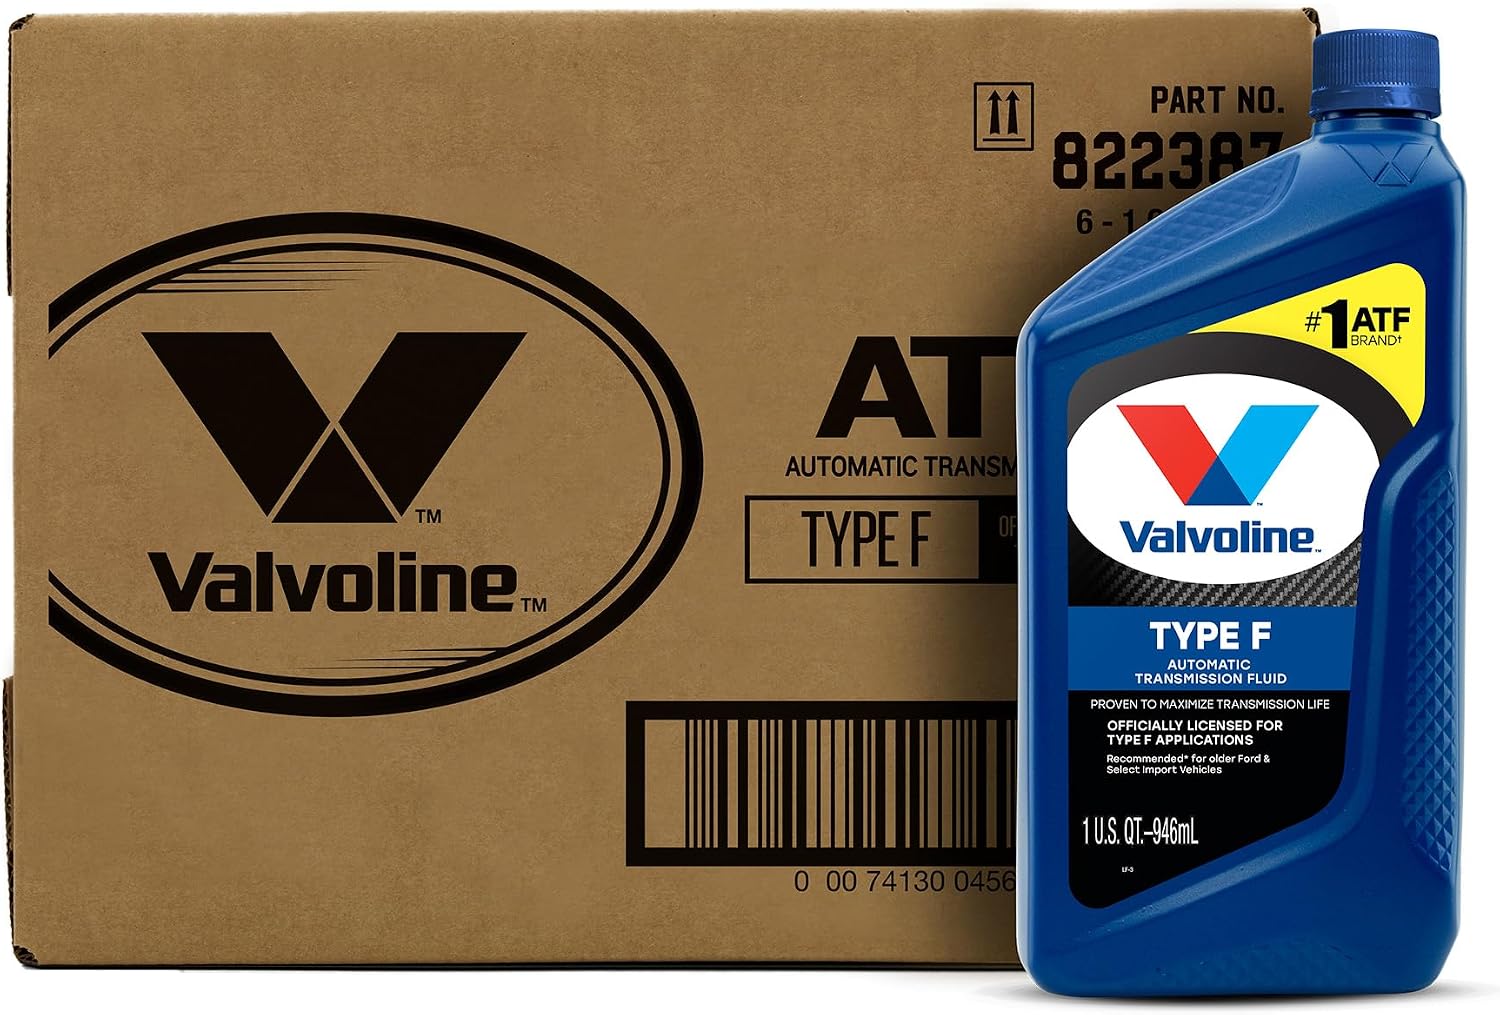
- Fluid. Buy 8 quarts for a pan service. You will not use all of it, but running short with the pan already on is worse. Read the dipstick stamp first: Type F for early units, MERCON V for units built for CJ, H or MERCON. Our C6 fluid type and capacity guide walks through how to tell which you have.
- Tools. A 1/2" socket for the stock pan bolts, an inch-pound torque wrench or a 5/16" nut driver for the filter screws, a foot-pound wrench for the band adjuster, a drain pan wide enough to catch fluid off a tipping pan, and a straightedge.
Step 1: Drain and drop the pan
Get the truck up on stands, level if you can. Most stock C6 pans have no drain plug, so the pan itself is the drain. Ford Racing's C6 pan instructions give the method: loosen all the pan bolts to within a few turns of removal, then carefully break the gasket seal so the fluid drains; once most of it is out, remove the pan and let the rest drain [1]. B&M's C6 procedure is the same idea done one end at a time: loosen a few bolts at one end, remove the rest, and lower that end so the fluid runs out of the corner [6].
Either way, take it slow. A C6 pan full of hot fluid that lets go all at once goes everywhere except the drain pan. Do this with the fluid warm, not hot, so contaminants are still suspended and you are not handling 170°F oil.
Step 2: Read the pan before you clean it
The pan is your cheapest diagnostic tool. Before it goes in the solvent tank, look at what is in the bottom.
- Fine gray paste on the magnet or in the corners. Normal steel wear from gears and drums.
- Black, fibrous material. Friction material. On a C6 this is often the intermediate band, especially if the truck has a slow or flaring 1-2 shift. Sonnax lists burnt intermediate band as one of the C6's recurring symptoms [2].
- Bronze or brass-colored flakes. Bushing or thrust washer wear.
- Aluminum chips. Case, pump or valve body damage. This is not a service item anymore.
Smell the fluid too. Ford's C6 technician training devoted a whole lesson to interpreting fluid condition for exactly this reason [5]: dark fluid with a burnt smell means heat has already done damage, and new fluid will not undo it. If the pan tells you the unit is failing, finish the service so the truck is drivable, then diagnose. Our C6 common problems guide covers what each symptom usually means.
Step 3: Replace the filter
The C6 filter is a screen assembly bolted to the bottom of the valve body. It is not a press-in pickup like a GM unit. Remove its screws, pull it straight down, and let the valve body drip.
Install the new filter with its new gasket. The screws thread into aluminum, so they do not need much. Ford Racing's C6 procedure specifies 80-100 in-lb on the filter [1]. That is inch-pounds, roughly 7-8 ft-lb, which most foot-pound click wrenches cannot measure accurately. Use an inch-pound wrench or a nut driver and a light hand.
TransGo's C6 instructions add a useful trick: put a tapered punch through the filter to keep it aligned with the valve body while you tighten the screws [3]. That keeps the filter gasket from shifting and leaving an air leak at the intake, which shows up later as a whine, foamy fluid or delayed engagement.
If you loosen any valve body screws while you are in there, do not guess at the torque. TransGo lists the C6 valve body screws at 25-35 in-lb and 40-50 in-lb depending on location, and suggests a 5/16" nut driver as the preferred tool [3]. Overtightened valve body screws distort the body and bind valves, which causes exactly the shift problems you were probably trying to prevent.
Step 4: Check the pan flange and the pan bottom
This is the step that decides whether the C6 leaks for the next ten years.
Sonnax puts it plainly: C6 oil pan leaks are common because the original Ford pans are thin-gauge steel, and if the pan bolts are overtightened the flange warps at the bolt holes; once the flange is distorted, it is hard to repair it enough to seal [2]. Lay a straightedge along each side of the flange. If the bolt holes are dimpled down, you can tap them flat on a block of wood with a ball-peen hammer, but a pan that has been cranked on several times is usually better replaced. Sonnax's 36950-01 pan is 25% thicker than OE for exactly this reason, so the bolts can be tightened enough to compress the gasket evenly without warping the flange [2].
Then check the bottom of the pan. TransGo warns that a pan bottom bent upward, from a jack or a rock, can press against the filter opening, restrict flow through the filter and damage the transmission. Their fix is to flatten the pan bottom with a mallet [3]. On a truck that has been off-road or jacked under the pan, look for this every time.
Clean both sealing surfaces completely. Ford Racing's instructions call for cleaning the transmission flange with a safe solvent and letting it dry before the gasket goes on [1]. Old gasket material left on the case is a leak path.
Step 5: Install the pan at the right torque
Put the new gasket on the pan, start all the bolts by hand, then snug them in a crisscross pattern. Final torque is 12-16 ft-lb per Ford Racing's C6 pan instructions [1]. If your torque wrench does not read that low accurately, use an inch-pound wrench at about 144-192 in-lb.
That number is the whole point of this step. Most C6 pan leaks are not bad gaskets. They are pans pulled down past the spec by someone chasing a weep, which bends the flange, which makes the next leak worse. If the pan still weeps at 16 ft-lb with a new gasket, the flange is the problem, not the torque. Replace the pan.
If you are putting on a deep pan, it changes the job. Ford Racing's M-7195-C6 cast aluminum deep pan uses its own pickup tube that plugs into the filter O-ring, a drain plug, and 17 socket-head bolts; the instructions call for lubricating the filter O-ring with clean fluid before inserting the pickup, and the same 12-16 ft-lb on the pan [1]. A deep pan adds capacity and gives you a drain plug for every service after this one, which is worth it on a truck that tows.
Step 6: Adjust the intermediate band
The C6 has one band, the intermediate band, and it holds second gear. Its adjuster screw and locknut are on the outside of the case, driver's side. You do not need the pan off to reach it, but you are already under the truck, so do it now.
TransGo's method, which does not need a torque wrench [3]:
- Wheels off the ground, transmission in neutral, engine off.
- Loosen the locknut. Snug the adjuster screw with a short wrench. With the band snug, the driveshaft will not turn backwards by hand.
- Back the screw out slowly until you can just turn the driveshaft backwards by hand.
- Back it out another 1/4 turn, hold the screw, and tighten the locknut.
The procedure most shop manuals print for the C6 is a torque method: tighten the adjuster to 10 ft-lb, back it off exactly 1-1/2 turns, then hold it and tighten the locknut to about 35-40 ft-lb [7]. Either method lands in the same place. The one thing both have in common is holding the adjuster screw while you tighten the locknut. The screw likes to turn with the nut, and a band that ends up tighter than you set it will drag in third.
Too loose and the band slips and burns on the 1-2 shift. Too tight and it drags in third and cooks from the other direction. If the adjuster is already near the end of its travel, the band is worn thin, and adjustment is buying time, not fixing it.
Step 7: Fill and set the level hot
Put in about 4 quarts through the dipstick tube. Ford Racing's procedure calls for four quarts with the pan installed, noting that more will be needed after the engine is started [1]. Start the engine, move the selector through every range, and keep adding.
The C6 has no fill plug and no scan tool readout, so the dipstick is the only gauge. Ford's own C6 training said to check at normal operating temperature, running the engine at fast idle, about 1200 rpm, to get it there [5]. Ford's 1996 owner guide gives the rest [4]:
- Normal operating temperature is 150-170°F, after about 20 miles of driving.
- Level ground, engine running, shift through all ranges, then Park with the parking brake set.
- Hot, the level belongs in the crosshatched area.
- Add in 1/2-pint increments. A C6 does not need much to go from low to full.
Do not overfill to be safe. B&M warns that too much fluid causes foaming, shift problems and fluid pushed out the vent [6]. A C6 that throws fluid out of the vent a day after a service has almost always been overfilled or filled cold.
Recheck the pan bolts for seepage after the first drive. Do not retorque past spec. If one corner weeps, look at the flange there.
How often to do it
For a C6 in normal service, Ford's 1996 F-Series maintenance schedule has no routine 30,000-mile fluid change; it lists one only for the E4OD [4]. Severe service is different. Ford calls for changing the fluid, filter and seal assembly every 21,000 miles when the truck sees extended high-speed driving in 90°F heat, trailer towing over 1,000 miles per trip, 5,000 or more miles a month, continuous operation or extensive idling, or severe dust [4].
Most C6 trucks still on the road tow, plow or idle for hours, so treat 21,000 miles as the ceiling, not the target. On a 30-year-old unit, the filter and band check are cheap insurance.
One limit worth knowing: a pan service replaces only part of the fluid. Ford lists the C6 at 12.0 quarts total in a 4x2 and 13.5 in a 4x4 [4], and most of the balance stays in the converter and cooler. B&M notes that Ford converters have drain plugs that line up with access holes in the flexplate [6]. Pull the converter plug during the service and you replace far more of the old fluid. Our C6 fluid change cost guide breaks down what the job costs done yourself and at a shop.
Shop the part for this fix: C6 filter and gasket kit
Match the kit to the case year. CoreTransmissionParts stocks the OEM 60906 filter and gasket kit for 1975-1996 units and the 60905 kit for early 1966-1974 units.
View the 1975-1996 C6 filter kit at CoreTransmissionPartsEarly tapered-pan unit? Get the 1966-1974 C6 filter kit. Fighting a pan leak? The steel-shim C6 pan gasket resists crushing.
Need parts for this job?
Our parts shop carries Motorcraft MERCON V, a MERCON-rated Castrol and Valvoline Type F on our own checkout, along with C6 valve bodies and hard parts. Check the stamp on your dipstick before you order fluid. For every Ford fluid spec side by side, see our transmission fluid spec chart.
FAQ
What is the torque spec for C6 transmission pan bolts?
Ford Racing's C6 pan instructions call for 12-16 ft-lb on the pan bolts. That is about 144-192 in-lb, so an inch-pound wrench is more accurate than most foot-pound wrenches at that range. Going past spec warps the thin stock pan flange at the bolt holes and causes the leaks people are trying to stop.
Which filter does my C6 need?
C6 filters come in two styles: one for 1966-1974 units, which used a tapered pan, and one for 1975-1996 units. Sonnax notes its heavy-gauge pan can replace the early tapered pan only if the unit is updated to the 1975-later style filter, so the pan and filter go together. Compare the old filter to the new one before installing.
How do you adjust the band on a C6?
The C6 has one externally adjustable band, the intermediate band. TransGo's method: with the wheels off the ground and the transmission in neutral, snug the adjuster, back it off until the driveshaft just turns backwards by hand, then back off another 1/4 turn and lock the nut. The common shop manual method is 10 ft-lb, back off 1-1/2 turns, then tighten the locknut while holding the screw.
How much fluid does a C6 take after a pan and filter change?
Start with about 4 quarts, as Ford Racing's pan procedure specifies, then add with the engine running until the dipstick reads full hot at 150-170 F. Most stock-pan services end up around 5-7 quarts. The total dry capacity of 12.0 or 13.5 quarts only applies after a rebuild.
Related guides
Sources
- Ford Racing Performance Parts, M-7195-C6 C-6 Deep Sump Cast Aluminum Oil Pan installation instructions (IS-1850-0330). Backs the drain method, Ford service filter D3TZ-7A098-B, the 80-100 in-lb filter torque, lubricating the filter O-ring, cleaning the case flange, the 12-16 ft-lb pan torque, the 17 5/16"-18 x 1" pan bolts, and the 4 quart initial fill. Ford PDF (archived copy, web.archive.org)
- Sonnax, C6 Oil Pan 36950-01 and Ford C6 unit page. Backs the thin-gauge OE pan warping at the bolt holes when overtightened, the 25% thicker replacement pan, the requirement to update early '66-'74 tapered-pan units to the '75-later filter, and burnt intermediate band as a C6 symptom. sonnax.com
- TransGo, SK C6 Shift Kit installation instructions (2011). Backs the band adjustment method, the tapered-punch filter alignment tip, the 25-35 and 40-50 in-lb valve body screw torques, and the warning that a pan bottom bent upward can restrict flow through the filter. TransGo SK C6 instructions (PDF)
- Ford Motor Company, 1996 F-150/250/350 and Bronco Owner Guide. Backs the C-6 capacities of 12.0 qt 4x2 and 13.5 qt 4x4, the no-routine-change note (except E4OD), the 21,000-mile severe-duty fluid, filter and seal interval and its conditions, and the 150-170°F level check procedure. fordservicecontent.com (PDF)
- Ford Motor Company, The C6 Automatic Transmission, technician training book (Forel Publishing reprint, sample pages). Backs checking fluid at normal operating temperature after warming at a fast idle of about 1200 rpm, and Ford's lessons on interpreting fluid condition. forelpublishing.com (PDF)
- B&M (Holley), installation instructions for B&M transmissions replacing the Ford C6 (114202/114203). Backs the one-end pan drain method, the overfill warning, and the drain plugs on Ford converters. documents.holley.com (PDF)
[7] The 10 ft-lb / 1-1/2 turn / 35-40 ft-lb band figures are the shop manual procedure as widely reprinted and quoted by C6 owners on Ford enthusiast forums, not a Ford document we could link. The TransGo method in [3] reaches the same result without a torque wrench.