A slipping C6 is almost never a mystery once you know which gear it slips in. The C6 is a simple three-speed: Ford's own technician course describes it as a compound planetary gear train controlled by one band, three disc clutches and a one-way clutch, all run by a vacuum-modulated hydraulic system with no computer anywhere in the loop [1]. Every slip complaint maps back to one of those five holding elements, or to the pressure feeding them.
This guide walks through the order we diagnose them in: fluid, vacuum, linkage, band, pressure, stall test, then the teardown items. Short version: check the level hot, prove the modulator is getting real vacuum, adjust the intermediate band, then pressure test before you pull the unit. A lot of "worn out" C6 units are a cracked vacuum hose and a band that has not been touched in 20 years. Sources are numbered and listed at the bottom.
Which part slips in which gear
Start with the road test and write down exactly when it slips. The C6's holding elements are shared across gears, so the pattern points to the part. This is the standard C6 power flow, and it is how Ford organized its own diagnosis charts, with separate charts for slips in reverse, slips in first gear in D only, and slips in second gear [1].
| Range / gear | Elements applied | Slips here only? Suspect |
|---|---|---|
| D, first gear | Forward clutch + one-way (low sprag) clutch | One-way clutch, if manual 1 holds fine |
| Manual 1 | Forward clutch + low-reverse clutch | Low-reverse clutch (reverse will usually slip too) |
| Second | Forward clutch + intermediate band | Band adjustment, band, intermediate servo |
| Third | Forward clutch + reverse-high clutch | Reverse-high clutch, its seals, or low pressure |
| Reverse | Reverse-high clutch + low-reverse clutch | Either clutch; compare with third and manual 1 |
| All forward gears | Forward clutch is in every forward gear | Forward clutch, or pressure / fluid level |
The cross-checks do most of the work. Slips in first in D but not in manual 1: the forward clutch is fine because it is applied in both, so the one-way clutch is freewheeling when it should lock. Slips in reverse and in third: the reverse-high clutch is the common element. Slips in reverse and manual 1: look at the low-reverse clutch. Slips in every gear, forward and reverse: that is a pressure problem until proven otherwise, because no single clutch is applied in all of them.
Step 1: Fluid level and condition, checked hot
Low fluid is the cheapest slip there is. When the level drops, the pump draws air at the filter, pressure falls and the clutches slip, usually worst on turns, hard stops and hills when the fluid sloshes away from the pickup. Check the level with the engine running, the unit at operating temperature, the truck level and the selector in Park. B&M's C6 instructions describe the same procedure: run the shifter slowly through the entire range and back before each check, and set the level at the FULL mark hot [6].
Then smell it and look at it. Ford's C6 training course spends a lesson on interpreting fluid condition and makes a fluid check step one of its diagnosis guide [1]. Dark fluid with a burnt smell means friction material has already been cooked. Fresh fluid will not bring it back, but it will tell you whether the slip is a symptom of heat damage or the cause of it. Our C6 fluid type and capacity guide covers which fluid your case calls for, and the C6 filter and pan service covers what to look for in the pan.
One pan tell is specific to this unit: black, fibrous material with a slow or flaring 1-2 shift is usually the intermediate band. Sonnax lists burnt intermediate band as one of the C6's recurring symptoms [2].
Step 2: Prove the modulator is getting vacuum
On a C6, line pressure rises as manifold vacuum falls. The vacuum modulator is what tells the valve body the engine is under load. If the modulator never sees vacuum, pressure runs high and shifts get harsh. If it sees vacuum when it should not, or the diaphragm is ruptured, pressure stays low under load and the clutches slip exactly when you need them most: pulling a trailer, climbing a grade, taking off at wide open throttle.
TransGo's C6 instructions give two quick checks that need no gauges [5]:
- Hose check. With the engine idling, pull the hose off the modulator. The engine must speed up or idle rough. If it does not, the hose is on the wrong port or the line is plugged or pinched with carbon.
- Trapped vacuum check. Start the engine, then shut it off. Wait until it is completely stopped, count to five, and pull the hose off the modulator while listening. If you hear trapped vacuum escaping, the main vacuum hose is sucked shut or carboned, the brake booster check valve is bad, or a reserve canister shares the same firewall tree. TransGo's fix is to run the modulator line directly to the manifold.
Then pull the modulator itself. If there is ATF in the vacuum side, the diaphragm is ruptured. The engine is drinking transmission fluid, which you will often see as white exhaust smoke and a fluid level that drops with no leak on the ground, and the lost pressure signal makes the slip worse. Replace the modulator and set the pin correctly. TransGo's diesel spec is the precise one: the pin should stick out 0.675 in. at the correct modulator load [5].
B&M's C6 install instructions list connecting the modulator to manifold vacuum as a required step on any unit with an automatic valve body [6]. A missing or teed-off modulator line is a common find on swapped trucks.
Step 3: Kickdown linkage
The C6 uses a mechanical kickdown rod or cable only to force downshifts. It does not set line pressure the way a throttle valve cable does on a GM or Chrysler unit, but a binding or misadjusted linkage still causes shift complaints that get mistaken for slipping. B&M warns that failing to adjust the kickdown linkage to factory specs can damage the transmission [6]. TransGo's setting procedure for gas engines: adjust until there is no 3-1 kickdown at 30 mph, then adjust back until you can just get a 3-1 kickdown at 30 [5].
Step 4: Adjust the intermediate band
If the slip is in second, or the 1-2 shift flares, adjust the band before anything else. The C6 has one band and its adjuster is on the outside of the case, driver side. TransGo's method needs no torque wrench [5]:
- Wheels off the ground, transmission in neutral, engine off.
- Loosen the locknut and snug the adjuster with a short wrench. The driveshaft should not turn backwards by hand.
- Back the screw out slowly until you can just turn the driveshaft backwards by hand.
- Back it out another 1/4 turn and tighten the locknut, holding the screw so it does not turn with the nut.
If the adjuster is near the end of its travel before the band snugs up, the lining is worn thin. Adjustment will buy some time, but the unit needs a band and probably a look at the servo.
The intermediate servo is the other half of the second-gear circuit. Ford matched servo piston sizes and apply lever ratios by application, and a mismatched pair changes how hard the band is squeezed. Sonnax's replacement levers come in E (1.85), F (2.30) and a non-stock FF (2.82:1) ratio, and Sonnax specifically does not recommend the aggressive FF lever with H or R code servos [4]. Worn servo bores leak apply oil past the piston, which is a second-gear slip that no band adjustment will fix. Sonnax's R-ratio servo kit, K36528R for mid-1968 and later units, uses a pin with an O-ring and PTFE ring to eliminate back pressure and leakage from worn case bores, and R has the largest apply area of the C6 servos [3].
Step 5: Pressure test
If the level is right, the modulator sees clean vacuum and the band is adjusted, put a gauge on the control pressure port and test before you pull the transmission. Ford's diagnosis guide records control pressure in P, N, D, 2, 1 and R at three manifold vacuum conditions: above 18 in. Hg, at 10 in. Hg, and closed throttle. Its pressure-test lessons use a hand vacuum pump on the modulator to simulate load [1]. Compare your readings against the chart for your year and engine. Ford changed the specs across the C6's 30-year run and between gas and diesel units, so do not borrow numbers from a different truck.
How to read it:
- Low in every range. Fluid level, pickup or filter restriction, pump wear, or the pressure regulator. Sonnax lists low base line pressure, low pump volume and excess converter hub-to-bushing clearance among C6 problems, and its fixes include an elevated-pressure main regulator spring (36946-13) and a finish-in-place pump bushing (36002-01) [2][7].
- Good at idle, does not rise as vacuum drops. Modulator or boost valve. Sonnax lists "low line rise" as a C6 symptom and addresses it with boost valve kits, the same kits it lists for direct clutch failure, soft shifts and reverse shudder [2].
- Low in one range only. A leak in the circuit for that range: a clutch piston seal, a sealing ring, a case bushing or the servo. That points at the gear you already flagged in the road test.
For reference on how high a healthy unit should go under load, TransGo's diesel check is a maximum-throttle pull in D at 28 mph, with line pressure not to exceed 138 psi [5]. That is a diesel ceiling, not a gas-engine target.
Step 6: Stall test, carefully
A stall test tells you whether the clutches and band hold under full engine torque. Ford's procedure from the diagnosis guide [1]:
- Stall in each range with the transmission at operating temperature, and never hold wide open throttle for more than five seconds.
- After each stall, put the selector in neutral and run the engine at 1000 rpm to cool the transmission.
- Release the throttle immediately if the engine flares, which means slippage.
- Above the specified stall rpm: the clutches or band for that range are not holding.
- Below the specified stall rpm: poor engine performance, or the converter's one-way clutch slipping.
Record which range flares. High stall in D and 1 with a good reverse is a forward clutch. High stall in reverse only is reverse-high or low-reverse, and the road test tells you which. If the unit already slips badly on the road, skip the stall test. You are only adding heat to parts that are coming out anyway.
Teardown findings that cause slipping
When the tests point inside the case, these are the items we find most often on a slipping C6:
- Burnt forward clutch. It is applied in every forward gear, so it takes the most abuse on a truck that tows.
- Reverse-high clutch piston seals or drum sealing rings. Slips in third and reverse, often worse hot.
- Low one-way (sprag) clutch. Freewheels in first in D. Sonnax lists a replacement low sprag inner race, 36429E, for lost or damaged components [2].
- Worn bushings. The pump bushing, front case bushing and, on 1989-1994 units, the rear case bushing leak pressure and lube oil. The pump bushing is the one to measure: Ford machined the OE bushing in place, and Sonnax notes that drop-in replacements are not thick enough, leaving too much converter hub-to-bushing clearance, which shows up as low pump volume and a leaking front seal; its steel-backed bronze replacement is sized after installation with .008 to .010 in. of stock to remove [7]. Sonnax offers a rear case bushing (36008B) for the '89-'94 units to address inadequate lubrication and premature bushing failure [2].
- Intermediate band and servo. Burnt lining, a cracked band strut, or a leaking servo piston.
If you are into the unit, rebuild all of it. A C6 that slipped long enough to burn one clutch pack has put that debris through every valve and bushing in the case. Clean the valve body, replace the filter, and flush the cooler and converter. For what a full rebuild runs, see our C6 common problems guide.
Shop the part for this fix: C6 intermediate servo kit
Second-gear slip with a leaking servo bore? CoreTransmissionParts stocks the R-code intermediate servo piston kit for 1968-up C6 units.
View the C6 R-code servo kit at CoreTransmissionPartsSlips in first in D but holds in manual 1? The C6 rear/low sprag one-way clutch is the part.
Need parts for this job?
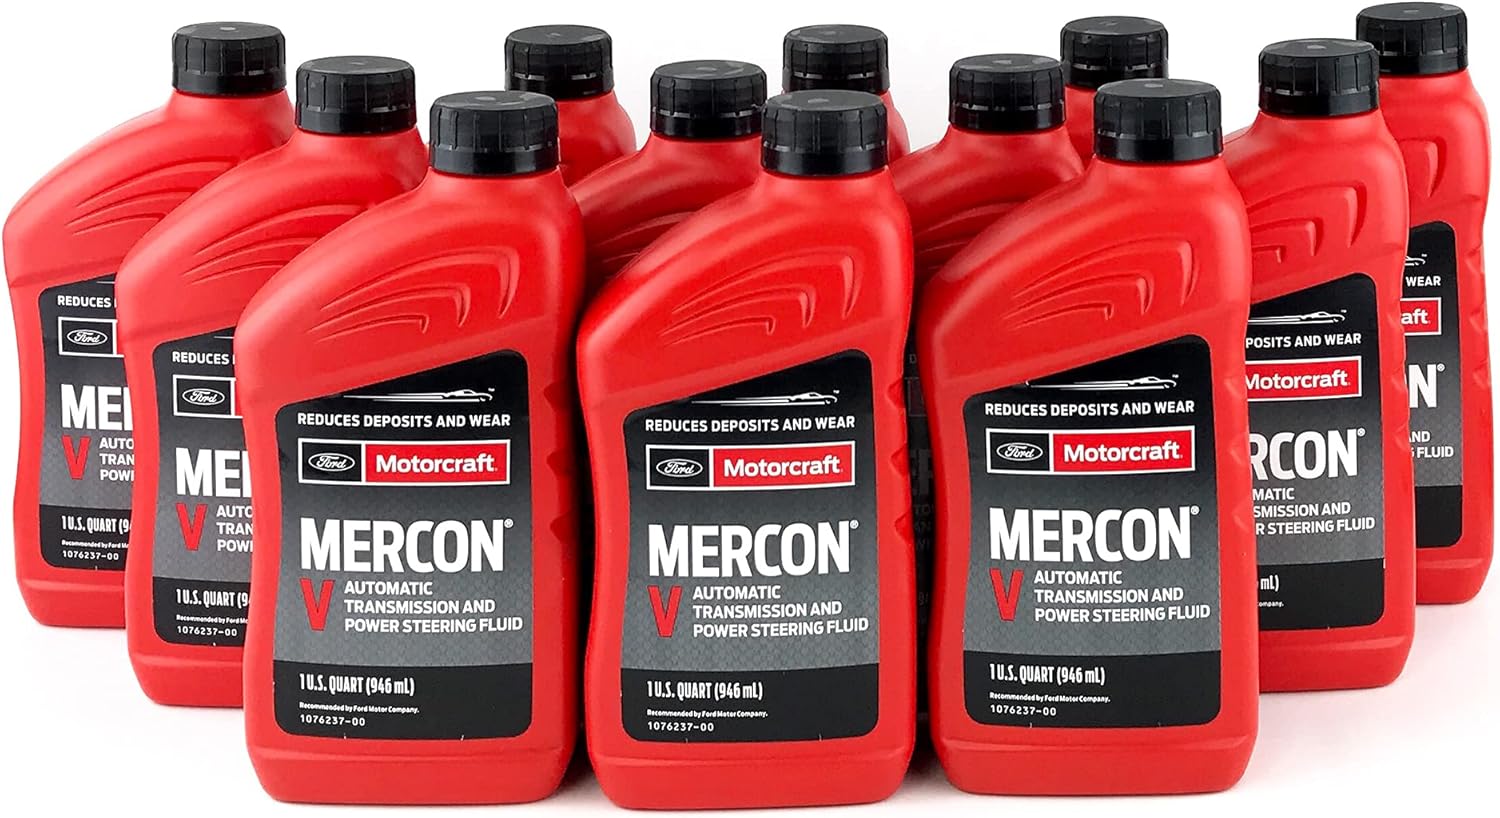
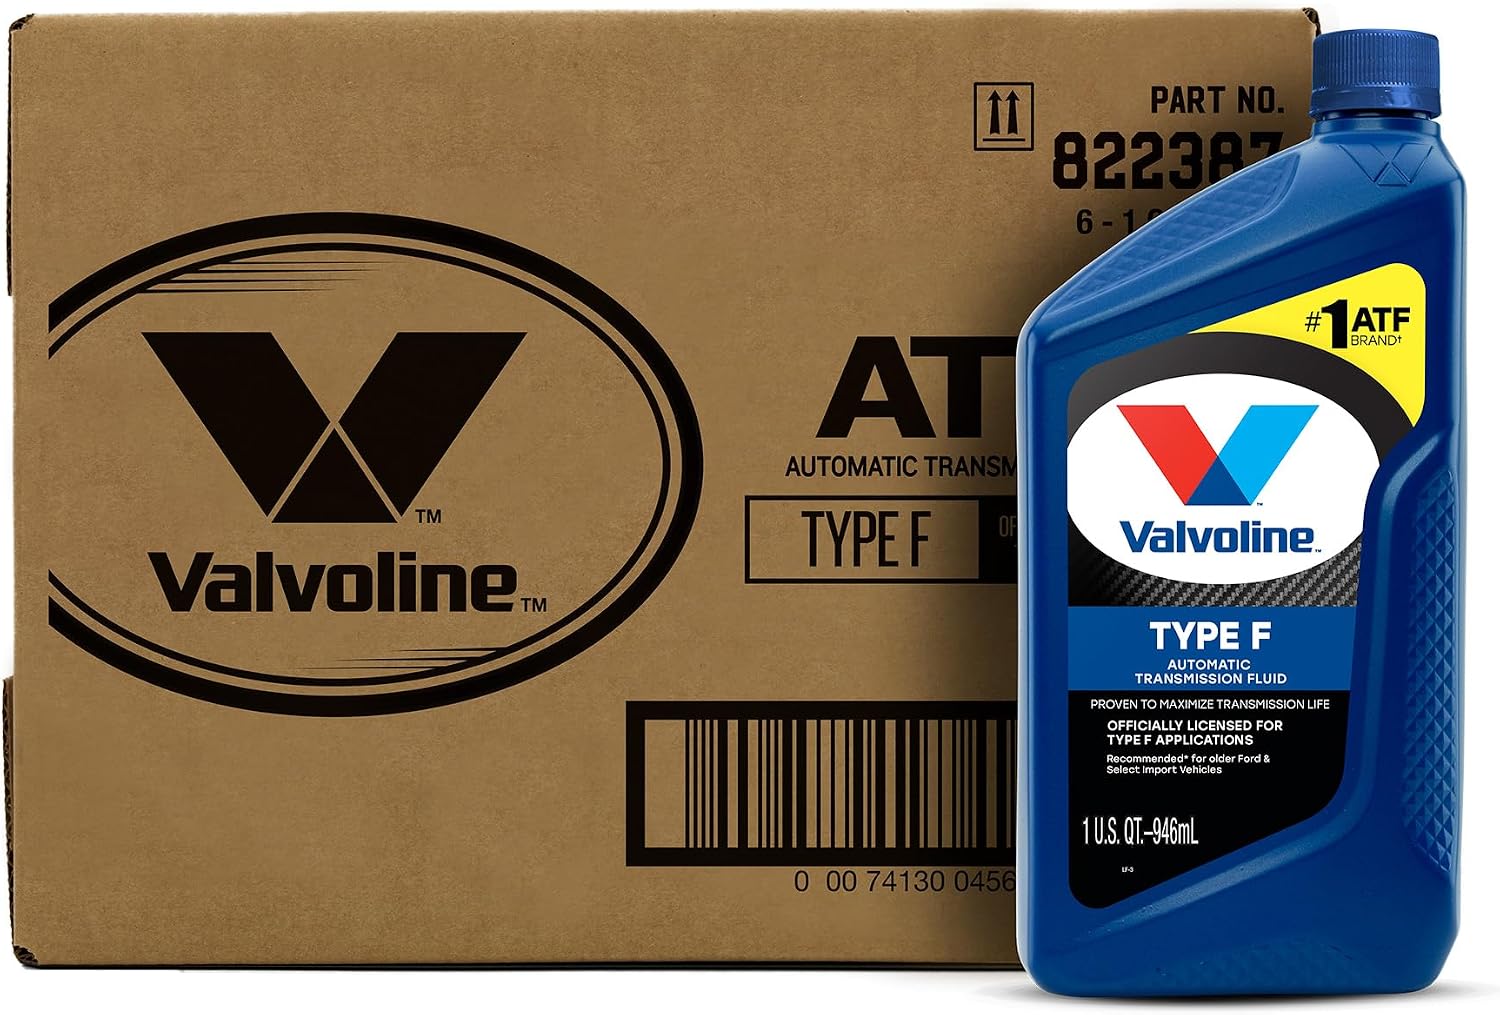
Our parts shop carries C6 valve bodies for pressure and shift problems, plus Motorcraft MERCON V and Valvoline Type F for the refill, all on our own checkout. Check the stamp on your dipstick before you order fluid. For every Ford fluid spec side by side, see our transmission fluid spec chart.
FAQ
Why does my C6 slip only when it is hot?
Fluid thins as it heats, so any internal leak gets worse: worn pump or case bushings, hardened clutch piston seals, worn sealing rings or a leaking servo bore. Pressure that was barely enough cold falls below what the clutches need hot. A pressure test done at operating temperature will show which range drops.
Can a vacuum leak make a C6 slip?
Yes. The C6 raises line pressure as manifold vacuum falls, so the modulator has to see real engine vacuum. A ruptured diaphragm, a cracked hose or a line teed into the wrong port throws off the pressure signal. A ruptured diaphragm also pulls ATF into the engine, so check the vacuum side of the modulator for fluid.
Will a band adjustment fix a slipping C6?
Only if the slip is in second gear or on the 1-2 shift, because the intermediate band is applied only in second. It will not fix a slip in first, third or reverse, which are all clutch-applied. If the adjuster is near the end of its travel, the band is worn and adjustment only buys time.
My C6 slips in first in Drive but not in manual 1. What is wrong?
That pattern points to the low one-way clutch, the sprag. In first in Drive, the forward clutch and the one-way clutch hold. In manual 1, the low-reverse clutch holds instead of the sprag. Since the forward clutch is applied in both, a unit that holds in manual 1 has a sprag that is freewheeling.
Related guides
Sources
- Ford Motor Company, The C6 Automatic Transmission, technician training book (Forel Publishing reprint, sample pages), including the Automatic Transmission Diagnosis Guide FD-1863-AT. Backs the one band / three disc clutches / one-way clutch layout, the fluid check and fluid-condition lessons, the control pressure test by range at above 18 in., 10 in. and closed-throttle vacuum, the vacuum pump pressure test method, the per-gear slip diagnosis charts, and the stall test procedure (five-second limit, 1000 rpm neutral cool-down, above spec = clutches or bands not holding, below spec = engine or converter one-way clutch). forelpublishing.com (PDF)
- Sonnax, Ford C6 unit page. Backs burnt intermediate band as a C6 symptom, low base line pressure, low line rise, low pump volume and excess converter hub-to-bushing clearance, and the 36946-13 regulator spring, 36002-01 pump bushing, boost valve kits, 36429E low sprag inner race and 36008B '89-'94 rear case bushing. sonnax.com
- Sonnax, "R" Ratio Servo Piston Kit K36528R. Backs the largest-apply-area R servo for mid-1968 and later C6 units and the O-ring/PTFE pin that eliminates back pressure and leakage from worn case bores. sonnax.com
- Sonnax, C6 Servo Apply Lever 36916E. Backs the E (1.85), F (2.30) and FF (2.82:1) lever ratios and the warning against using the FF lever with H or R code servos. sonnax.com
- TransGo, SK C6 Shift Kit installation instructions (2011). Backs the modulator hose and trapped-vacuum checks, the 0.675 in. diesel modulator pin setting, the 138 psi diesel maximum line pressure at 28 mph, the kickdown adjustment and the band adjustment method. TransGo SK C6 instructions (PDF)
- B&M (Holley), installation instructions for B&M transmissions replacing the Ford C6 (114202/114203). Backs the hot fluid level procedure, the required modulator connection to manifold vacuum on automatic valve bodies, and the kickdown linkage adjustment warning. documents.holley.com (PDF)
- Sonnax, Pump Bushing 36002-01. Backs the machined-in-place OE pump bushing, the too-thin drop-in replacement problem, low pump volume and front seal leaks from excess hub-to-bushing clearance, and the .008-.010 in. finish allowance. sonnax.com