The 10R80's cooler lines look simple from the top of the engine bay: two rubber tubes running from the transmission case to the cooler, each one locked onto the cooler with a push-in quick-connect and a secondary latch clip. What is not simple is the way they actually fail. Half the jobs I see are an external weep at the quick-connect head that anyone can spot with a flashlight. The other half are an internal rupture inside the rubber section itself, invisible from outside, that chokes off cooler flow and cooks the fluid from the inside while the driveway stays bone dry. This is the real disconnect-and-reconnect procedure, the documented torque values, and how to tell which failure you are actually looking at before you start pulling fittings.
Two failure modes, not one
ATRA's technical coverage of the 10R family (published through Gears Magazine) describes the cooler lines as rubber construction that "can rupture internally, creating trapped fluid pockets," which "can restrict or stop cooler flow, causing overheating." That is the failure you cannot see from outside the truck. No puddle, no stain on the quick-connect, just a transmission that runs hotter than it should because the line is choked from within. The same source puts the 10R80's normal operating range at 206 to 215°F (97 to 102°C), so if you are seeing temps meaningfully above that with no other obvious cause, a collapsed cooler line belongs on the suspect list before you start chasing solenoids.
The second failure mode is the one you can see: a slow weep or drip right where the tube meets the cooler's quick-connect fitting. That almost always traces back to one of two things, a worn or nicked O-ring at the joint, or a quick-connect that was never fully seated and latched the last time someone was in there. Both are addressable without replacing the whole tube assembly, which is why the disconnect procedure below matters even if your plan is "just reseal it."
Tools for the job
Ford's own documentation for servicing the 10R80's cooler tubes calls for special tool 307-569 to release the tube from the cooler, used after you have removed the tube's secondary latch clip by hand. If you do not have access to the Ford special tool, a generic 3/8-inch transmission line quick-connect disconnect tool, the same type sold for other Ford quick-connect fittings, releases the same internal collet design. Confirm the line diameter before you buy one; Ford uses more than one size of quick-connect across its truck lineup and a tool sized for the wrong fitting will not seat properly.
- 307-569 (or equivalent 3/8" quick-connect release tool) for the tube-to-cooler joint
- Inch-pound and foot-pound torque wrenches, since the fasteners on this job span both ranges
- Drain pan and shop rags, positioned before you release the first fitting, not after fluid is already running down the frame rail
- Fresh backing rings/O-rings for the quick-connect, inspected every time and replaced on any sign of flattening, nicking, or hardening
The disconnect and reconnect procedure
This is the sequence documented in a published 10R80 transmission install manual, written for a full transmission swap but identical in its cooler-line steps to a standalone line or cooler replacement:
Disconnect:
- Move the transmission fluid cooler inlet tube heat shield aside.
- Disconnect the inlet tube's secondary latch.
- Using the special tool (307-569), disconnect the inlet tube from the cooler. Have a drain pan ready, fluid will drip the moment the latch releases.
- Repeat the same three steps on the outlet tube: move its heat shield, remove its secondary latch, then release it from the cooler with the 307-569 tool.
- If you are also pulling the cooler itself, disconnect the engine coolant hoses from the cooler, loosen the coolant hose clamp, remove the cooler mounting bolts, and separate the cooler from the hose.
Reconnect (same manual, reverse order, with the documented torque values):
- Install the cooler with its mounting bolts and the coolant hose clamp, torqued to 22 lb-ft (30 Nm).
- Connect the engine coolant hose to the cooler, then remove any temporary tube clamps once the hose connection is made.
- Connect both the outlet and inlet transmission fluid tubes to the cooler by pushing them fully into the quick-connect until they seat.
- Install the secondary latch on both the inlet and outlet tubes. The latch only seats fully if the tube was pushed all the way in first; a latch that will not click home is telling you the tube is not fully seated, not that the latch is defective.
- Reposition both heat shields over the inlet and outlet sides.
The manual's own note at this step is worth repeating word for word: inspect the transmission fluid tube backing rings and seals for damage and replace if necessary. That one line covers the single most common cause of a "new line still leaks" comeback. A quick-connect is only as good as the O-ring riding inside it, and reusing a flattened one to save five dollars is how a clean job turns into a second comeback.
Documented torque values
Two different documents give torque figures that touch this job, and they are not describing the identical fastener, so do not mix them up. The install manual's 22 lb-ft covers the cooler's own mounting bolts and the tube bracket bolt. Ford's workshop manual procedure for the related cooler bracket and line pressure test, written for the same transmission in a 2019 Ranger, documents a separate set of bracket and plug torques.
| Fastener | Torque | Source |
|---|---|---|
| Cooler tube bracket bolt | 22 lb-ft (30 Nm) | 10R80 install manual |
| Cooler mounting bolts + hose clamp | 22 lb-ft (30 Nm) | 10R80 install manual |
| Transmission fluid cooler bracket bolts | 35 lb-ft (48 Nm) | Ford Workshop Manual 307-01 |
| Transmission fluid cooler mounting bolts | 177 lb-in, about 14.75 lb-ft (20 Nm) | Ford Workshop Manual 307-01 |
| Line pressure test port plug | 97 lb-in (11 Nm) | Ford Workshop Manual 307-01 |
| Quick-connect tube-to-cooler joint | No torque value, snap latch | n/a |
That last row matters more than it looks. The quick-connect itself is not a threaded joint, there is nothing to torque. It is fully seated when the tube bottoms out in the collet and the secondary latch snaps home without resistance. Chasing a "torque spec" for the quick-connect itself, or trying to clamp it tighter with a hose clamp because it still weeps, is treating a seating and O-ring problem like a fastener problem, and it will not fix it.
What the P0721 bulletin tells you about cooler hardware
Ford's technical service bulletin 18-2119, issued for 2018 Expedition, Navigator, F-150, Raptor, and Mustang trucks built on or before November 30, 2017, addresses an illuminated MIL with code P0721, which is an output shaft speed sensor issue, not a cooler line problem. It is relevant here for one reason: the bulletin's own parts list includes a part Ford calls the Oil Cooler Bolt — Expedition/Navigator Only, part number W715131-S437, alongside the sensor. That confirms Ford treats the cooler mounting bolt as its own serviceable, numbered part on these trucks, not a generic hardware-store fastener, and it is worth having that exact part on hand if the one you remove shows any thread damage or corrosion rather than reusing a questionable bolt.
Refill fluid and level check
Both the install manual and Ford's own workshop manual specify the same fluid for this transmission: Motorcraft MERCON ULV, Ford part number XT-12-QULV. Motorcraft's own product documentation describes it as an ultra-low-viscosity fluid built specifically for the 10R rear-wheel-drive family, dyed red for leak detection, and explicitly not interchangeable with MERCON V, MERCON SP, or MERCON LV. After a cooler line job you have opened the system and lost fluid, so a level check and top-off with the correct ULV spec is not optional, running a higher-viscosity fluid in its place because it was on the shelf is its own way to create a shift complaint that looks unrelated to the cooler work you just did.
Need parts for this job?
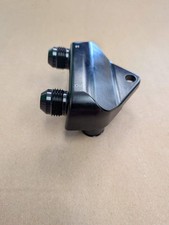
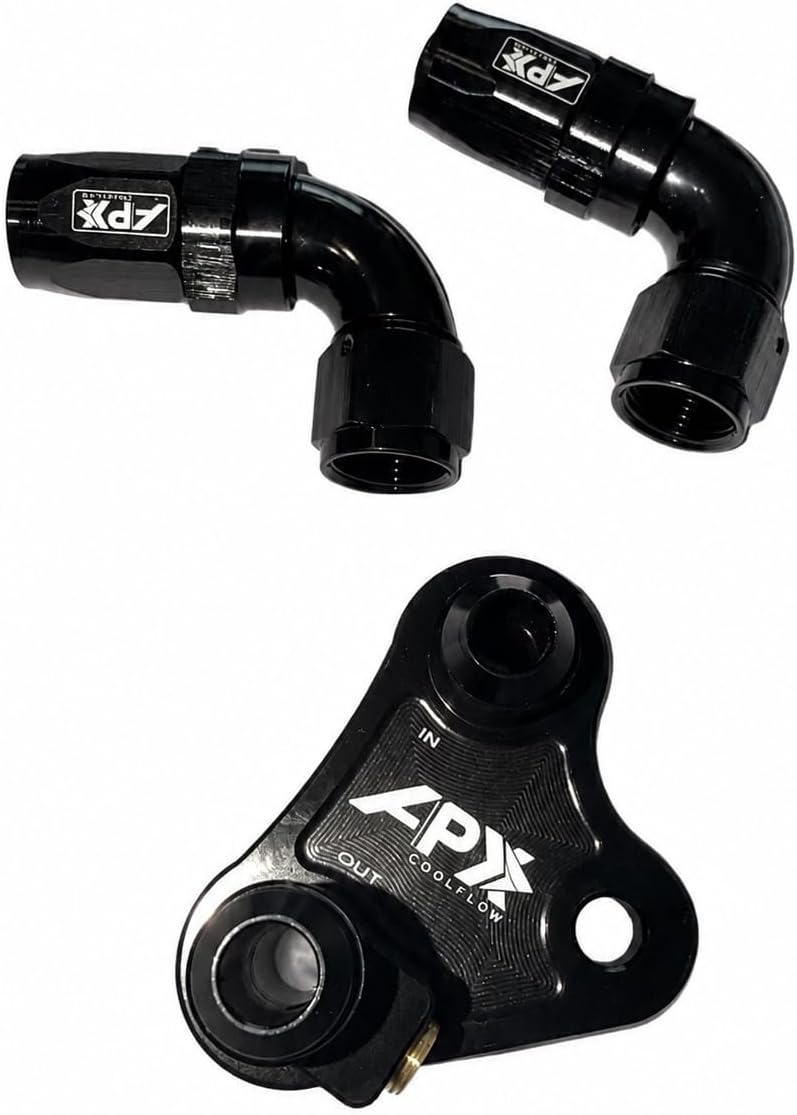
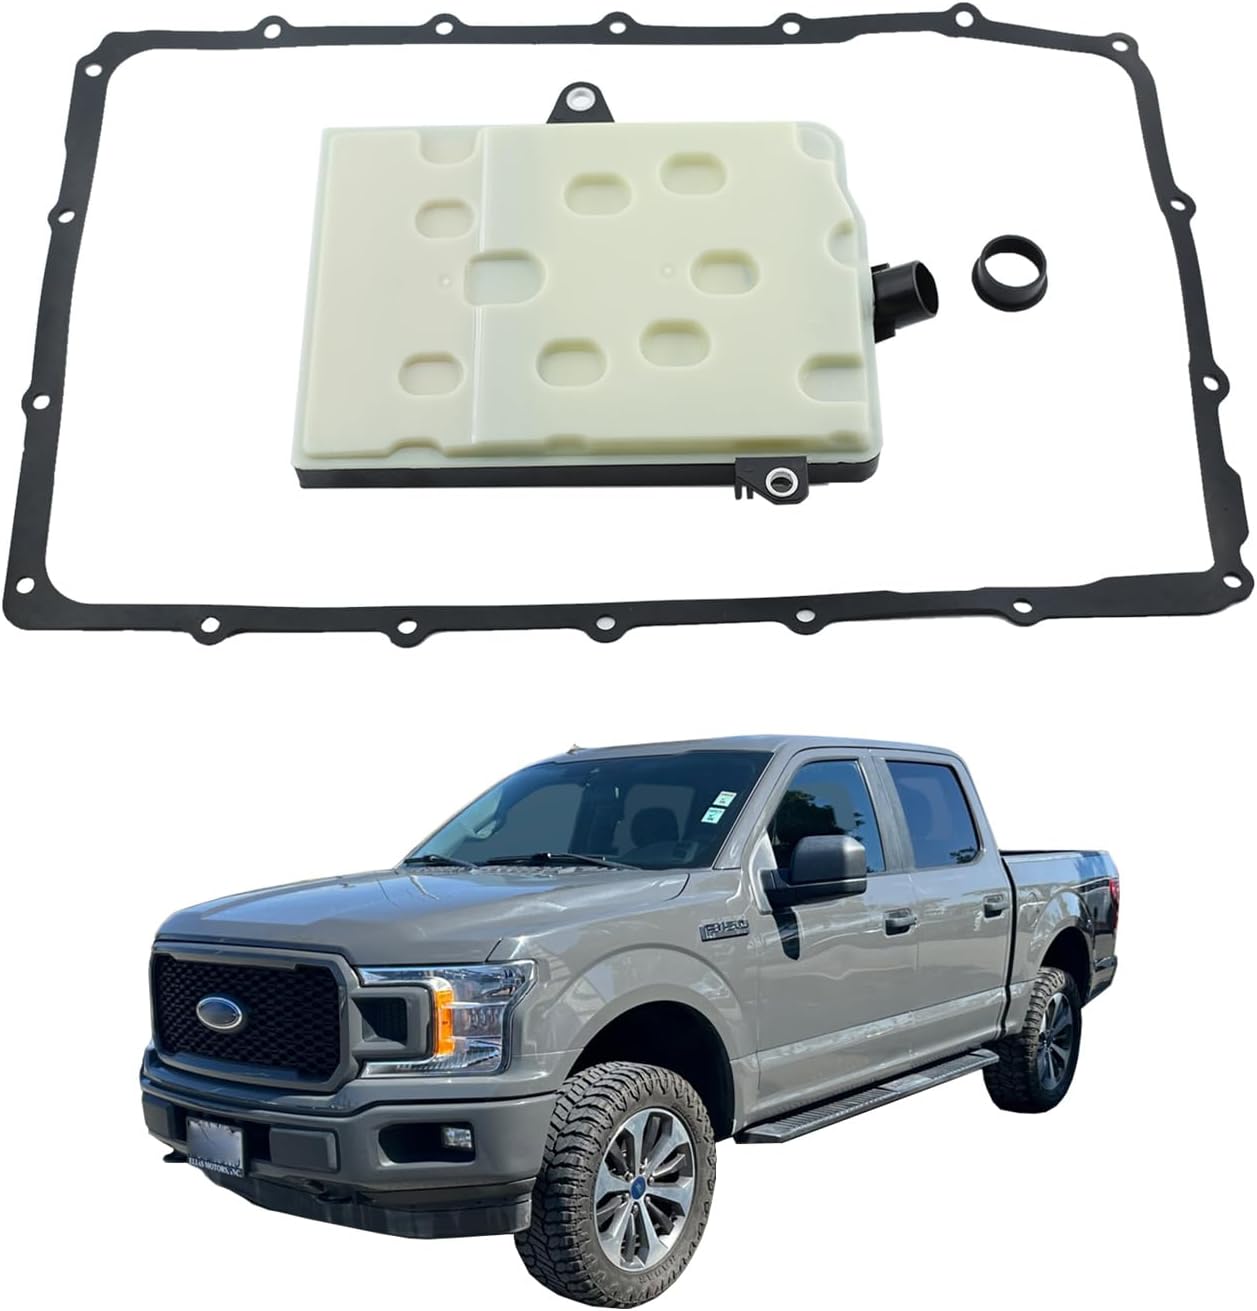
The 10R80 cooler, the AN port adapter kit for anyone upgrading away from the factory quick-connects, and the filter and gasket kit for a combined service are all on our 10R80 parts page, with checkout on site.
FAQ
What tool do I need to disconnect a 10R80 cooler line?
Ford's own install documentation for the 10R80 calls for special tool 307-569 to release the tube from the cooler after the secondary latch has been removed. A generic 3/8-inch transmission line quick-connect disconnect tool, the same style sold for other Ford quick-connects, will release the same latch design if you do not have the Ford-specific tool, but confirm the fitting size against your truck before buying one.
What is the torque spec for the 10R80 cooler mounting bolts?
A documented 10R80 transmission install manual lists 22 lb-ft (30 Nm) for both the cooler tube bracket bolt and the bolts that mount the cooler itself with its hose clamp. Ford's own workshop manual for the related cooler bracket and cooler-to-case bolts lists 35 lb-ft (48 Nm) for the bracket and 177 lb-in, about 14.75 lb-ft (20 Nm), for the cooler mounting bolts. The quick-connect tube-to-cooler joint itself is a snap latch, not a bolted joint, so no torque value applies there.
Do I need to replace the O-rings when I replace a 10R80 cooler line?
Inspect them every time and replace them if there is any question. The 10R80 install manual's note on this step says to inspect the transmission fluid tube backing rings and seals for damage and replace if necessary. A flattened or nicked O-ring at the quick-connect is a common source of a slow weep that looks like it is coming from the line itself.
What fluid do I refill a 10R80 with after a cooler line job?
Motorcraft MERCON ULV, Ford part number XT-12-QULV. It is the fluid Ford specifies in both the 10R80 install documentation and its own workshop manual for this transmission, and Motorcraft's own product page confirms it is built on an ultra-low-viscosity base that is not interchangeable with MERCON V, MERCON SP, or MERCON LV.
Can a bad cooler line cause a 10R80 to overheat or set a code?
Yes, in two different ways. An external leak at the quick-connect drops fluid level, and a low level is one of the leading causes of transmission overheating on this unit per ATRA's own technical coverage of the 10R family. Separately, the rubber sections of the cooler lines can rupture internally without ever leaking outside, trapping a fluid pocket that restricts cooler flow and causes overheating from the inside with no visible leak to find.
Related guides
- 10R80 Fluid Leak Common Spots
- 10R80 Filter and Pan Service Guide
- 10R80 Fluid Type and Capacity
- 10R80 Pan Bolt Torque Spec and Service
- Ford 10R80 10-Speed Transmission Guide
Sources
- BD Diesel Performance, RoadMaster 10R80 Transmission Install Manual (I-00526), for 2018-2020 F-150 V6/V8 2WD/4WD, 17 September 2024. Backs the cooler tube and cooler disconnect/reconnect steps, special tool 307-569, the secondary latch design, the backing ring and seal inspection note, and the documented torques of 22 lb-ft (30 Nm) for the cooler tube bracket bolt and the cooler mounting bolts with hose clamp. sdda.semadata.org (PDF)
- Ford Motor Company, Workshop Manual Section 307-01, "Automatic Transmission 10-Speed - Transmission Line Pressure Test," 2019 Ranger (10R80), procedure revision 12/11/2018. Backs the transmission fluid cooler bracket torque of 35 lb-ft (48 Nm), the cooler mounting bolt torque of 177 lb-in (20 Nm), the line pressure test port plug torque of 97 lb-in (11 Nm), and the O-ring lubrication step using Motorcraft MERCON ULV. servicemanuals-backend.fly.storage.tigris.dev (PDF)
- Ford Motor Company, Technical Service Bulletin 18-2119, "10R80 - Illuminated MIL - DTC P0721 - Built On Or Before 30-Nov-2017," 16 April 2018, via NHTSA. Backs the Oil Cooler Bolt part number W715131-S437 (Expedition/Navigator only) as a Ford-numbered service part on the affected 10R80 trucks. static.nhtsa.gov (PDF)
- Gears Magazine (ATRA), "Ford's 10R-Series Transmission: More Need-to-Know Information Inside the Unit," September 2024. Backs that the rubber ATF cooler lines can rupture internally and trap fluid pockets that restrict or stop cooler flow, and the 10R80's normal operating temperature range of 206-215°F (97-102°C). gearsmagazine.com
- Ford Motor Company / Motorcraft, FCSD Chemicals and Lubricants product catalog, "MERCON ULV Automatic Transmission Fluid." Backs that MERCON ULV (XT-12-QULV) is the fluid Ford specifies for the 10R rear-wheel-drive family, its ultra-low-viscosity formulation, red dye for leak detection, and that it is not interchangeable with MERCON V, MERCON SP, or MERCON LV. fcsdchemicalsandlubricants.com