The air check is the last thing that stands between a clean 4L60E rebuild and a comeback. You have the input drum stacked, the clearances set, the pump bolted down, and everything looks right. But "looks right" and "seals under pressure" are two different things, and the only way to know which one you have is to put air to the circuits before the converter goes on and the unit goes back in the truck. A leak you catch on the bench is a five-minute fix. The same leak you find after installation is a burnt clutch, a slipping band, and a very unhappy customer.
This is the air-check procedure I run on every 4L60E, in the order I run it, plus the two hidden leaks that pass a casual air test and still take out the transmission a week later.
The short version: Air check every apply circuit — forward, 3-4, and reverse clutches through the input drum, and the 2-4 band servo — and listen for a solid thud with no continuous hiss. Regulate your shop air down to about 90 psi with a clean, dry rubber-tipped nozzle. The two leaks that fool people are the input housing bore-to-shaft interface (galled bore) and the hidden #7 checkball in the 3rd accumulator, which bleeds off 3-4 apply pressure and burns the 3-4 clutch even though the pack itself was fine.
What the Air Check Actually Proves
Air checking does one thing: it confirms that a given apply circuit holds pressure and moves its piston. When you put regulated air into a clutch feed passage, a good circuit fills, the piston strokes, the pack squeezes, and you hear a distinct thud or thunk as it applies. A bad circuit gives you a continuous hiss — air is going in and escaping somewhere it shouldn't: past a cut lip seal, a cracked casting, a worn bore, a mis-installed sealing ring, or a checkball that isn't seating.
What it does not catch is anything electrical or anything that only misbehaves hot and under load. A solenoid or pressure switch can hold debris, pass a bench check, and still act up in service — ATRA's Gears magazine documented exactly that on a stubborn 4L60E no-2nd job where the builder "did his air test on the servo during the rebuild like he has done a thousand times, and it checked out fine," yet the unit still had a problem that turned out to be electrical [5]. So treat the air check as a hydraulic and mechanical sign-off, not a guarantee the whole unit is perfect. It tells you the passages, seals, and pistons are right. That is exactly the part of the build you have your hands on right now.
Before You Put Air to Anything
- Regulate the air. Roughly 90 psi is plenty to seat pistons and apply clutches on a 4L60E. Wide-open shop line pressure just blows past marginal seals and tells you nothing useful.
- Use a clean, dry rubber-tipped nozzle. The soft tip lets you seal against a passage or bore without scoring the aluminum, and dry air keeps you from spraying fluid mist that hides where a leak is really coming from.
- Lube the seals first. Air check dry and a good lip seal can flutter and hiss. A light coat of ATF or assembly gel on the seals gives you an accurate result. Some builders air check components submerged or dripped with solvent so a leak shows up as visible bubbling — more on that with the checkball below.
- Know your passages. Have a valve body layout or a case-passage diagram in front of you the first several times so you are putting air into the right hole. Guessing wastes time and can give you a false failure.
Step by Step: Air Checking the Input Drum
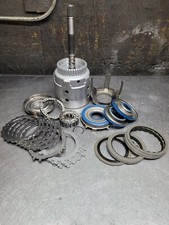
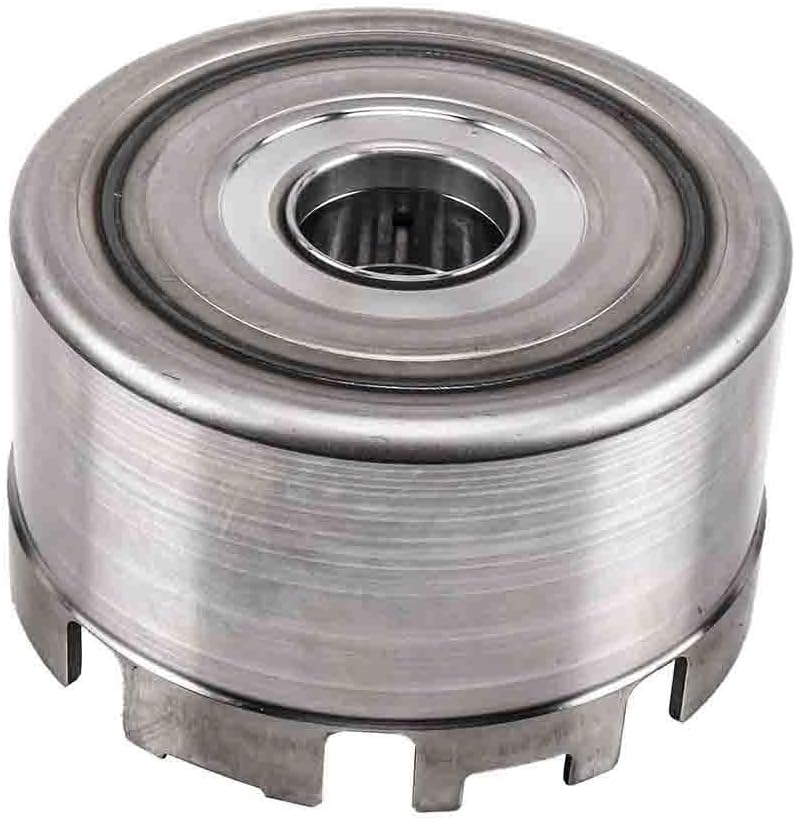
The input drum carries three of the four holding members that matter here — the forward clutch, the overrun clutch, and the 3-4 clutch — so it gets checked as its own assembly before it ever goes in the case. Support the drum, feed the clutch passages one at a time, and confirm each one:
- Forward clutch. Air the forward apply passage and listen for a firm thud. This is the clutch that applies in every forward range, so a leak here means universal forward slipping. One quirk worth knowing: when you air test the overrun clutch, the forward clutch will often apply along with it — that shared behavior is normal, not a leak.
- 3-4 clutch. Air the 3-4 feed and confirm the pack strokes. This is the clutch most likely to burn on a 4L60E, so any hiss here gets chased down now, not later.
- Overrun clutch. Confirm it applies. Expect the forward clutch to move with it as noted above.
- Input housing bore-to-shaft interface. This is the check people skip. Air the input housing bore where it seals to the shaft. If it leaks, inspect the bore for galling — a galled bore does not seal, and a galled input housing is a replacement, not a polish. This single interface controls the sealing rings that feed the drum, and a leak here quietly starves 3-4 apply.
Air checking the loaded drum this way lets the 3-4 and forward clutches apply without leakage before the drum is buried in the case, which is the whole point — you want to find a bad seal or a galled bore while it is still a two-minute fix on the bench [4].
Step by Step: The 2-4 Band Servo and Reverse
With the drum verified and installed, move to the servo bore and the reverse circuit:
- 2-4 band servo. Air the servo apply passage and watch the servo pin stroke out to apply the band. This is your 2nd and 4th gear holding member. A servo that won't hold air, or a pin that doesn't move cleanly, means a bad servo seal or a scored bore.
- Reverse input clutch. Air the reverse apply passage and confirm the pack applies with a solid thud. No apply here is your no-reverse-off-the-bench failure — far cheaper to find now.
- Low/reverse clutch. Confirm it strokes as well, so you have manual low and reverse holding covered before final assembly.
Once each circuit gives you a clean thud and no sustained hiss, the mechanical side of the build is signed off — except for the two leaks that hide from a normal air check.
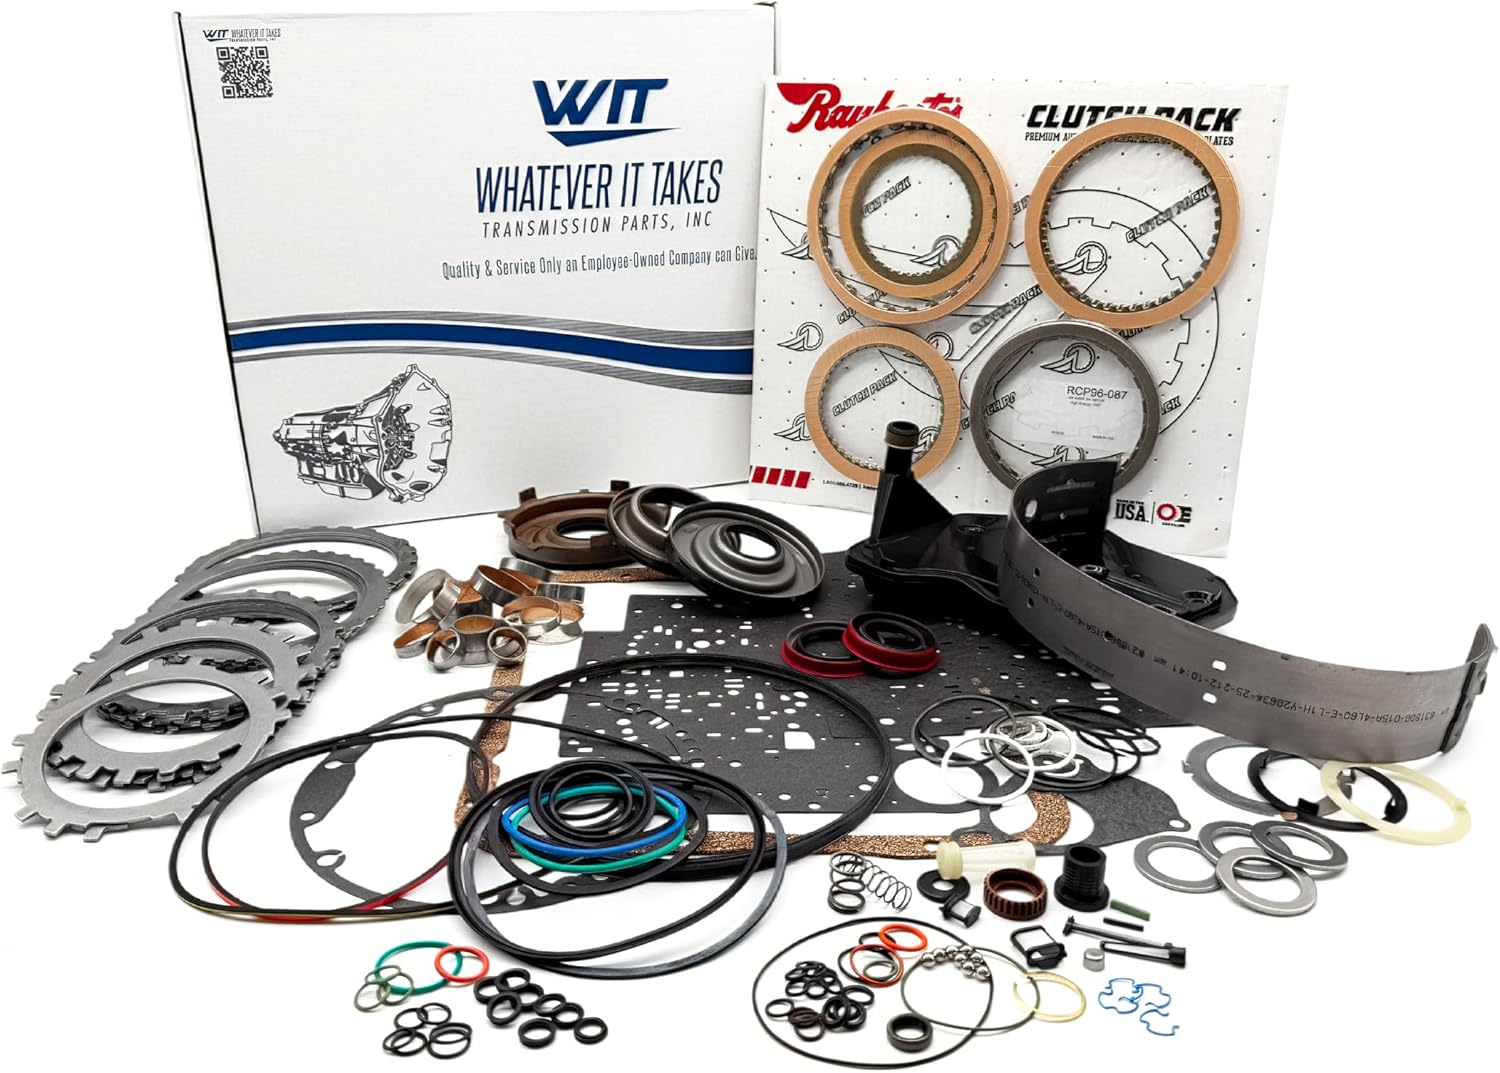
4L60E High-Energy Friction Clutch Kit (1987-Up)
If your air check turns up a slipping or burnt pack — or you are building it right the first time — a complete high-energy friction set covers the forward, overrun, 3-4, and reverse clutches so every circuit you just air tested actually holds. Sourced from CoreTransmissionParts, shipped fast from the USA.
View the 4L60E friction clutch kit →The Hidden Leak: The 3rd Accumulator #7 Checkball
Here is the leak that fools experienced builders. Inside the 4L60E the servo bore area also houses the 3rd accumulator checkball capsule — the hidden #7 checkball. If that capsule leaks, it bleeds off 3-4 clutch apply pressure, and the result is a burnt 3-4 clutch on a unit that otherwise looks perfect. Sonnax calls out testing this checkball assembly specifically because a leak here is a leading, easily-missed cause of 3-4 failure [2].
A quick apply air check can pass while this capsule still leaks, so it gets its own dedicated test. Two ways to do it:
- Vacuum test. A vacuum test stand is the fastest, most repeatable way to confirm the #7 checkball is sealing — you draw vacuum on the circuit with a soft rubber tip and watch whether it holds [1][2].
- Solvent drip test. No vacuum stand? Lay the transmission horizontal on the bench, pan side up, drip solvent into the 3rd accumulator checkball assembly, and watch the inside of the case for solvent weeping through. Any seepage means the capsule is leaking and must be addressed [2].
Verifying this one checkball is the difference between a 3-4 clutch that lasts and one that burns in the first few thousand miles. It is worth building into your standard air-check routine on every single 4L60E.
Also Test the Pump and Stator
While you are on the pump, vacuum or wet-air test the 3-4 and forward oil passages in the pump — these areas can develop a hairline crack that no visual inspection catches. Test with the stator installed as well, so you confirm there is no leak between the stator and pump at the press-fit area [4]. A cracked pump casting or a leak at the stator press fit robs apply pressure the same way a bad seal does, and it is invisible until you put air or vacuum to it.
The rebuilder's habit: Air check the same order every time — drum clutches, input housing bore, servo, reverse, then the hidden #7 checkball and the pump passages. Consistency is what keeps you from skipping the one circuit that comes back to bite you. A slipping 4L60E almost always traces to low line pressure or lost 3rd-gear oil, and most of those losses are leaks you can catch on the bench before the unit is ever installed [3].
What a Clean Air Check Buys You
Run this procedure and you have verified, with your own ears and a nozzle, that every apply circuit in the 4L60E fills and holds: forward, overrun, and 3-4 through the drum; the 2-4 band servo; reverse and low/reverse; the hidden 3rd accumulator checkball; and the pump feed passages. That is the entire hydraulic apply side of the transmission confirmed before the converter goes on. The failures you cannot fix from the driver's seat — a galled input bore, a cracked pump, a leaking capsule — are exactly the ones this catches, and they are the ones that turn a warranty rebuild into a second teardown.
Building one now? Our line pressure testing walkthrough covers verifying pressure once the unit is back in service, and the 4L60E 3-4 clutch failure guide digs deeper into why that pack is the one you most want your air check to protect.
Sources
- Sonnax — GM 4L60-E, 4L65-E, 4L70-E Vacuum Test Guide, on vacuum-testing valve body bores and apply circuits with a rubber-tipped tool to confirm sealing. sonnax.com/tech_resources/441-gm-4l60-e-vacuum-test-guide
- Sonnax — Guard Against 4L60/E Band & 3-4 Clutch Failure: Test the 3rd Accumulator Checkball Assembly for Leakage, on the hidden #7 checkball, the vacuum and solvent-drip test methods, and how its leakage burns the 3-4 clutch. sonnax.com/tech_resources/323
- Sonnax — Rebuild Tips for 4L60/E 3-4 Clutch Burnup (Attacking Burnt 3-4 Clutches with Confidence), on low line pressure and lost 3rd-gear oil as the root of most 3-4 slipping. sonnax.com/tech_resources/659
- Sonnax — Building the Killer 4L60E: Top Tips for Optimizing Your Transmission, on air/vacuum testing the loaded input drum, the input housing bore-to-shaft interface, and the pump and stator passages during the build. sonnax.com/tech_resources/293
- Gears Magazine (ATRA) — 4L60E NO 2nd, a diagnostic case study confirming that servo air testing is routine bench practice and noting the limits of a bench check versus in-service faults. gearsmagazine.com/magazine/4l60e-no-2nd