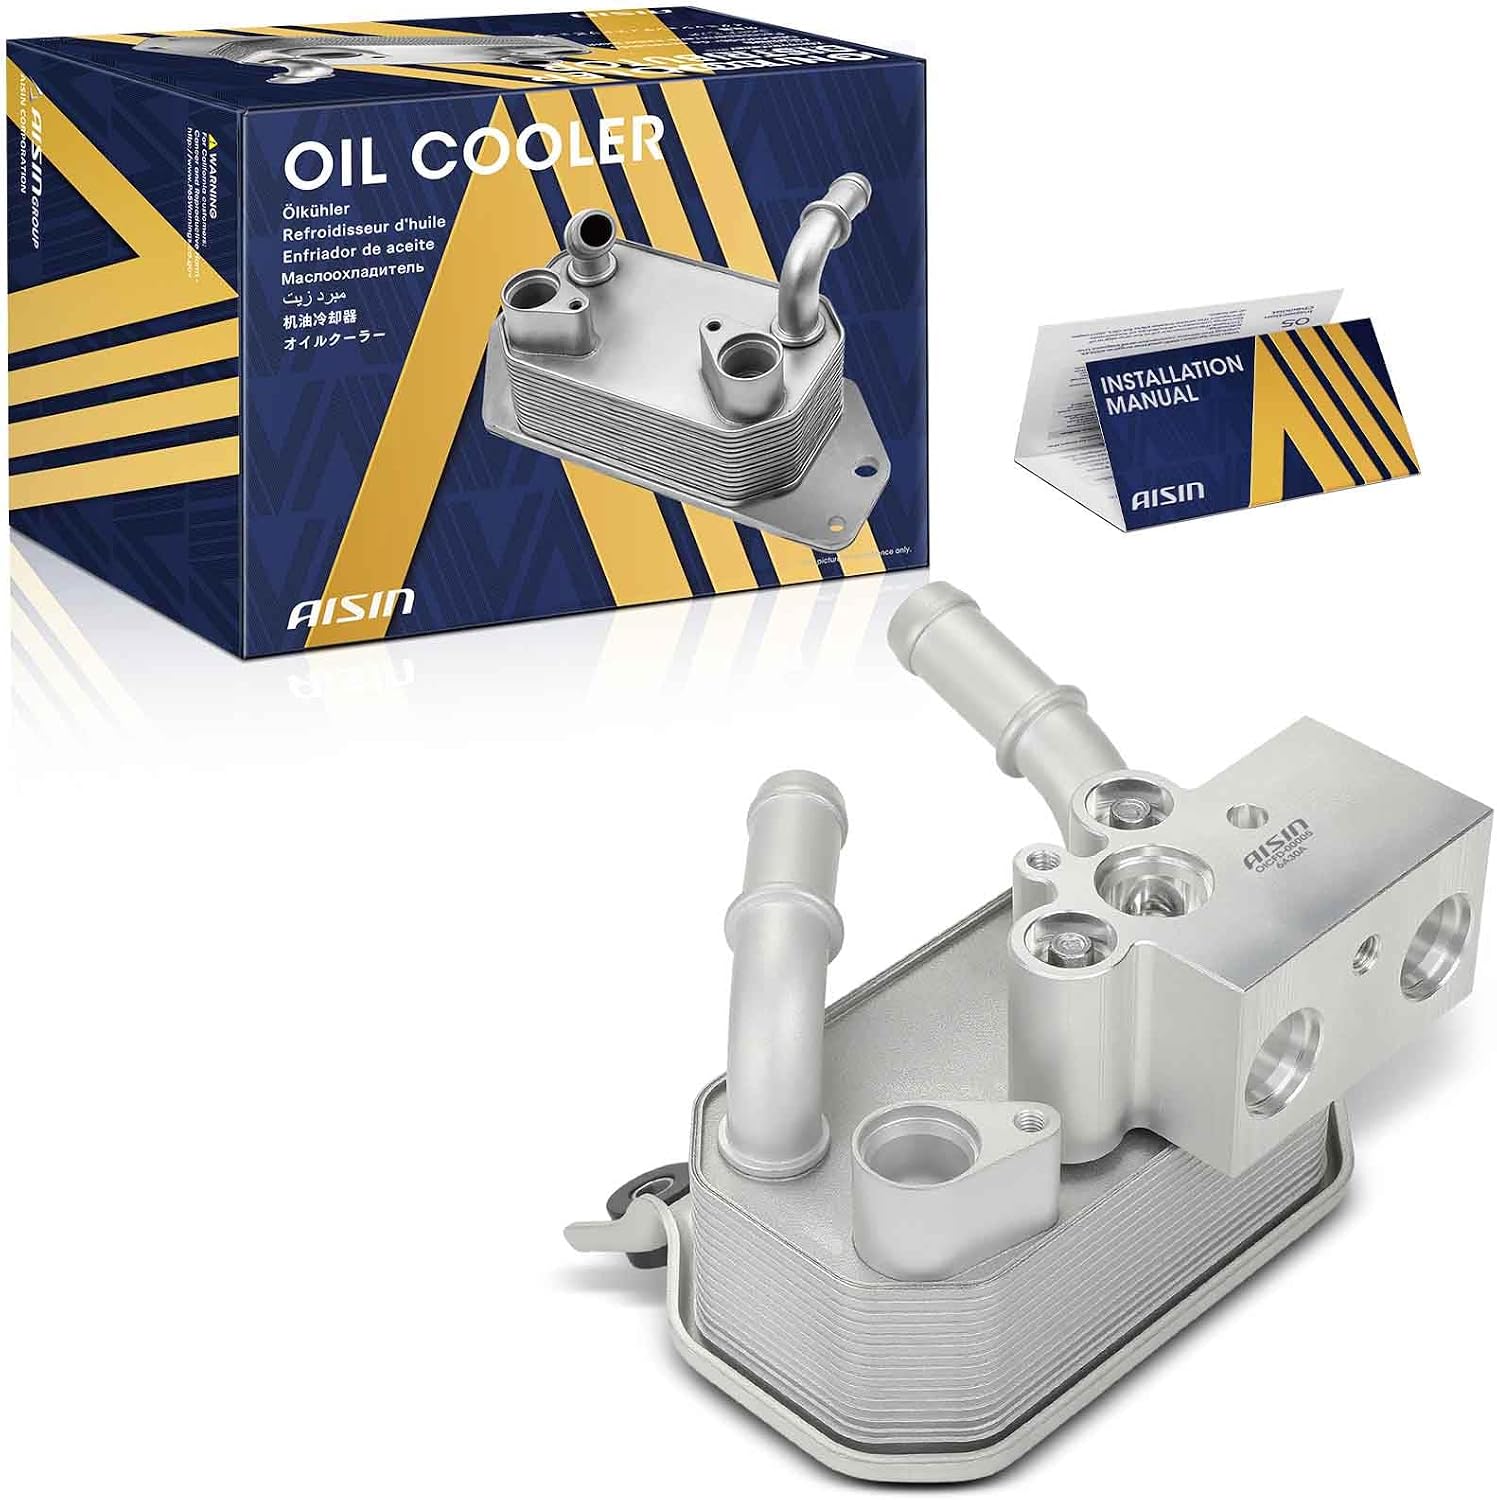
A 6R80 cooler line failure does not usually give you a slow weep to catch on a lift. On 2009-2017 F-150, Expedition, Navigator and Mustang trucks, the lines run from the transmission case to a small cooler mounted ahead of the radiator, and both ends connect through aluminum quick-connect fittings. Those fitting heads corrode and fatigue over years of road salt and engine vibration, and the common failure mode is the aluminum snapping off clean, sometimes with no warning leak beforehand. When that happens at speed, the transmission can lose most of its fluid in a few minutes and start sucking air, which is a much more expensive problem than the line itself.
This is the job the way Ford's own procedure lays it out, with the special tool and the actual torque numbers, plus how to tell a cooler line leak apart from the other leak points on this unit that get blamed for it. Sources are at the bottom.

Why these lines fail
The 6R80 cooler circuit routes fluid out of the transmission, through a dedicated cooler mounted ahead of the main radiator, and back in, using two steel lines that transition to short sections of rubber hose where they flex near the engine and transmission. Both ends terminate in aluminum quick-connect fittings, the same style used across most Ford products of that era to let the factory assemble the lines without a flare tool.
Techs who work on these trucks regularly report the same pattern on 2009-2014 F-150s: the fitting heads corrode from road salt exposure and fatigue from engine and chassis vibration over the years, and the aluminum body of the quick-connect itself cracks or snaps, sometimes on trucks that do not show obvious surface corrosion. One tech's account, reported by Ford Authority, put it plainly: these lines have been failing more and more even on trucks that are not rusted up underneath. A forum thread on Ford Raptor Forum describing the same complaint on 2009-2014 trucks backs that up as real-world experience, not a one-off.
The failure matters because of how fast it empties the system. Once a quick-connect head lets go, fluid pumps out through the open line rather than circulating, and the transmission starts drawing air instead of fluid. Driven even a short distance in that state, a 6R80 can go from a healthy unit to one needing a rebuild. If a line fails in your driveway or a parking lot, the right move is to shut it off and have it towed, not nurse it home.
Diagnose it correctly before you order parts
The 6R80 has three leak points that get confused with each other, and ordering the wrong part wastes a trip. Wipe the whole underside dry, run the truck, and look at exactly where fluid first appears:
- Cooler line leak: fluid shows up along the line's actual path, low on the frame rail between the transmission and the cooler shroud, or right at a quick-connect fitting head. This is the failure this guide covers.
- Case connector / bulkhead connector sleeve leak: fluid shows up at the driver side rear of the transmission case, where the wiring harness plugs into the case. Ford covered an early version of this under TSB 11-2-25 (revised as TSB 14-0069, swapping the original red/orange O-rings for updated black ones) and a related bulkhead connector sleeve leak under TSB 11-3-25 (March 31, 2011) on 2009-2010 trucks, which calls for a replacement sleeve with black O-ring seals only. ATRA repeated the updated-connector fix in its own bulletin. This is a different part and a different repair than a cooler line.
- Pressurized case venting through multiple seals at once: Sonnax documented a 2009 F-150 where pulling the fill plug let out an audible "whoosh" of trapped pressure. The actual cause was a red rubber check valve inside the transmission's vent cap, installed to keep water out, that was holding back enough case pressure to force fluid out at several points that looked like unrelated leaks. If your truck vents air loudly at the fill plug and leaks from more than one spot, check the vent before replacing anything else.
A line that is actually cracked or weeping at the quick-connect head, rather than at the case, is the one this guide replaces.
Tools and parts
Ford's Workshop Manual Section 307-02A procedure for the 6R80's cooler lines calls for one dedicated tool and a short parts list:
- Special tool: Transmission Cooler Line Disconnect Tool, Ford tool number 307-569. In the aftermarket, the Lisle 39960 set covers the same quick-connect sizes used on these trucks and is the common substitute in independent shops.
- O-rings: 4 new O-rings (Ford part 7J227) at the tube connections. Install new every time; these are not a reuse item. Ford TSB 13-6-4 lists the same O-ring as 7L1Z-7J227-A, quantity four, any time the cooler lines come off the case.
- Rear cooler tube bolt: Ford specifies a new bolt (W715131) at this location, not a reused one.
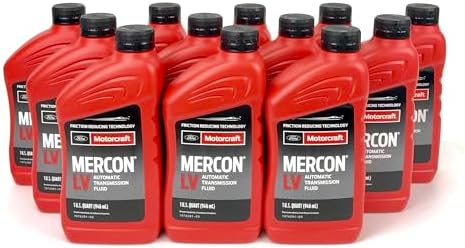
- Fluid: Motorcraft MERCON LV (XT-10-QLVC). This is the only fluid Ford specifies for the 6R80; Ford's Motorcraft fluid chart lists MERCON LV for every 6R80 vehicle row, and reserves MERCON ULV for the 10R80 and other 10-speeds. Do not substitute MERCON ULV, MERCON V, MERCON SP, or Dexron/Mercon dual-spec fluid.
- Basic tools: a socket set for the underbody shield and bracket fasteners, a drain pan rated for several quarts, and a scan tool capable of reading transmission fluid temperature (TFT) for the refill step.
Removal procedure
Ford's procedure (Section 307-02A) is written for a hoist, and the sequence matters because of what has to come off before the lines are accessible:
- Put the transmission in NEUTRAL, raise the vehicle on a hoist, and disconnect the battery ground cable.
- Remove the underbody shield (3 bolts, 10 Nm / 89 lb-in) and the lower radiator sight shield.
- Remove the front crossmember brace (4 nuts).
- Remove both transmission fluid cooler tube quick-connect secondary latches. These small plastic clips lock the quick-connect collar in place; they have to come off before the disconnect tool will release the fitting.
- Use the Transmission Cooler Line Disconnect Tool (307-569, or the Lisle 39960 equivalent) to release each quick-connect fitting. Have the drain pan positioned first; fluid will run out of both the line and the open port as soon as the connection breaks.
- Remove the bracket-to-transmission nut and bracket-to-engine mount nut holding the tube assembly in place.
- Remove and discard the rear cooler tube bolt. Remove the rear tube, then the front tube, and separate the front tube from the transmission cooler itself.
If the fitting has already snapped rather than releasing cleanly, there may be a broken piece of the quick-connect body left in the port. Inspect the mating surface on the cooler and the transmission case for damage before installing the new line; a cracked port means the cooler or the case fitting needs replacing too, not just the line.
Installation and torque specs
Clean both mating surfaces, install 4 new O-rings on the tube ends, and reverse the removal sequence. The torque values below are from Ford Workshop Manual Section 307-02A for the 6R80 cooler tube and bracket hardware:
| Fastener | Torque | Notes |
|---|---|---|
| Rear cooler tube bolt (W715131) | 25 Nm (18 lb-ft) | Use a new bolt, not the old one. TSB 13-6-4 lists W715131 for the Mustang and W715798 for the F-150 |
| Bracket-to-engine mount nut (W520103) | 48 Nm (35 lb-ft) | |
| Bracket-to-transmission nut (W701014) | 13 Nm (115 lb-in) | |
| Transmission fluid cooler screws (2) | 9 Nm (80 lb-in) | If the cooler itself is replaced |
| Tube-to-fan shroud bolt | 8 Nm (71 lb-in) | |
| Underbody shield bolts (3) | 10 Nm (89 lb-in) |
Push each quick-connect fitting on until it clicks, then reinstall the secondary latch. The latch should seat flush; if it will not go in fully, the fitting is not fully seated and will leak or pop loose. Do not rely on the latch alone to tell you the connection is good; give each line a firm tug after the latch is in before you lower the truck off the hoist.
Refill and check for leaks
With the lines reconnected, refill with Motorcraft MERCON LV (the fluid Ford's chart lists for the 6R80 in the F-150, Expedition and Mustang) through the fill hole and follow the same fluid level check Ford specifies for any pan or cooler service on this unit: bring transmission fluid temperature (TFT) to the normal operating range on a scan tool, check the level at the top of the crosshatch mark on the indicator, and torque the fill plug to 35 Nm (26 lb-ft), the figure Ford's 307-01 procedure gives as reproduced in Camerota's 6R80 installation guide. Our 6R80 fluid type and capacity guide walks through that check in more detail.
Start the engine, let it idle, and inspect both quick-connect joints and the cooler itself for weeping before you road test. Then drive it, bring the fluid up to temperature, and recheck the level and the fittings one more time once the truck has cycled through its gears under load.
When to replace more than the line
If the line failed catastrophically and the truck was driven on low fluid, even briefly, do not stop at the cooler line. Check the fluid that comes out of the pan for burnt smell or dark color, and scan for codes before calling the job finished. Our 6R80 common problems guide covers what a fluid-starvation event typically does to this unit's clutches and bushings. If the cooler itself shows internal corrosion or a cracked port where the line failed, replace the cooler at the same time rather than reusing a compromised unit; a cooler that already failed once at the fitting is a poor risk to put a new line into.
Need parts for this job?
Our 6R80 parts page carries the FL3Z-7A095-B cooler, MERCON LV by the case, and the filter, gasket and valve body parts for when the fluid tells you there is more going on than a cracked line. Checkout is on site.
FAQ
Why do 6R80 transmission cooler lines fail?
On 2009-2017 F-150, Expedition, Navigator and Mustang trucks, the cooler lines run from the transmission to a cooler mounted ahead of the radiator and connect at both ends with aluminum quick-connect fittings. The fitting heads corrode from road salt and vibration fatigue over time, and the aluminum can snap off cleanly, sometimes with no visible warning beforehand. Once a line lets go, fluid pumps out fast and the transmission starts pulling air, which can cook the clutches in minutes if the truck is driven.
What tool do you need to disconnect a 6R80 cooler line?
Ford's own procedure in Workshop Manual Section 307-02A calls for the Transmission Cooler Line Disconnect Tool, Ford special tool number 307-569, used after both quick-connect secondary latches are removed. In the aftermarket, the Lisle 39960 Ford Transmission Oil Cooler Line Disconnect Set covers the same fitting sizes used on these trucks.
What is the torque spec for the 6R80 cooler line bracket bolts?
Per Ford Workshop Manual Section 307-02A: the rear cooler tube bolt torques to 25 Nm (18 lb-ft) and must be a new bolt, the bracket-to-engine mount nut torques to 48 Nm (35 lb-ft), and the bracket-to-transmission nut torques to 13 Nm (115 lb-in). Install 4 new O-rings at the tube connections every time; do not reuse the old ones.
How do I tell a cooler line leak apart from a case connector leak on a 6R80?
A cooler line leak drips or sprays along the line's actual path between the transmission and the cooler, usually low on the frame rail or behind the front bumper support. A case connector or bulkhead connector sleeve leak shows up at the driver side rear of the transmission case where the wiring harness plugs in, not along the line. Wipe everything dry, add UV dye if you have it, and run the truck to find exactly where the fluid is coming from before you order parts.
Related guides
- 6R80 Fluid Leak: Common Spots and Fixes
- 6R80 Overheating Prevention
- 6R80 Fluid Type and Capacity
- Ford 6R80 Complete Service Guide
- 6R80 Common Problems and Fixes
Sources
- Ford Motor Company, Workshop Manual, Section 307-02A: Transmission Cooling, 6R80 (2014 Mustang). Backs the Transmission Cooler Line Disconnect Tool (307-569), the quick-connect secondary latch removal/installation steps, the rear cooler tube bolt requiring replacement, and the torque specs: rear tube bolt 25 Nm (18 lb-ft), bracket-to-engine mount nut 48 Nm (35 lb-ft), bracket-to-transmission nut 13 Nm (115 lb-in), cooler screws 9 Nm (80 lb-in), tube-to-fan-shroud bolt 8 Nm (71 lb-in), underbody shield bolts 10 Nm (89 lb-in), and the 4 required O-rings (7J227). Cited from the Ford workshop manual (print/OEM subscription reference); the third-party online copy previously linked here went offline in October 2026, so the part numbers below are cross-checked against Ford TSB 13-6-4.
- Camerota, 6R80 Transmission Installation Guide, reproducing Ford Workshop Manual Section 307-01 procedures and the 6R80 cooler parts breakdown. Backs the fill plug torque of 35 Nm (26 lb-ft), the plug-mounted fluid level indicator, the cool-down and do-not-overfill warnings, and the cooler component part numbers (7A095 cooler, W712658 tube-to-cooler bolts, W715131 cooler tube-to-transmission bolt). camerota.com (PDF)
- Ford TSB 13-6-4, "3.7L Engine And 6R80 Transmission Whine Noise On Acceleration," via NHTSA. Its parts list backs cooler line O-ring 7L1Z-7J227-A (4 required), transmission cooler line bolt W715131 for the Mustang and W715798 for the F-150, and MERCON LV (XT-10-QLV) for the refill. static.nhtsa.gov
- Ford Customer Service Division — Motorcraft Automatic Transmission Fluid Chart by vehicle. Backs MERCON LV (XT-10-QLVC in quarts, XT-10-5Q3LV in 5-quart jugs) as the listed fluid for every 6R80 application it covers, including the F-150, Expedition, Navigator, Mustang and Transit, and MERCON ULV only for the 10-speed 10R units that replaced it. fcsdchemicalsandlubricants.com (PDF)
- Sonnax (Ed Lee), "6R80 Transmission: Solving a Leak Mystery." Backs the pressurized-vent diagnosis (the audible "whoosh" at the fill plug and the red rubber check valve in the vent cap forcing fluid out at multiple points) and the case connector bulletin history (Ford TSB 11-2-25, revised as TSB 14-0069 with black O-rings, and ATRA bulletin 1495). sonnax.com
- Transmission Digest, "Solving the 6R80 Leak Mystery." Independent trade-press account of the same 2009 F-150 case connector and vent valve diagnosis, backing that the case connector fix alone did not resolve the leak until the vent check valve was found. transmissiondigest.com
- Ford Motor Company, Technical Service Bulletin 11-3-25, "Transmission Bulkhead Connector Sleeve Leaking Transmission Fluid" (March 31, 2011). Backs the 2009-2010 F-150, Expedition, Explorer, Explorer Sport Trac, Navigator and Mountaineer 6R80 application, the leak at the bulkhead connector sleeve, lubricating the new sleeve O-rings with clean transmission fluid, securing the locking tab, the TCM electrostatic-discharge caution, and the instruction to use only a sleeve with black O-ring seals. Dealer print bulletin with no public OEM copy online; available through Ford's Professional Technician Society (PTS) service information.