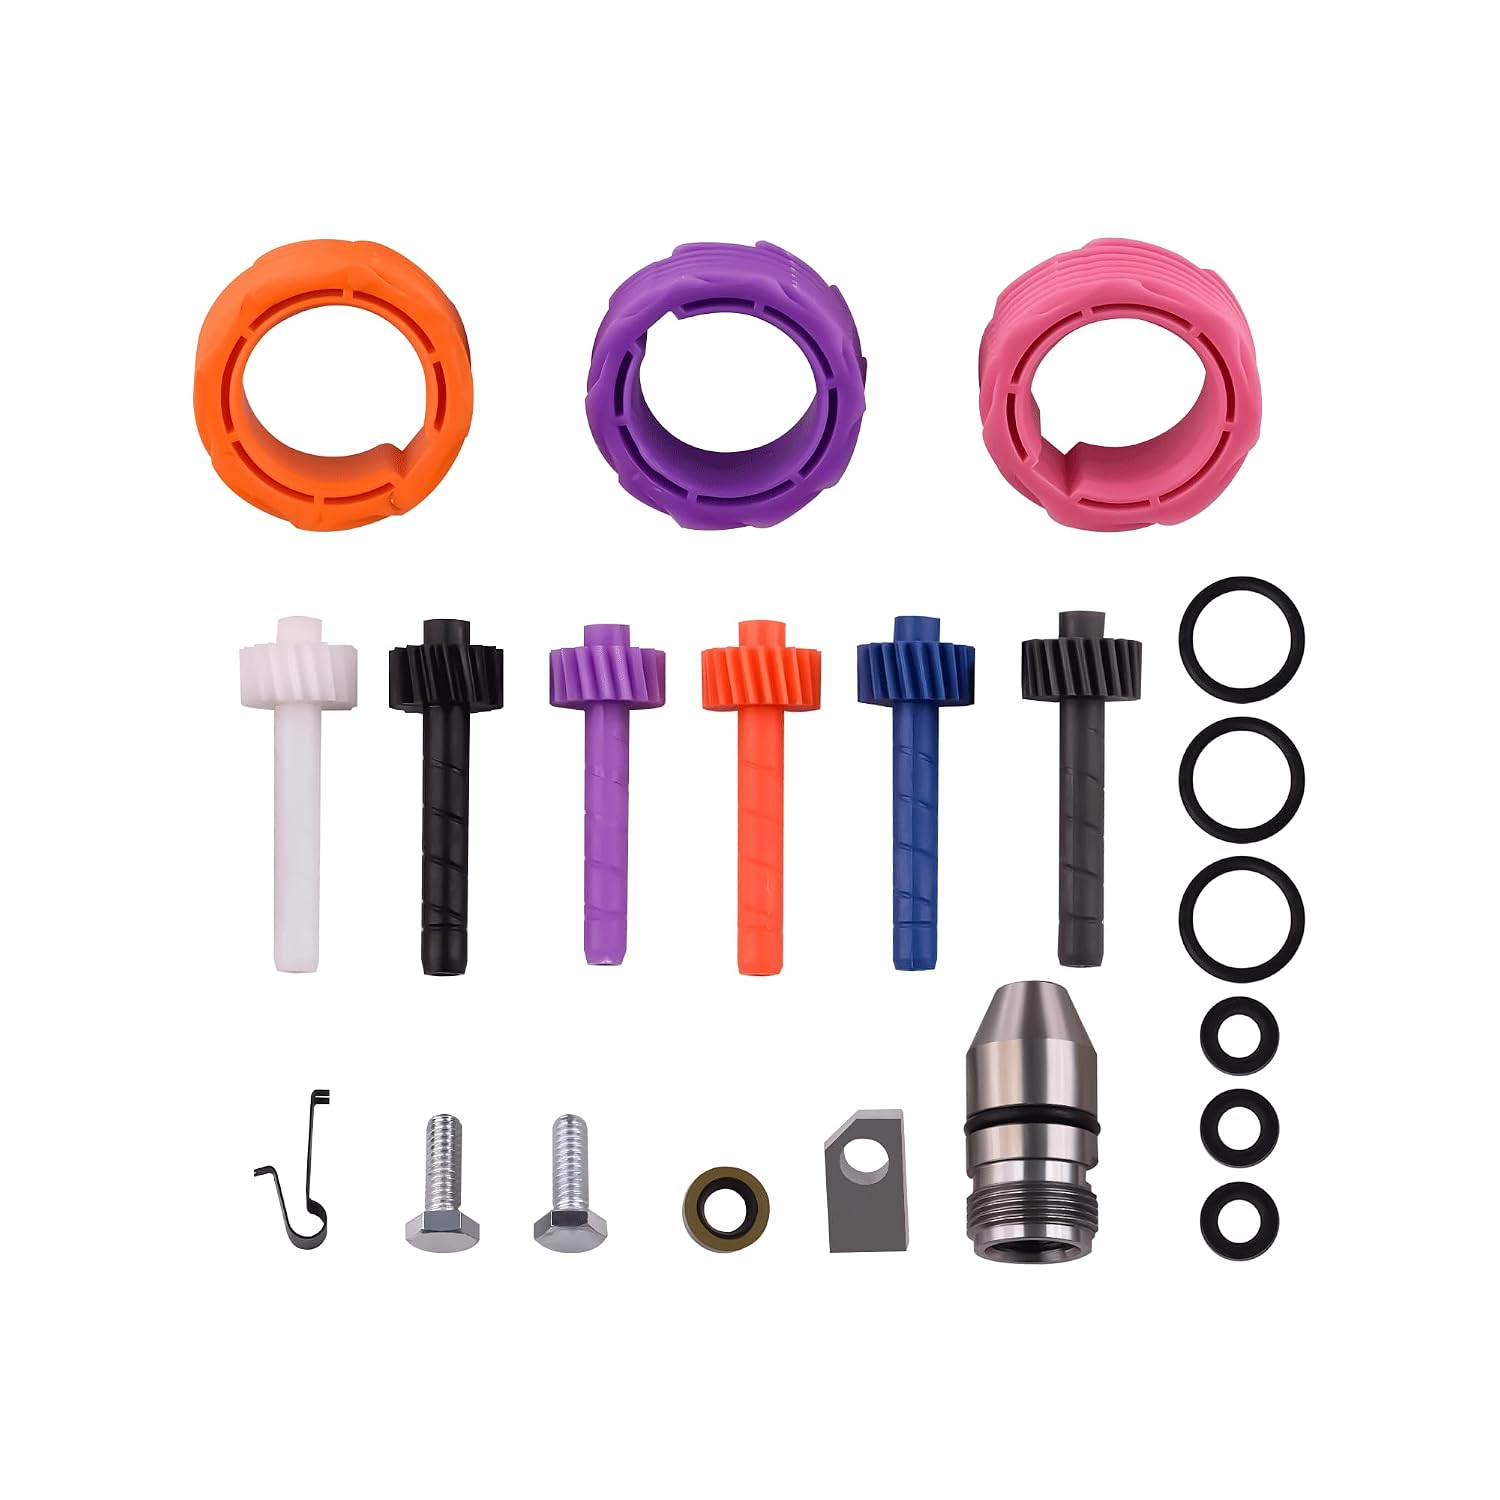
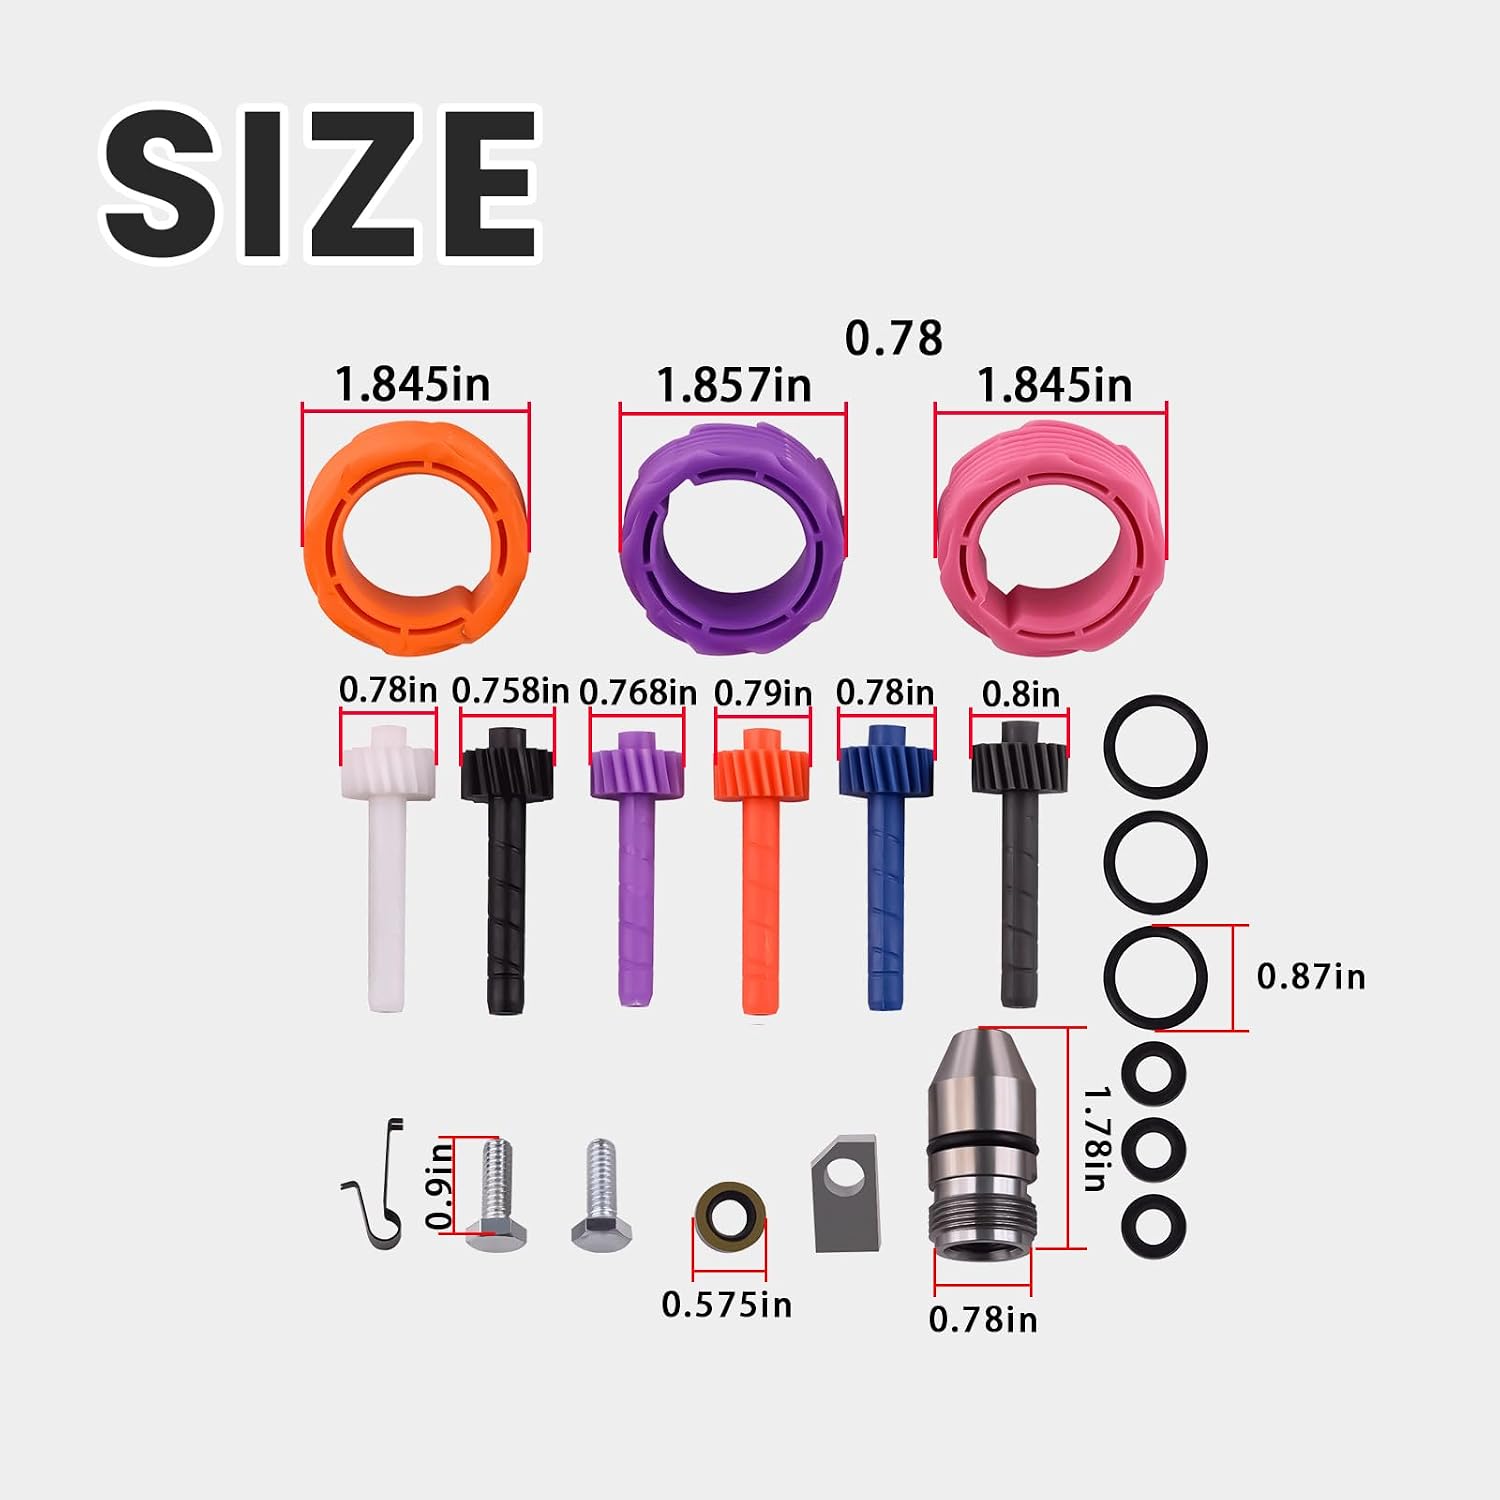
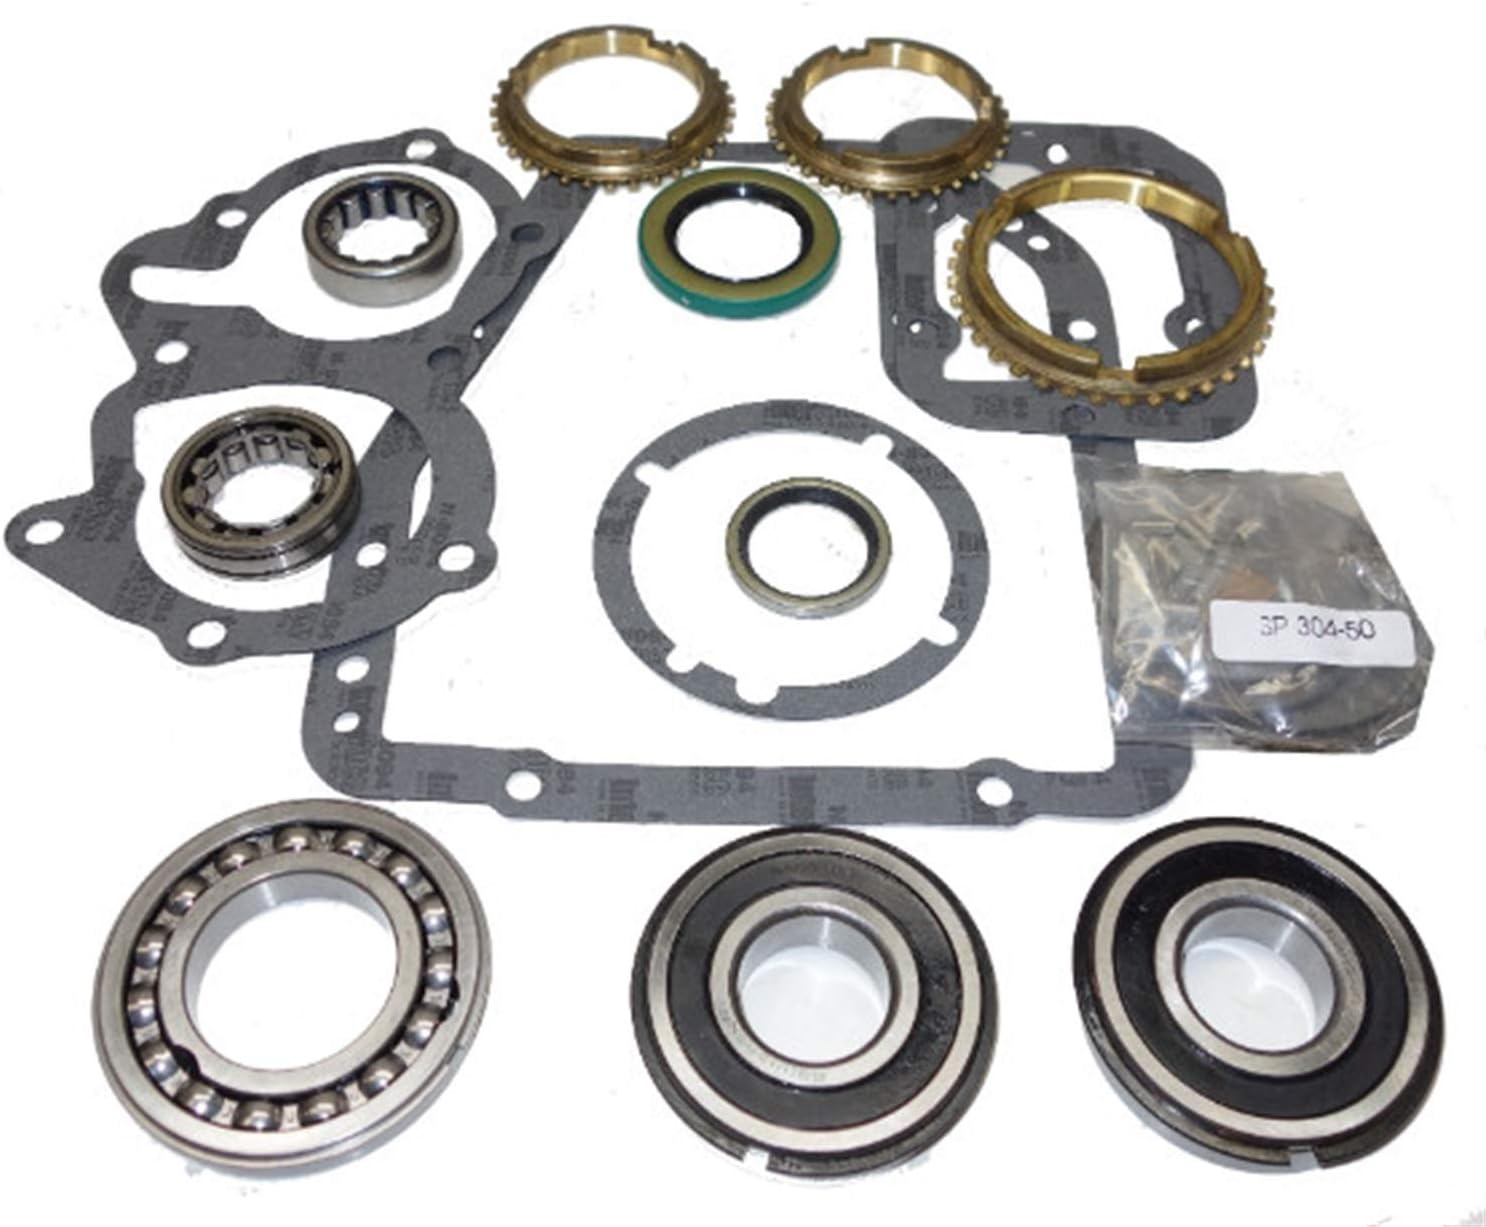
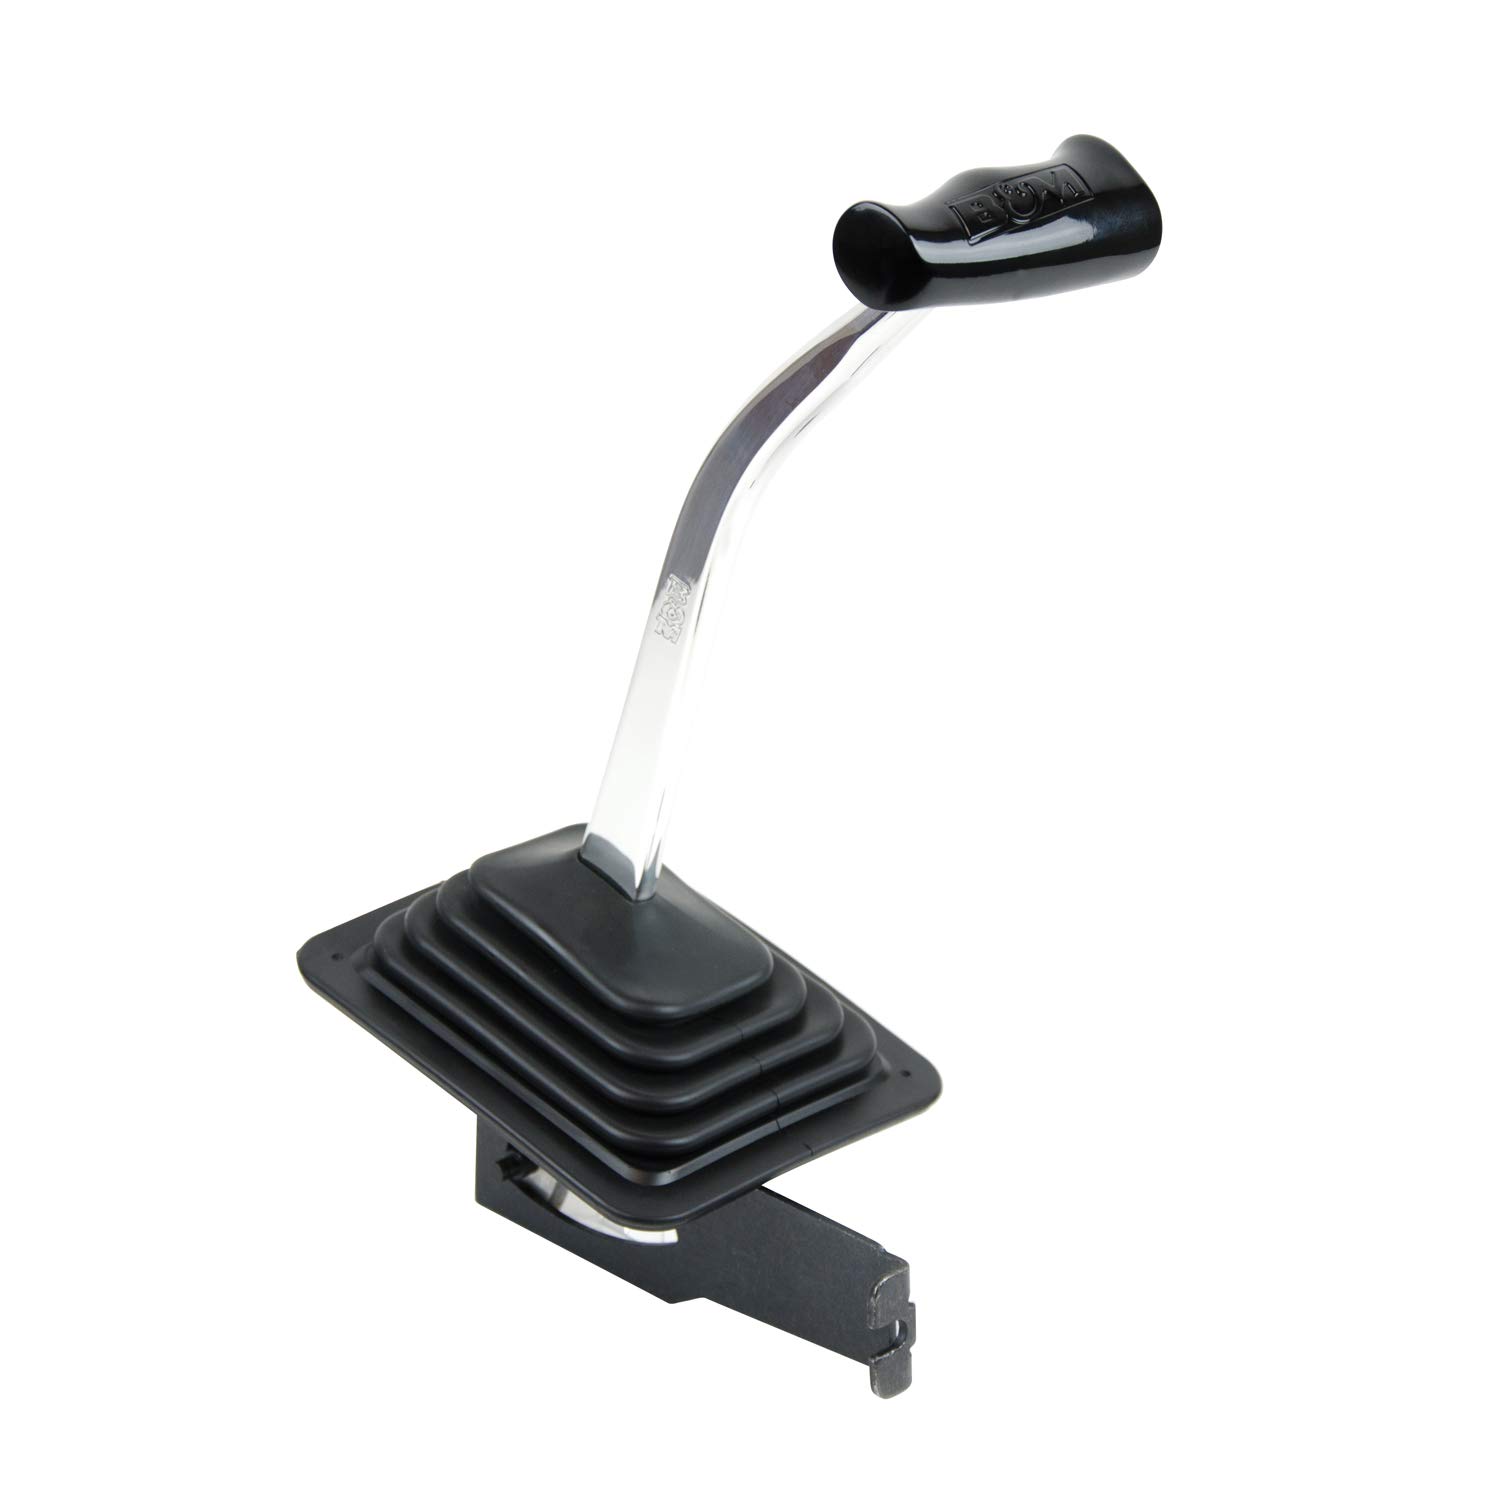
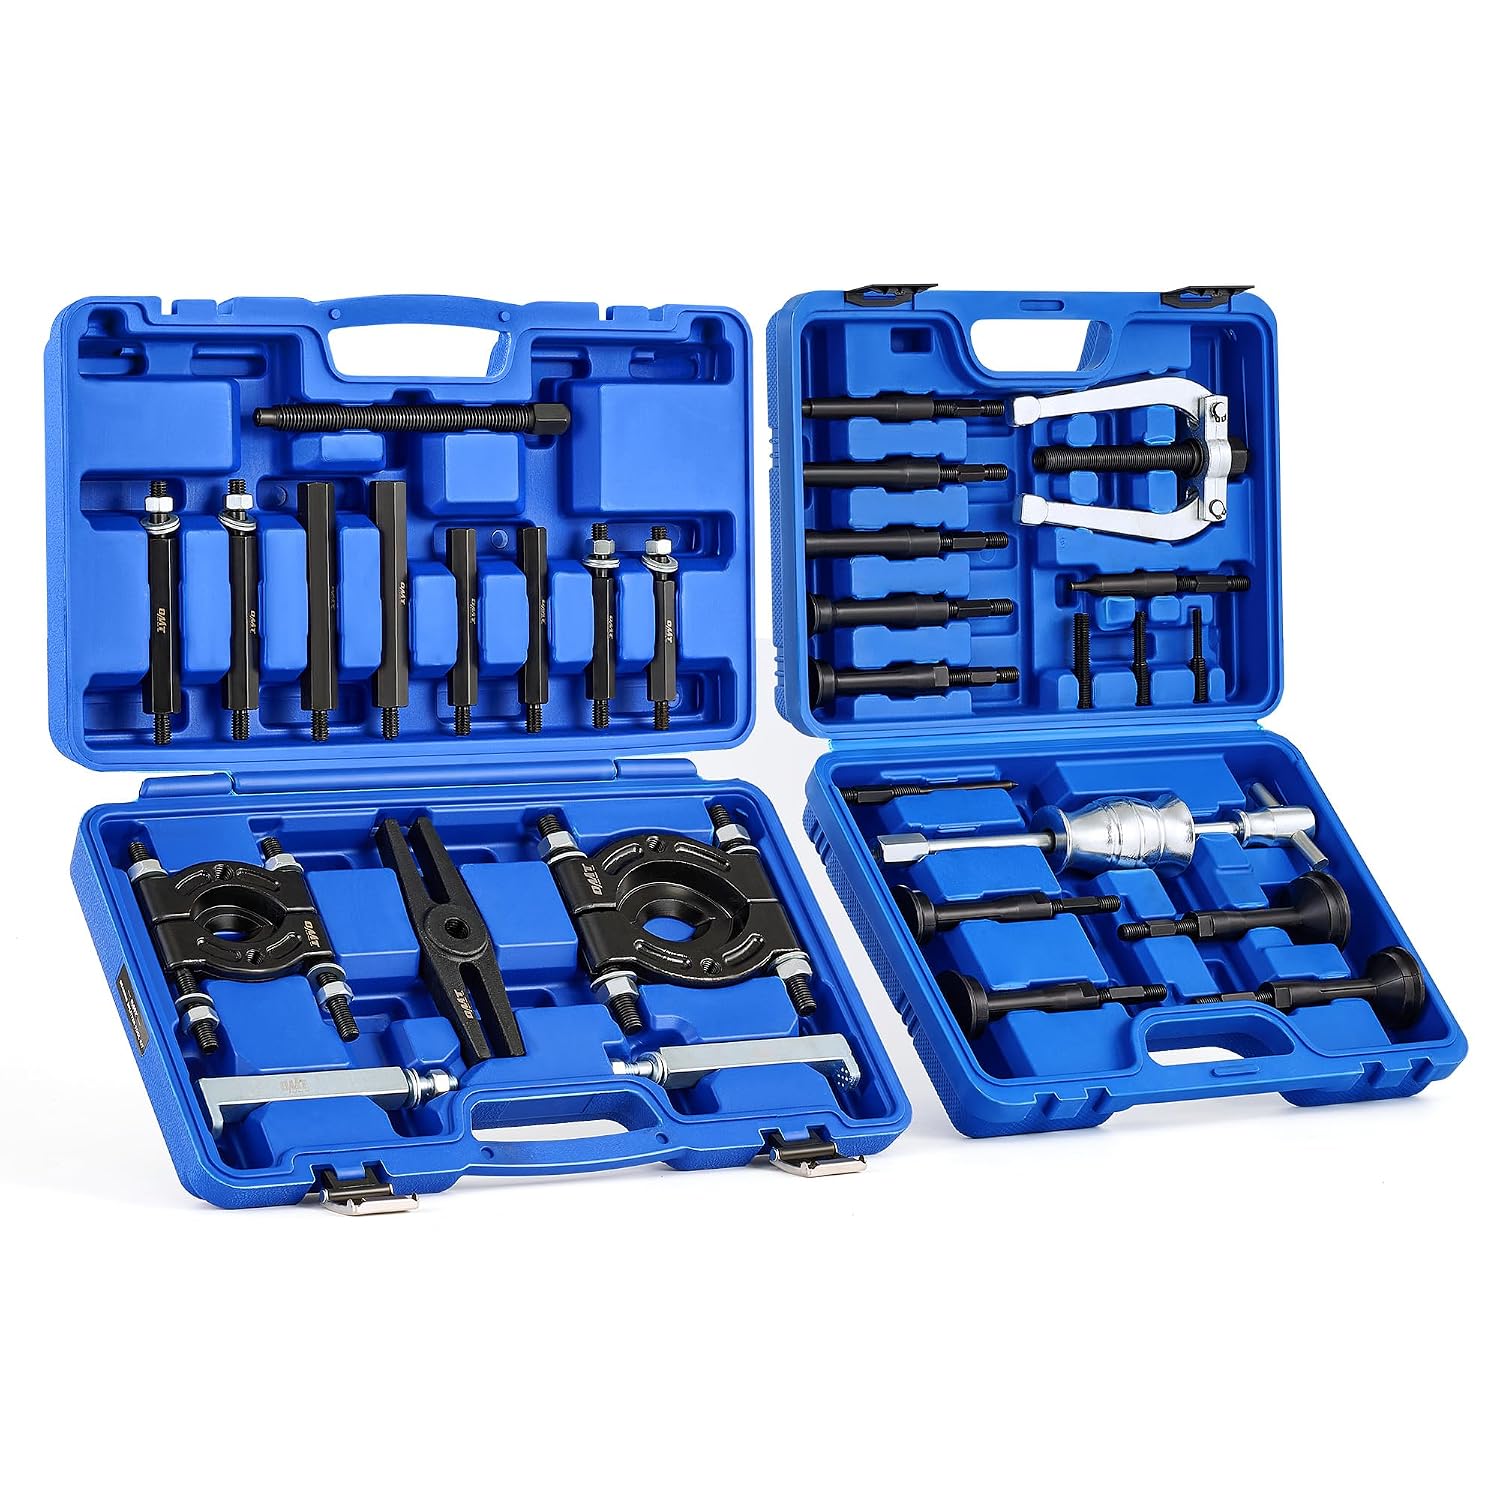
This is a complete speedometer gear kit for the GM Turbo 350 and the Powerglide, twenty-one pieces covering both halves of the drive: six driven gears in 17, 18, 19, 20, 21 and 22 tooth counts, three drive gears in 7, 8 and 10 tooth counts, the bullet housings with their O-rings and internal seals, the retainer clamps, and the bolts in both metric and standard. The gears are molded in glass-fiber reinforced plastic rather than plain nylon, which is what lets them live against a steel drive gear in hot ATF without going soft and rounding off.
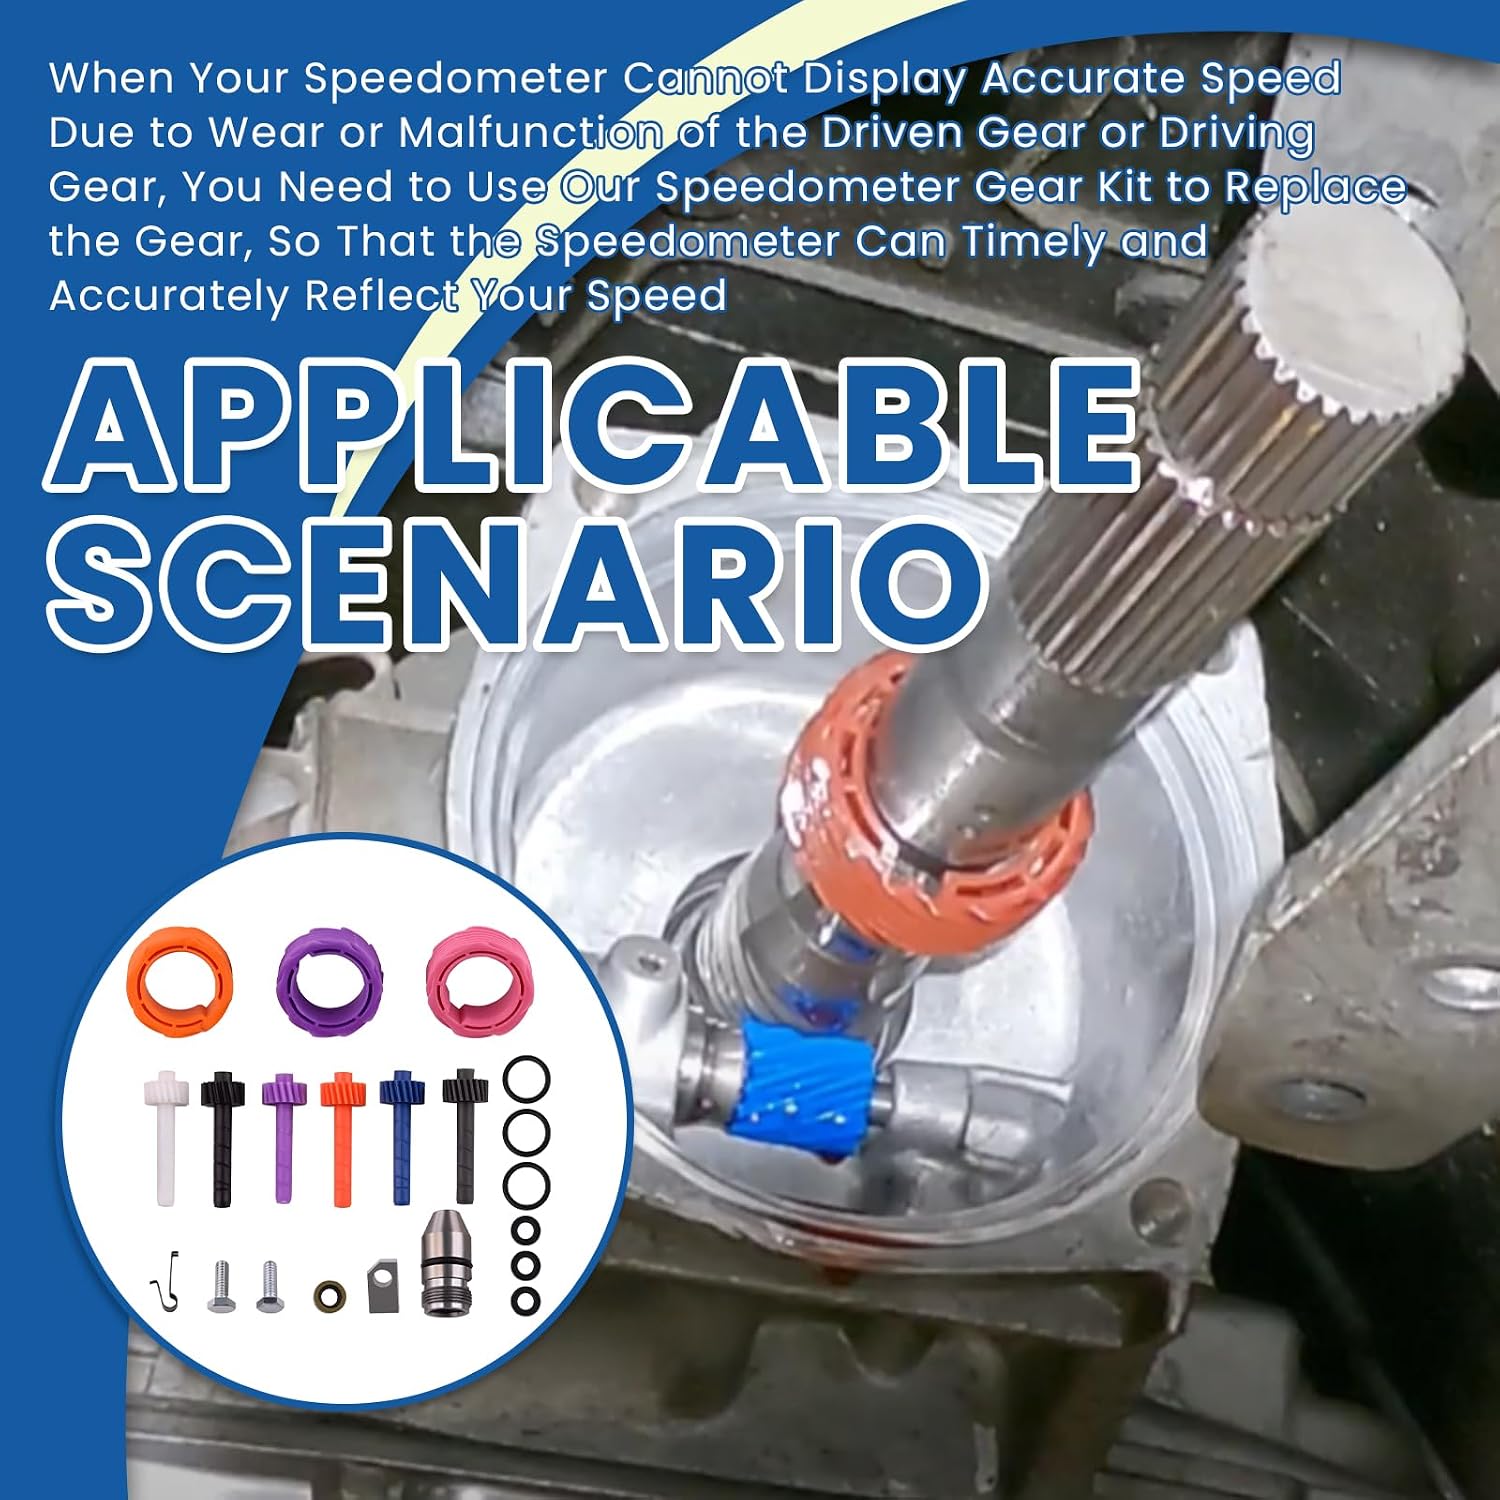
The job it does is calibration and repair. A TH350 reads speed off a plastic driven gear that rides in a bullet housing pressed into the tailhousing, turned by a drive gear on the output shaft. Two things go wrong. The driven gear strips or wears its teeth down and the needle drops to zero or wanders, usually with plastic shavings sitting in the bullet when you pull it out. Or the transmission is right but the numbers are wrong, because someone changed rear gear ratio or tire diameter and the speedometer now reads high or low by a fixed percentage. Both are fixed with the correct tooth count, and having the whole spread on the bench means you can fix it in one pass instead of ordering a gear, testing, and ordering again.
Sorting the tooth count is arithmetic, not guesswork. On the driven gear, fewer teeth speeds the reading up and more teeth slows it down, roughly 2 mph per tooth. On the drive gear it works the other way, fewer teeth slows it down and more teeth speeds it up, roughly 10 mph per tooth. So if you are reading 65 when a GPS says 60, you are running fast by 5 and want to add two or three teeth on the driven side. GM gear numbers referenced by this kit include 3987918, 3987919, 3997920, 3957921 and 3987922.
On the bench it is a ten-minute job. Pull the speedometer cable nut off the bullet, take out the single retainer clamp bolt, and work the bullet housing out of the tailhousing with the driven gear still in it. Slide the old gear off, put the new O-ring on the bullet, oil it, install the gear you calculated, and push the assembly back in until the clamp seats. Snug the clamp bolt and reattach the cable. The drive gear lives on the output shaft and only comes out with the tailhousing off, so plan on doing that one while the unit is apart.