Call three shops about a 4L65E and you will get three numbers, and the spread between the low one and the high one is usually wide enough to make people assume somebody is padding the bill. Usually nobody is. The 4L65E is the heavy-duty branch of the 4L60E family — RPO M32, five-pinion planets, a stronger input shaft, and a working life spent behind 6.0L and 8.1L engines in 2500-series trucks, Escalades, H2s and the Trailblazer SS. What separates a modest rebuild from an expensive one is not the labor rate. It is how many individually priced castings and assemblies came out of the case damaged.
This is a breakdown of the parts that actually move the number, what makes each one fail, and the bench checks that tell you which category your unit is in before anybody orders anything. If you are the one getting a quote, the single most useful thing to ask for is hard parts itemized separately from the soft-parts kit. That one line explains almost the entire difference between two estimates.
Why Two Quotes on the Same Transmission Differ
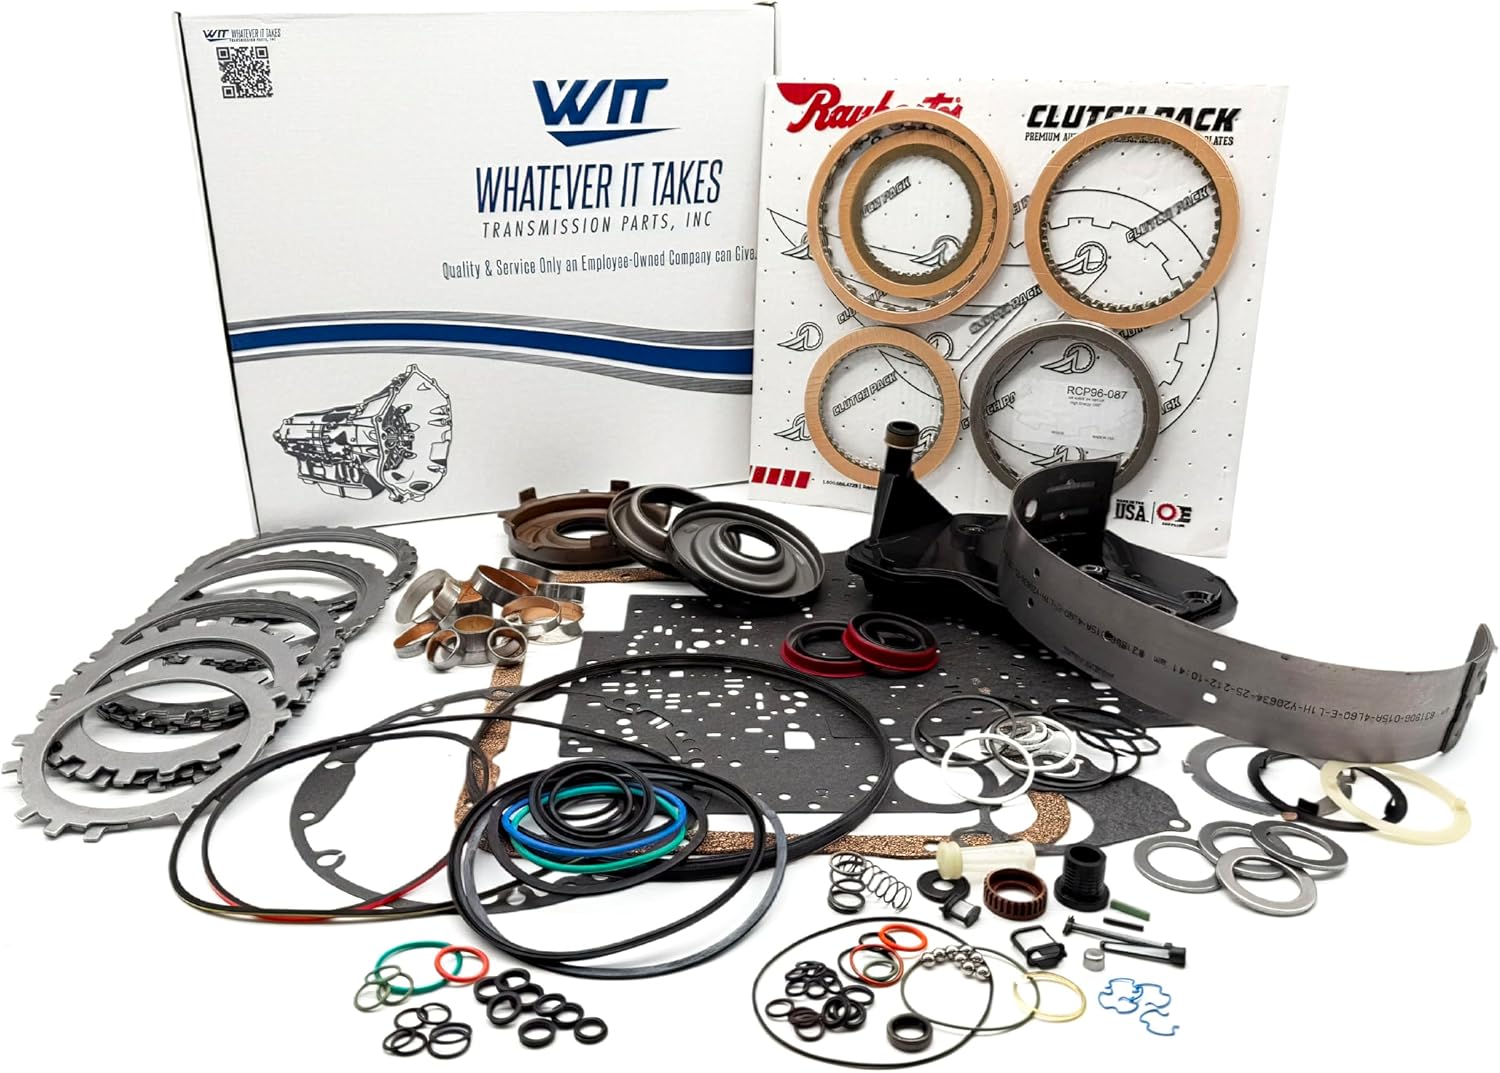
A 4L65E rebuild has two cost layers. The first is fixed and predictable: the master kit with frictions, steels, pistons, bushings, seals and gaskets, plus a filter, a band, fluid and the bench time to do it. Every rebuild buys that layer. The second layer is hard parts, and it is entirely determined by what failed and by what the debris from that failure did on its way through the unit.
That is why the teardown matters more than the estimate. A 4L65E that slipped the 3-4 pack because line pressure fell off is a soft-parts job plus a pump correction. A 4L65E that stripped the reaction shell splines and fed the wreckage through the pump is a different transmission financially, even though the complaint at the curb sounded the same.
Cost Driver 1: The 3-4 Clutch Pack and What Burned It
The 3-4 pack is the most common thing to find cooked in this family, and replacing the frictions is the cheap part. The expensive mistake is replacing them without fixing why they burned.
Sonnax states the cause directly: low line pressure and leaks of 3rd Gear oil are the root cause of most 3-4 slipping. The 3rd gear circuit is interconnected — D4 oil, the Forward clutch, and the 2nd and 3rd accumulators all share it — so small leaks in several places compound into one large pressure loss that no single part looks guilty of.
The specific leak paths worth pricing into the job:
- The 3rd accumulator checkball capsule. Sonnax calls this the leading cause of 3-4 clutch failure. Note the warning that goes with it: never replace that checkball with a cup plug, because the circuit needs to vent.
- The input housing checkball. It must hold a minimum of 25 in-Hg of vacuum. If it will not, the housing leaks 3rd gear oil past the clutches you just installed.
- The actuator feed limit screen. It clogs with debris and drops EPC pressure, which drops line pressure everywhere downstream. On a unit that failed dirty, this is a near certainty rather than a maybe.
- The 3-4 backing plate. The OE plate flexes under clutch apply, which lets heat build unevenly in a pack that already has limited space. A heavy-duty plate — Sonnax 74140-01K — is the standard correction.
Cost-wise, the frictions and steels are already inside the master kit. The backing plate, the checkball capsule and the AFL screen are small adders. Skipping them is what turns one rebuild into two.
If you are sourcing the heavy-duty plate, the 4L65E heavy-duty 3-4 clutch backing plate kit (74140-01K) is the exact part for this correction.
Cost Driver 2: The Input Sprag and Its Races
This is the line item people try to economize on and should not. Sonnax is explicit that you install a new sprag assembly including new inner and outer races, because used races may be worn or manufactured out of spec. Reusing a race that looks fine to the eye is how a freshly rebuilt unit comes back with a no-3rd complaint.
A sprag is also a debris victim. Micron-sized contamination undermines engagement, which is another reason a dirty failure costs more than a clean one: the sprag that would have survived a soft-parts job did not survive this one.
On its own the sprag is a moderate adder, but it rarely arrives alone. A sprag that let go usually takes the Forward clutch or the input housing with it, and that is when the number climbs.
Cost Driver 3: The Pump, the PR Valve and the Boost Valve
The pump is where a rebuild either gets fixed or gets scheduled to fail again. Sonnax notes that pressure regulator valve bore wear is common in 4L60/E units, and their detection method is worth memorizing: a worn OE pressure regulator valve shows up on a dyno as low line pressure during boost, reading 50 to 100 psi less than specified in Reverse. The road symptoms that travel with it are clutch slippage, reverse chatter and, predictably, 3-4 clutch failure.
Worse than low is unstable. When the bore is worn at both ends, the high-side and low-side wear do not cancel each other out; pressure goes erratic, and erratic pressure is what kills pumps. The tell on a pressure gauge is needle bounce rather than a steady reading, so watch the needle, not just the number.
The honest way to price this section: if the unit failed on pressure, a correction to the PR and boost valve circuit belongs in the quote. Leaving it out makes the estimate lower and the job worse.
Cost Driver 4: The Reaction Shell, Sun Gear and Rear Planet
Here is the one that turns a mid-priced rebuild into an expensive one, and the one nobody can see coming from the symptom.
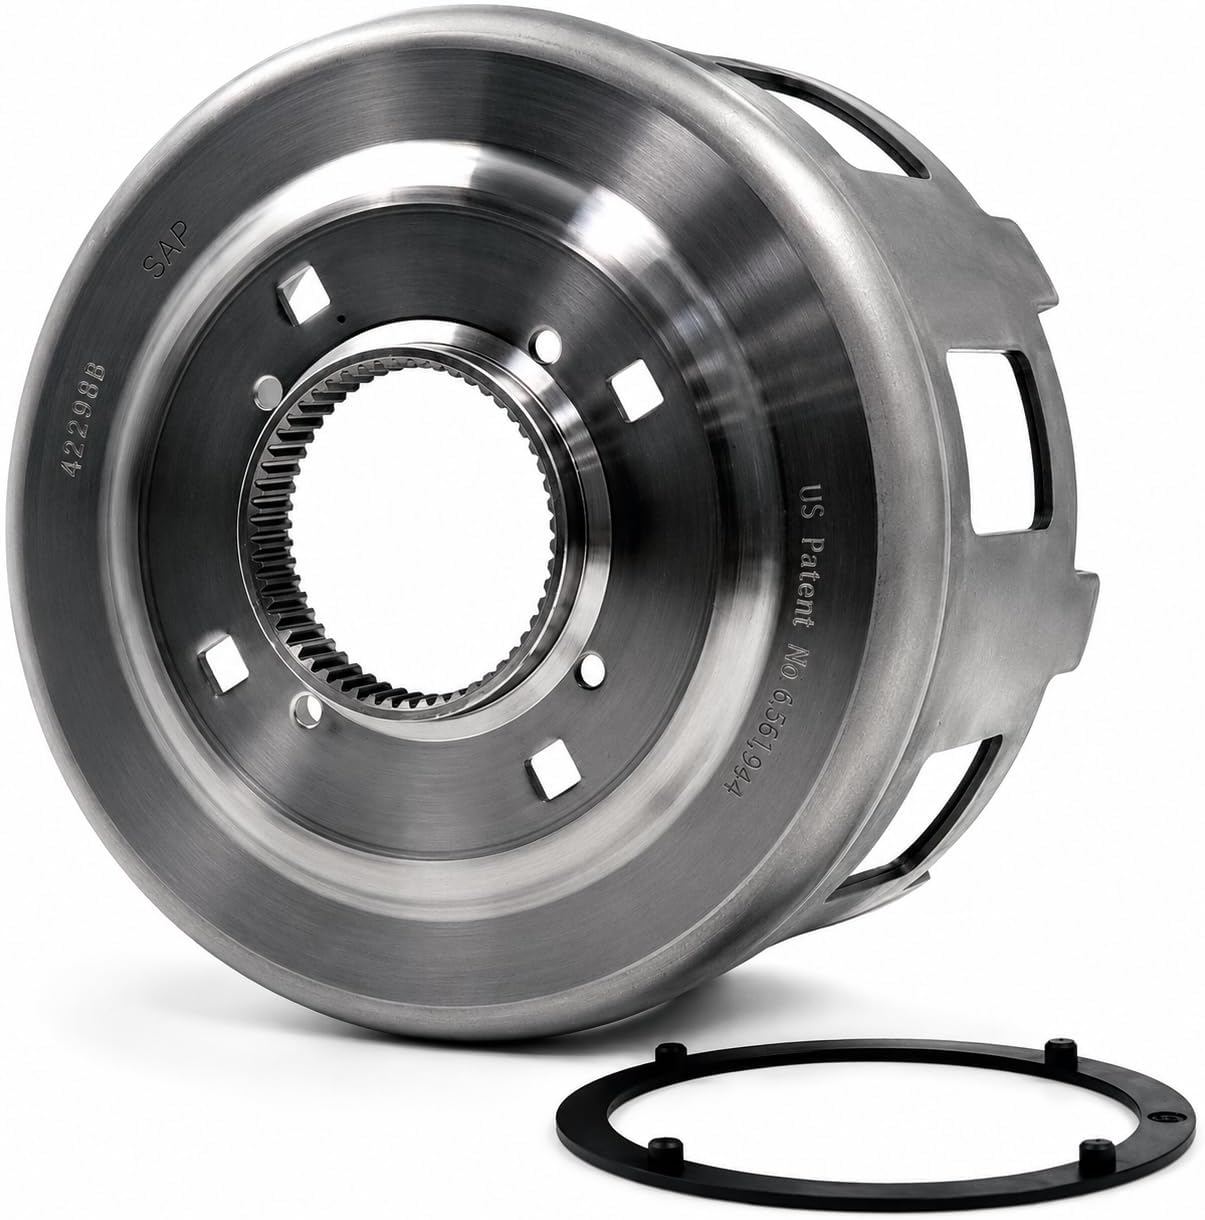
Sonnax measured run-out across the assembled gear train and found that most reaction shells show about .010 in. of run-out when checked, with some as bad as .050 in. of wobble. That wobble is not cosmetic. A wobbling sun gear makes the planet rock back and forth, and the documented consequences are reaction shell breakage, spline wear, rear planet bearing failure and a rare 2nd gear shudder.
The check is a bench stack-up and it costs nothing but time: clamp the output shaft in a vise, stack the front planet, bearing, reaction carrier shaft, bearing, rear planet (pinions removed) and rear planet bearing, drop the reaction shell and rear sun gear over the assembly, then spin it and measure the shell. While it turns, watch the sun gear tooth contact pattern — a pattern that wanders means a poorly manufactured gear, not an assembly error. If the reaction carrier shaft needs replacing in a late bearing-style unit, the GM part number is 24222756.
A shell and a rear planet are individually priced castings and assemblies. This is the section that explains a four-figure gap between two quotes on the same truck.
Cost Driver 5: The 2-4 Band and Servo Travel
The band itself is inexpensive. Getting it wrong is not. Sonnax specifies servo travel between .075 in. and .125 in., set with a dial indicator, with the apply pin selected to land inside that window. Guessing at pin length instead of measuring is a common source of a burnt band on an otherwise good build.
There is a related trap when a wider aftermarket band goes onto a reused drum: the old band has already compressed the drum and left a subtle dish on the surface, so the new band does not carry load across its full width. A dished drum is a part, not an adjustment, and it belongs on the quote.
The Line Items Everyone Forgets
These do not live inside the transmission, which is exactly why they get dropped from estimates and then reappear as a comeback.
The cooler and lines. Writing in Transmission Digest, Lubegard product-technical manager Pat Burrow describes contaminated cooler circuits as a frequent cause of premature failure in replacement transmissions, because the cooler and lines hold dirt, grease, sludge, clutch material and metal shavings that will quickly destroy the unit you just installed. His harder point: if the failure was catastrophic and filled the transmission with metal, it may not be possible to remove all the debris no matter which cleaning method you choose. That is the moment the radiator or cooler becomes a part on the invoice — and some suppliers void the warranty on a rebuilt or reman unit if it is not replaced.
Flushing done properly. Sonnax TASC Force member Jeff Parlee, also in Transmission Digest, puts the procedure plainly: with the unit out, check the cooler lines for kinks, rub marks and leaks, and flush the cooler in both directions for as long as it takes to get it clean. Use a flare-nut wrench on cooler-line fittings. An open-end or adjustable wrench rounds the nut and the fitting, and now you are buying a line as well.
The converter. A converter is a reservoir. If the fluid carried metal, the converter is holding some of it, and it will hand that metal back to a fresh build. Prove it clean or replace it.
Reassembly discipline. On a rear-wheel-drive application, mark the driveshaft and the differential yoke before they come apart. Many driveshafts are phased, and a vibration complaint after a transmission job is an expensive way to learn that.
A second pan magnet. Cheap, and it keeps debris away from the EPC solenoid — which protects the pressure control that protects the clutches.
The Bench Checks That Set the Price
Run these before anyone quotes hard parts. Each one moves a unit between the cheap column and the expensive one.
- Air check the loaded input drum for 3-4 and Forward clutch leakage, and vacuum test the input housing checkball to a minimum of 25 in-Hg.
- Vacuum test the valve body circuits — the AFL valve, the TCC regulator and isolator, the 1-2, 2-3 and 3-4 shift valves, and the 3-2 downshift valve. Bore wear here is what produces the pressure loss that burns clutches.
- Vacuum test the 2-4 servo for leakage before deciding the band was the problem.
- Check gear train run-out with the vise stack-up described above.
- Inspect the stator support where the input shaft seal rings ride, and confirm the stator sleeve has not rotated and blocked its feed holes.
- Test line pressure in Reverse under boost. Anything 50 to 100 psi below spec points at the pressure regulator valve, and needle bounce points at instability rather than simple leakage.
Six checks, no parts purchased, and at the end of them you know whether you are buying a kit or a kit plus a gear train.
Fluid, Capacity and Torque
Refill with DEXRON VI. GM moved this family to DEXRON VI and it is back-serviceable for the earlier DEXRON III fill, so it is the correct choice for any 4L65E on the bench today. Earlier fluids are not forward compatible, so do not go the other direction.
A pan drop and filter takes roughly 5 to 6 quarts depending on pan depth. A dry fill after a rebuild with a drained converter runs about 11 to 12 quarts. Fill in stages, set the level hot and in gear on level ground, and verify against the service information for the specific year and application.
Torque valve body bolts to 89 to 106 in-lbs (roughly 8 to 9 ft-lbs). Overtightening distorts the separator plate and creates the exact cross-leaks the rebuild was supposed to eliminate. Pan bolts go evenly in a crisscross pattern. After the job, clear codes and let the adaptive pressure logic relearn before judging shift quality.
How to Keep the Next One From Costing This Much
Every expensive 4L65E rebuild traces back to one of two things: pressure that fell off and was never corrected, or debris that was never fully removed. Both are addressable.
- Service the fluid on a real interval. Clean fluid is what keeps the sprag engaging and the AFL screen open. Micron-sized debris is enough to start the chain.
- Treat a harsh-shift or slip complaint as a pressure complaint. Test line pressure before it burns the 3-4 pack, not after.
- Fix heat. These units live behind big engines and they tow. Cooling capacity is cheaper than a gear train.
- Do the small corrections during the rebuild. The backing plate, the checkball capsule, the AFL screen and a proper pump correction are small dollars measured against a second teardown.
FAQ
How much does a 4L65E rebuild cost?
Most of the spread comes from hard parts, not labor. A soft-parts rebuild where the frictions burned but the gear train survived uses a master kit, a band, a filter and fluid. Once the input sprag, the reaction shell, the rear planet or the pump are involved, the parts bill climbs fast because those are individually priced castings and assemblies. Ask any shop to itemize hard parts separately from the kit, because that line is where two quotes on the same transmission diverge.
Is it cheaper to rebuild a 4L65E or replace it?
It depends entirely on what failed and what the debris did. A transmission that burned a 3-4 clutch pack from low line pressure is usually a straightforward rebuild. A unit that came apart hard, filled itself with metal and contaminated the cooler circuit is a different job, because Transmission Digest documents that debris left in the cooler and lines quickly destroys the replacement unit. That contamination cost lands on either path, so compare the total job, not the core price.
Why did my 4L65E burn the 3-4 clutches again after a rebuild?
Sonnax states plainly that low line pressure and leaks of 3rd Gear oil are the root cause of most 3-4 slipping. If the rebuild replaced the burnt clutches but did not address the pressure regulator valve bore, the boost valve, the 3rd accumulator checkball capsule or the actuator feed limit screen, the new clutches are working in the same low-pressure environment that cooked the originals. That is a repeat failure, not bad luck.
Does a 4L65E rebuild need the torque converter replaced?
Not automatically, but it needs to be proven clean. If the failure put metal into the fluid, the converter is a reservoir for that debris and it will feed it back into a fresh build. The same applies to the cooler and lines. A converter that is simply worn on the lockup lining is a separate decision from a converter that is full of clutch material.
What fluid and how much does a 4L65E take after a rebuild?
DEXRON VI. GM moved this transmission family to DEXRON VI and it is back-serviceable for the earlier DEXRON III fill, so it is the correct choice for any 4L65E on the bench today. A pan and filter service takes roughly 5 to 6 quarts depending on pan depth; a dry fill after a rebuild with a drained converter runs about 11 to 12 quarts. Fill in stages and set the level hot and in gear.
4L65E Master Transmission Rebuild Kit with Pistons
The soft-parts layer of the job in one box — frictions, steels, pistons, seals and gaskets matched to the 4L65E. Confirm your year and pan style before ordering.
View the 4L65E master rebuild kit →Need hard parts too? Browse the full 4L65E parts collection.
4L65E master rebuild kits, sprags, reaction shells, bands, valve body components, filters and DEXRON VI — shipped fast from the USA.
Shop 4L65E parts →Sources
- Sonnax — "All Over the Map: Attacking 4L60-E Burnt 3-4 Clutches With Confidence." Backs the root-cause statement that low line pressure and leaks of 3rd Gear oil cause most 3-4 slipping; the 25 in-Hg minimum vacuum spec on the input housing checkball; the 3rd accumulator checkball capsule as a leading cause of 3-4 clutch failure and the warning never to replace it with a cup plug; the actuator feed limit screen clogging with debris and dropping EPC pressure; the heavy-duty 3-4 backing plate 74140-01K; and the second pan magnet recommendation. sonnax.com
- Sonnax — "Building the Killer 4L60E: Top Tips for Optimizing Your Transmission Upgrades." Backs the requirement to install a new input sprag assembly including new inner and outer races because used races may be worn or manufactured out of spec; the 2-4 servo travel window of .075 in. to .125 in. set with a dial indicator; the note that a reused band leaves a subtle dish on the drum surface; that pressure regulator valve bore wear is common in 4L60/E units; and that minor 3rd accumulator checkball leaks are directly related to band and 3-4 clutch failure. sonnax.com
- Sonnax — "Do Not Let Run-Out Make Problems for Your 4L60-E." Backs the gear train run-out figures and the stack-up inspection: most reaction shells measure about .010 in. of run-out when checked, with some as much as .050 in. of wobble; the vise-mounted output shaft stack-up procedure; the sun gear tooth contact pattern check; the associated failures of reaction shell breakage, spline wear, rear planet bearing failure and 2nd gear shudder; and reaction carrier shaft GM# 24222756 for late bearing-style units. sonnax.com
- Sonnax — Oversized Pressure Regulator Valve 77917-07. Backs the detection method for a worn OE pressure regulator valve: low line pressure during boost, reading 50 to 100 psi less than specified in Reverse, with vehicle symptoms of clutch slippage, reverse chatter and 3-4 clutch failure; and that bore wear at both ends produces erratic pressure rather than wear that cancels itself out. sonnax.com
- Transmission Digest — "To Flush or Not to Flush," Pat Burrow, product-technical manager, Lubegard (June 1, 2019). Backs that contaminated cooler circuits are a frequent cause of premature failure of replacement transmissions; that coolers and lines hold dirt, grease, sludge, clutch material and metal shavings that will destroy a fresh unit; that a catastrophic failure may make full debris removal impossible regardless of method; and that some suppliers void the warranty unless the radiator or cooler is replaced. transmissiondigest.com
- Transmission Digest — "Avoiding After-Overhaul Problems," Jeff Parlee, Sonnax TASC Force (January 1, 2008). Backs the R&R discipline items quoted: flush the cooler in both directions for as long as it takes to get it clean; check cooler lines for kinks, rub marks and leaks with the unit out; use a flare-nut wrench on cooler-line fittings because an open-end wrench rounds the nut and fitting; and mark the driveshaft and differential yoke on rear-wheel-drive vehicles because many driveshafts are phased. transmissiondigest.com