Most 5R55W cooler line jobs start one of two ways: a line cracked or corroded and is dripping red fluid onto the driveway, or a transmission just failed and the lines are the last thing standing between the old mess and the new unit you are about to install. The procedure overlaps but the stakes do not — get the line disconnect wrong on a simple leak repair and you waste an afternoon; skip the flush step before a new transmission goes in and you can kill that transmission inside a few hundred miles. This guide covers both: the correct tool and technique to pull the quick-connect fittings, why the installation paperwork insists on flushing or replacing the lines, the vent tube that gets confused with the cooler line, and the fill procedure to get the level right when you are done.
Confirm You Have a 5R55W Before You Order Tools
The 5R55 family gets confused across model years because Ford reused the layout with running changes. Per Sonnax's identification reference, the 5R55W went into Explorer and Mountaineer models starting in 2002, with the 5R55S taking over for those platforms around 2004-2005, and the related 5R55N used in the Ranger and other applications shares the general architecture but is not parts-interchangeable in most areas. The practical reason this matters here: cooler line fitting size and disconnect tool size track the vehicle and model year, not just "5R55-something," so confirm the transmission tag or cross-check your VIN before you buy a tool sized for the wrong unit.
The Quick-Connect Fittings and the Right Disconnect Tool
The 5R55W uses quick-connect fittings where the cooler lines meet the radiator (and on some routings, at the transmission case end as well). These fittings release with a snap-ring style collar rather than a wrench, and pulling on the line without the right tool just mangles the fitting or the line end. Two tool sizes exist for this general Ford cooler line family, and picking the wrong one is the most common mistake on this job.
OTC's own product listing for its Ford Transmission Cooler Line Disconnect Set states it plainly: the 3/8 inch disconnect is used on 2003-newer Ford Explorers with the 5R55W transmission, and is similar to Ford special tool 307-441, while the 1/2 inch disconnect in the same set is for 2003-newer Ford Super Duty trucks running the 4R100 transmission (similar to Ford 307-459), per the same OTC 6593 listing. Lisle's version of the same tool (its 39960 set) lists the same two sizes and extends the 3/8 inch application to 2004-and-later F-150s in addition to the Explorer. The transmission is the more reliable way to pick the size than the vehicle alone, since a Super Duty and an Explorer can share a cooler line style but not a transmission.
To use it: push the line toward the connector first to relieve any binding, slide the correct-size tool around the line, engage it into the fitting's collar, then pull the line straight out while holding the tool engaged. Both tool makers describe the same basic motion. Have fluid catch ready underneath before you pull -- there is no way to stage this cleanly, the line will drain the moment it separates.
Inspect What You Pulled Before You Reuse Anything
Quick-connect fittings seal on an internal O-ring, and that O-ring is the actual wear item, not the plastic or metal collar. A fitting that has been in service for 10+ years on a daily-driven Explorer commonly has a hardened or flat-spotted O-ring even if the collar and retaining tabs look fine. If the line was leaking at the fitting itself rather than from an overfill or a cracked hard line, replace the O-ring or the connector end rather than reinstalling the old one and hoping heat cycling softened it back up. A connector that leaked once under normal pressure will leak again under the same pressure.
Also look at the hard line itself where it exits the fitting. Corrosion at a crimped or flared joint on a line that has seen 15-20 years of road salt and heat cycling can be brittle enough that pulling it with the disconnect tool cracks the line end rather than releasing cleanly. If that happens, you are now replacing the line, not just the fitting -- budget for that possibility before you start rather than discovering it with fluid running down your arm.
Why the Installation Paperwork Insists on Flushing or Replacing the Lines
If this cooler line job is happening because a transmission just failed and a replacement is going in, do not treat the lines as a bolt-on afterthought. The 5R55S/W installation guide used by remanufacturers puts this requirement ahead of almost everything else on the pre-installation checklist: completely clean, hot flush, and flow test the entire transmission cooling system, and if the cooling system is damaged, plugged, or glycol/water contaminated, it must be replaced. The same document states flatly that failure to do this is the leading cause of transmission failure after replacement.
Transmission Digest backs the same point from the contamination side. In a 2019 technical piece on the subject, Lubegard's Pat Barrow writes that contaminated cooling systems -- usually mounted in the bottom of the same radiator that cools the engine -- are often the cause of premature failure in replacement transmissions, because they are not properly cleaned and purged of used fluid full of contamination and debris from the transmission that previously failed. He lists the specific debris types that collect in the lines and cooler: dirt, grease, sludge, clutch material, metal shavings and particles, any of which will destroy a new or rebuilt unit if it washes back in during the first few miles.
The decision tree from there is straightforward. If the old transmission failed from a worn solenoid, a seal, or a clutch pack wearing out gradually -- not a catastrophic internal breakup -- the cooler and lines typically only need to be purged of old fluid and light debris, which a hot flush or an aerosol line flush handles. If the failure was catastrophic (the internals came apart violently and filled the case with metal), Barrow notes that it may not be possible to remove all the debris from the cooler no matter what cleaning method is used, and some transmission suppliers require a new radiator or external cooler as a condition of the warranty. Some even require the old cooler or radiator to be returned with the core. Check what your specific transmission supplier requires before you decide to flush instead of replace -- reusing a cooler against a documented requirement can void the warranty on the new unit regardless of how clean you got it.
Ford's own service data for the 2002 Explorer and Mountaineer goes further than the reman paperwork. Its caution says that whenever the transmission has been disassembled for new parts, or a new or remanufactured unit has been installed, a new transmission fluid cooler (in-tank, auxiliary or oil-to-air, if equipped) is to be installed, and the cooler tubes cleaned and backflushed with a torque converter/fluid cooler cleaner [6]. Ford's reasoning is the same one Barrow gives: metal particles, clutch plate material and band material carried into the cooler are "a major cause of recurring transmission concerns" [6]. Ford's backflush procedure is specific [6]:
- Use clean ATF only, no solvents, and confirm vigorous flow from the cleaner before you start.
- Remove and discard the in-line transmission fluid filter, if one is fitted.
- Connect the cleaner's pressure line to the steel return line (the longer of the two), and run the tank return hose from the steel pressure line (the shorter one), so the cooler is flushed backward.
- Circulate for at least 5 minutes, cycling the pump on and off to knock debris loose, then blow the cooler and lines out with compressed air into the return line until all the fluid is gone.
If you are flushing rather than replacing: catch the fluid coming out in a clear container as you flush, so you can see how much metal and contamination is actually present. A large volume of metal in that catch pan is the signal to stop flushing and replace the cooler instead. If there is little or no contamination, Barrow recommends installing an inline transmission filter on the low-pressure return line running from the radiator or heat exchanger back to the transmission as cheap, added insurance against anything that got missed.
Shop 5R55W parts →
The Vent Tube Is Not the Cooler Line -- Don't Confuse Them
While you have the back of the transmission open for cooler line work, it is easy to mistake the external vent tube assembly for a third cooler line, especially since a failed vent produces the same symptom: fluid where it should not be. The vent relieves case pressure rather than carrying fluid to the radiator, and it is a separate three-piece assembly -- front, middle, and rear fittings -- that pops apart by hand rather than with the quick-connect disconnect tool.
The installation guide gives the exact removal order: release the front fitting by squeezing the inner tabs, remove the middle fitting (if present) with locking pliers by twisting it while pulling out, then remove the rear fitting by squeezing and twisting its tabs, being careful not to bend it to the side, since that can crack the plastic. Reinstallation reverses the order -- rear fitting first, then middle, then front. If the vent needs to be replaced outright rather than just transferred from an old core, the guide lists the OEM part number for both the 5R55S and 5R55W as 6L2Z-7034-CA.
Refilling and Setting the Level When the Job Is Done
Any time the cooler lines are disconnected, the transmission loses fluid back through the lines in addition to whatever drained from the pan if you dropped it. The 5R55W has no dipstick, so getting the level right after the job requires the same procedure as a full service, not a quick top-off by quart count.
Ford specifies MERCON V for the 5R55W/S and lists 12.6 qt (12.0 L) total capacity, with a note that capacity is approximate and the level must be set by the check procedure rather than by the amount poured in [6]. Ford's check is done with the engine idling in Park and TFT on the scan tool between 81 and 120°F; a thin stream or drip from the center plug means full [6]. If you fill with pressurized equipment, Ford says to drop it to one psi, or fluid pushes out the vent and looks like a converter-area leak [6] -- not what you want to see right after a cooler line job. ATRA's bulletin on the same plug-and-adapter fill describes adding a pint at a time and watching for drain-back [7].
Per the installation guide: remove the T30 torx fill/level check plug from the center of the drain plug and install Ford's special tool 307-437 (or an equivalent fill adapter). Pump in 8 quarts of synthetic fluid or Mercon V fluid, start the engine, then pump in 2 more quarts while the engine idles at roughly 650 RPM and the fluid comes up to 80-120°F (27-49°C). With the brakes applied, cycle the shifter through every gear range, holding 5 seconds in each, then return to Park. At that point roughly 10 quarts total have gone in (the unit ships from a rebuilder with 1-2 quarts already in it) -- remove the hot fill tool and check: no fluid means add more, a steady translucent stream or rapid drip means the level is correct, and you reinstall the plug immediately.
Two general dry-fill numbers from the same guide are useful for planning how much fluid to have on hand: 5R55S/W units behind the 3.0L and 3.9L engines run about 11.2 quarts dry-fill capacity, while units behind the 4.0L and 4.6L engines run 12.4 to 12.7 quarts. Torque the bottom pan drain plug to 19 ft-lbs (26 Nm) and the T30 oil level check plug to 89 in-lbs (10 Nm) -- both are light torques for an aluminum pan and a plastic-bodied tool, and overtightening either one creates a new leak on top of the one you just fixed.
Before you call the job finished, road test it. Bring the engine to normal operating temperature, accelerate moderately from a stop to 50 mph so the transmission shifts into 5th gear, hold steady speed and throttle for at least 15 seconds, then brake to a stop and sit for at least 20 seconds. Repeat that cycle a handful of times, then put it back on a lift and recheck both the fluid level and that no fitting you touched is weeping. If you are chasing a stubborn leak rather than doing a planned transmission swap, we cover the other common 5R55W leak points -- pan gasket, front pump seal, and the rear extension housing seal -- in our 5R55W fluid leak guide.
Working on a 5R55W cooler line this week?
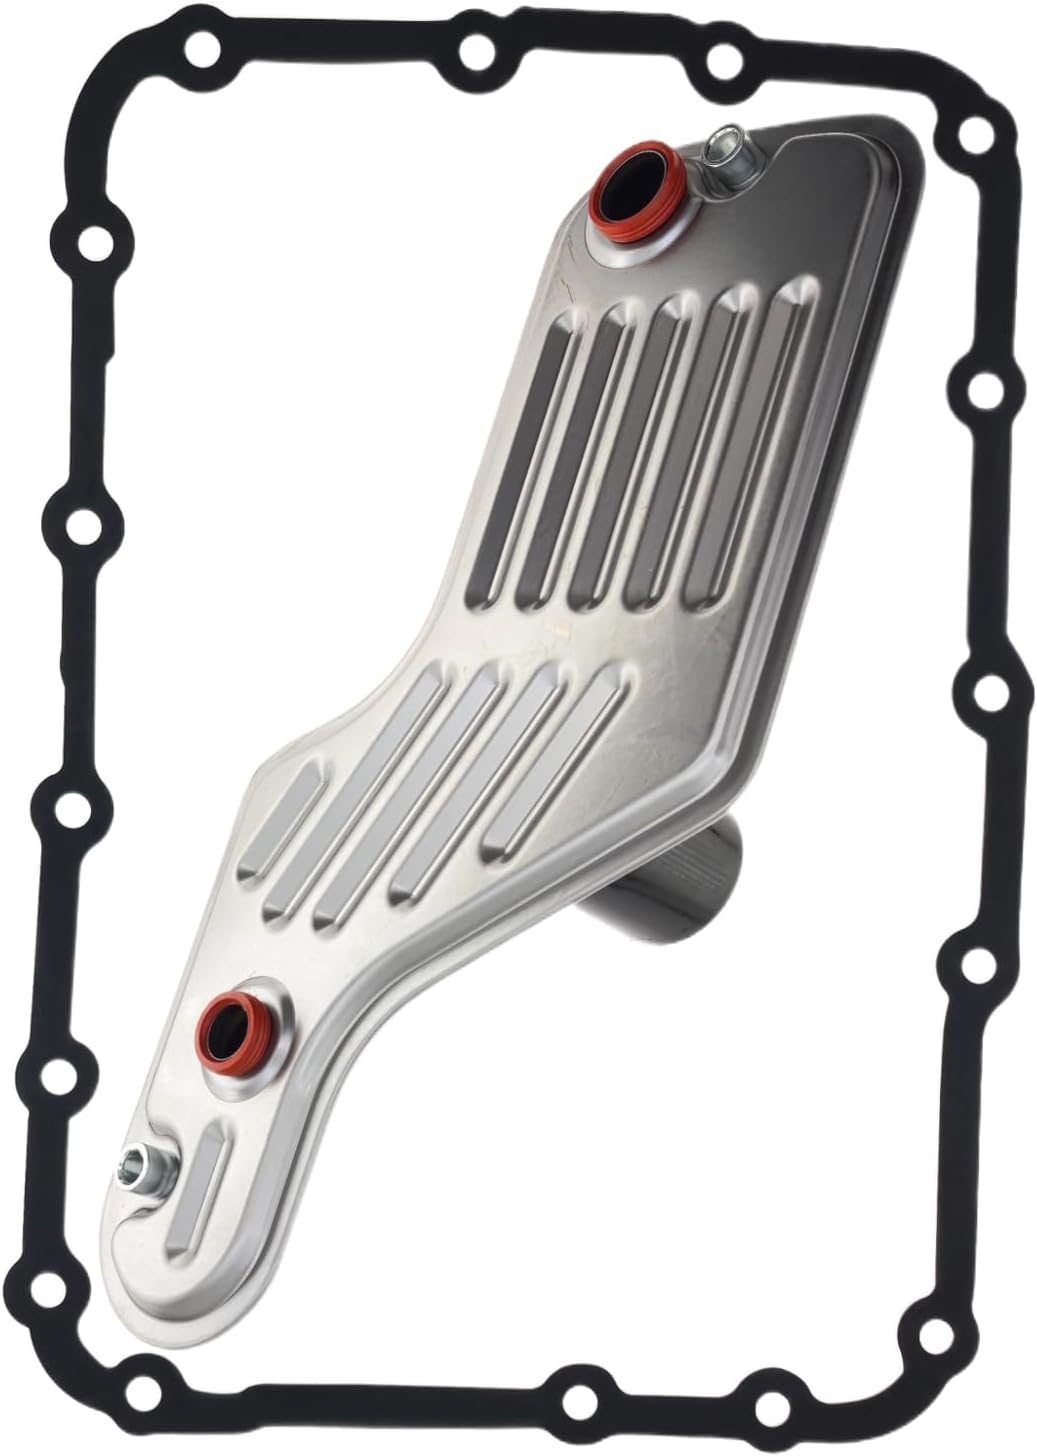
The quick-connect disconnect tool set, the ATF fill adapter, and the filter and pan gasket kit to finish the job right — shipped fast from the USA.
Shop 5R55 parts →FAQ
What size disconnect tool do I need for 5R55W cooler lines?
3/8 inch. OTC's own product listing for its Ford cooler line disconnect set states that the 3/8 inch disconnect is used on 2003-newer Ford Explorers with the 5R55W transmission, and is similar to Ford special tool 307-441. The 1/2 inch disconnect in the same set is for Super Duty trucks running the 4R100, not the 5R55W, so do not grab the larger tool by mistake.
Do I really need to flush the cooler lines before installing a replacement transmission?
Yes. The 5R55S/W installation guide used by remanufacturers states it directly: completely clean, hot flush, and flow test the entire transmission cooling system, and if it is damaged, plugged, or glycol/water contaminated, it must be replaced, because failure to do so is the leading cause of transmission failure after replacement. Transmission Digest backs the same point from the fluid side: dirty cooler lines left in service after a transmission swap are commonly contaminated with dirt, grease, sludge, clutch material, and metal shavings that will destroy the new unit.
What is the vent tube and is it the same as a cooler line?
No. The vent tube is a separate three-piece assembly (front, middle, and rear fittings) that relieves case pressure, while the cooler lines carry fluid to and from the radiator-mounted cooler. They sit near each other and both trigger messy leaks, which is why they get confused. The 5R55S/W installation guide lists the vent tube's OEM replacement part number as 6L2Z-7034-CA and gives the removal order: squeeze the front tabs to release the front fitting, use locking pliers to twist out the middle fitting if present, then squeeze and twist to remove the rear fitting without bending it.
What torque do I use on the pan and fill plug after reconnecting the lines?
The 5R55S/W installation guide lists the bottom pan drain plug at 19 ft-lbs (26 Nm) and the T30 oil level check plug at 89 in-lbs (10 Nm). Both numbers are light torques meant for an aluminum pan and a plastic-bodied fill tool, so do not treat them as a starting point to snug further -- overtightening either one creates a new leak faster than the cooler line job you just finished.
How much fluid does a 5R55W take after a cooler line job that drained the system?
The installation guide lists a general dry-fill capacity of 11.2 quarts behind the 3.0L and 3.9L engines, and 12.4 to 12.7 quarts behind the 4.0L and 4.6L engines. That is a dry-fill number for a transmission that was fully drained, not a quick top-off figure, and the actual level still has to be set through the T30 plug with the engine idling hot, not by quart count alone.
Related 5R55W guides
Sources
- 5R55S & 5R55W Installation Guide (remanufacturer service documentation). Backs the pre-installation requirement to completely clean, hot flush, and flow test the cooling system (replacing it if damaged, plugged, or glycol/water contaminated) as the leading cause of transmission failure after replacement; the T30 fill/level plug procedure with Ford special tool 307-437; the fill steps (8 quarts, warm to 80-120°F at 650 rpm, cycle through gears, add 2 more quarts before checking); dry-fill capacities of 11.2 quarts (3.0L/3.9L) and 12.4-12.7 quarts (4.0L/4.6L); the drain plug torque of 19 ft-lbs (26 Nm) and level plug torque of 89 in-lbs (10 Nm); the vent tube removal/installation order and OEM part number 6L2Z-7034-CA; and the post-repair test drive cycle. static.summitracing.com/.../vre-7800a-4s.pdf
- Transmission Digest — "To Flush Or Not To Flush," Pat Barrow (Lubegard), June 1, 2019. Backs contaminated cooler lines/coolers as a common cause of premature replacement-transmission failure, the specific debris types (dirt, grease, sludge, clutch material, metal shavings), the catastrophic-failure caveat that full debris removal may not be possible, supplier requirements to replace the radiator/cooler or return it with the core, and the inline-filter recommendation when contamination is minimal. transmissiondigest.com
- Sonnax — "Figuring Out the 5R55 Alphabet," Bob Warnke, September 19, 2007. Backs the 5R55W-to-5R55S model year progression in Explorer/Mountaineer (5R55W from 2002, 5R55S taking over around 2004-2005) and the limited parts interchange with the related 5R55N, used here to confirm transmission identification before tool and parts purchase. sonnax.com
- OTC Tools (Bosch Automotive Service Solutions) — Ford Transmission Cooler Line Disconnect Set (SKU 6593) product listing, archived copy. Backs the 3/8 inch disconnect tool size for 2003-newer Ford Explorers with the 5R55W transmission (similar to Ford tool 307-441), the 1/2 inch size for 2003-newer Super Duty trucks with the 4R100 (similar to Ford 307-459), and the snap-around, push-into-the-fitting release technique. otctools.com (archive.org copy)
- Lisle Corporation — 39960 Ford Transmission Oil Cooler Line Disconnect Set product listing. Backs the same 3/8 inch and 1/2 inch tool sizing, the extended 3/8 inch vehicle application to 2004-and-later F-150s, and the push-toward-connector-then-pull disconnect method. lislecorp.com
- Ford Motor Co. service information (Mitchell reprint) — 2002 Ford Explorer, "Servicing - Explorer & Mountaineer." Backs the new-cooler and backflush requirement after a rebuild or reman install, the return-line (longest) / pressure-line (shorter) backflush hookup, 5-minute circulation and air blow-out, MERCON V and 12.6 qt capacity, the 81-120°F TFT check-plug level procedure, and the one-psi pressurized fill caution. 5R55W/S Servicing (PDF)
- ATRA — Technical Bulletin #746, "5R55N, 5R55S & 5R55W: New Rotunda Tool for Checking Fluid Level and Filling Transmissions" (2003). Backs the no-dipstick pan plug fill with adapter 307-437, the pint-at-a-time fill and drain-back check, and the 10 Nm (89 lb-in) level plug torque. ATRA TB 746 (PDF)