A slipping 5R55W in a Mercury Mountaineer gets misdiagnosed more often than the same unit in an Explorer, mostly because people assume the two trucks are identical underneath and grab whatever Explorer numbers they find. The transmission is the same family, but a lot of Mountaineers came with the 4.6L V8, and Ford gives the 4.6L its own line pressure, pressure control and stall speed specs. Use the 4.0L numbers on a V8 truck and a healthy unit looks bad, or a sick one looks fine.
This is how I work a slipping Mountaineer: confirm which unit is actually in it, set the fluid level correctly, pin the slip to a specific shift, then put a gauge on it with the right engine's specs before anything comes out of the truck.
The short version: Ford's symptom chart ties a soft or slipping 1-2 or 4-5 shift to the overdrive band and servo, a slipping 2-3 to the intermediate band and servo, and a slipping 3-4 to the direct clutch and center support [1]. On a 4.6L V8 Mountaineer, Ford's line pressure spec at idle is 100-135 psi in the forward ranges and 175-215 psi in Reverse, and stall speed should be 2687-3150 rpm [1]. The most common root cause behind band slip on this unit is a worn servo apply pin bore in the case [4][5]. Fluid is MERCON V, 12.6 qt total, set at the check plug at 81-120°F TFT [2].
First, Confirm It Is Really a 5R55W
Sonnax's Bob Warnke lays out the timeline: the W showed up in Explorers and Mountaineers for 2002-2003, then gave way to the S in 2004-2005 models [3]. The W uses a 24-tooth overdrive sun gear and the S uses a 38-tooth one, so hard parts do not all interchange even though the case, valve body layout and failure patterns are close cousins. Ford's own service information covers both under one 5R55W/S procedure, for the Explorer and Mountaineer with either the 4.0L or 4.6L engine [1].
Why it matters for a slip: the diagnosis below applies to both, but when you order a planetary, sun shell or rebuild kit, you need to know which one you have. Pull the tag or check the build date before you buy anything.
Step 1: Set the Fluid Level the Ford Way
There is no dipstick on the Mountaineer 5R55W. A lot of "slipping" complaints start after a quick-lube fluid change where somebody guessed at the level. Ford's procedure [2]:
- Hook up a scan tool and watch PID TFT. Warm-idle should be about 650 rpm.
- Bring TFT to 81-120°F (27-49°C). Ford notes the level can also be checked above 122°F with the same procedure.
- Cycle the lever through each gear, back to Park, and get the truck as level as possible on the hoist.
- Engine running in Park, pull the fluid level indicator plug (3/16" Allen) in the center of the drain plug. Hold the larger drain plug with a wrench while you do it.
- A thin stream or drip means the level is correct. Nothing coming out means it is low; add MERCON V through fill adapter 307-437 in half-pint steps until it drains.
Ford calls for MERCON V (XT-5-QM or XT-5-DM) and lists total capacity at 12.6 qt (12.0 L), with a warning that any other fluid can damage the transmission [2]. TransGo's instructions make one point worth repeating: a burp out of the check hole is not a full level. It has to run a full stream [6].
One more fluid detail that bites rebuilders: Sonnax notes the early factory fill on these units used an early MERCON V that degraded the solenoid body, Ford issued an additive (4L2Z-19B546-AB, bulletin FSA 04B22) and then a revised XT-5-QM [3]. If you are putting a new solenoid pack in a 2002-2003 truck, get every trace of old fluid out, or the next solenoid will not live long.
The AWD transfer case is a separate unit on MERCON ATF (XT-2-QDX), not MERCON V [2]. Do not mix them up during a service.
Step 2: Pin the Slip to a Shift
Drive it with the scan tool hooked up and note exactly where the engine flares. Ford's symptom chart lists the mechanical suspects for each shift [1]:
| Complaint | Ford's mechanical suspects (beyond pressure and valve body) |
|---|---|
| Soft or slipping 1-2 | Overdrive band and servo |
| Soft or slipping 2-3 | Intermediate band and servo, direct one-way clutch |
| Soft or slipping 3-4 | Center support, intermediate servo, direct clutch |
| Soft or slipping 4-5 | Overdrive band and servo |
| Soft or slipping 5-4 | Direct clutch, direct one-way clutch |
| Slipping in all shifts | Fluid level/condition, plugged filter, line pressure, PC and shift solenoids, pump, forward clutch and more |
Every one of those lines also lists incorrect line pressure, sticking valves and valve body bolt torque (cross-leaks) first [1]. Note that the 1-2 and 4-5 shifts both point at the same band. A Mountaineer that flares going into 2nd and slides into 5th on the highway, but feels fine through 3rd and 4th, is telling you the overdrive band and servo are not holding. GEARS columnist Mike Brown lists slipping in 2nd and 5th gears as one of the common W/S complaints and says to check the servo pin bore first [5].
For codes, Ford's procedure on every slipping-shift complaint starts with the quick test, then runs Test A (shift and TCC solenoids), Test B (TFT sensor) and Test D (PC-A, PC-B and PC-C solenoids), adding Test E (ISS, OSS and TSS speed sensors) for 2-3 and 3-2 complaints [1]. TransGo's sheet adds the code pattern that goes with a bad overdrive band or bore: P0732 and P0735, with a 1-2 slide bump, 2-3 flare and 4-5 slide bump [6].
Step 3: Gauge It With the 4.6L Specs
This is where Mountaineer owners get burned. Ford publishes separate numbers for the 4.0L and 4.6L. Connect the gauge to the line pressure port, set both brakes, and check every range at idle [1]:
| Range (at idle) | 4.0L V6 line pressure | 4.6L V8 line pressure |
|---|---|---|
| P and N | 75-120 psi | 75-120 psi |
| R | 145-190 psi | 175-215 psi |
| D, 3, 2, 1 | 80-110 psi | 100-135 psi |
A 4.6L truck reading 95 psi in Drive at idle is inside the V6 range and five psi under the V8 minimum. That is a real low-pressure condition hiding behind the wrong spec sheet. If line pressure is out, Ford has you move the gauge to the pressure control tap; the 4.6L spec there is 55-65 psi in P and N and 40-50 psi in R and the forward ranges at idle [1]. If control pressure is also out, go to Test D on the PC solenoids. If control pressure is good and line pressure is not, use Ford's line pressure results chart:
- Low at idle in all ranges: low fluid, filter or filter seal, loose valve body bolts, pump or pump gasket, case leakage, valve body or separator plate.
- Low in all forward ranges: forward clutch, valve body, overdrive servo or intermediate servo.
- Low in Manual 2 or Manual 3: intermediate servo, overdrive servo or forward clutch.
- Low in R only: separator plate, rear servo cover or piston, reverse clutch, either servo, valve body or forward clutch.
Stall test, done carefully
Ford's spec for the 4.6L is 2687-3150 rpm (the 4.0L is 2557-3036) [1]. Run the line pressure test first; Ford warns that if pressure is low at stall you will do more damage. Hold WOT no more than 5 seconds, run 1000 rpm in Neutral for 15 seconds between ranges, and clear the P0712 or P1783 that an extended stall test can set. Reading the result: high in 2 only points at the intermediate band or servo, high in R only at the reverse clutch, band or servo, high in all ranges at the forward clutch or direct one-way clutch, and low in all ranges at the engine or the converter stator one-way clutch [1].
Step 4: The Usual Root Cause, the Servo Pin Bore
On the W/S, both the overdrive and intermediate servos are applied through a hollow pin that rides in a bore machined into the aluminum case. Sonnax explains the path: apply oil comes through the center of the case bridge into the pin and acts on the cover side of the piston, while release oil feeds the spring side [4]. The pin oscillates constantly, wears the bore oval, and then:
- Apply oil leaks into the barrel area of the case, so the band gets less pressure and shift timing goes soft.
- Release oil cross-leaks into the apply circuits and exhausts at the shift valves.
- In Reverse both servos are charged from the release side, so a worn bore also gives you delayed Reverse.
Sonnax's published symptom list for the condition is 1-2, 2-3 and 4-5 flares, gear loss, codes 732, 733 and 735, band lining failure, and loss of overdrive and intermediate servo control [4]. Sonnax also notes these units are prone to foaming the fluid from excess exhaust and valve body wear, which pushes fluid out the vent and throws off the fill check [4]. If your Mountaineer is spitting fluid from the vent and the level reads high, that is a symptom, not an overfill.
The fix is to ream the bore and install a sleeve. Sonnax's 56361J-01K kit sleeves both servo locations, and their tooling aligns the reamer from the pin bore centerline rather than the piston bore [4].
The servo that air checks fine but is still the problem
Mike Brown describes a related trap in GEARS. Both servo pistons depend on release oil, not just their springs, to stay off. If the release side of a piston is hard, torn or delaminated, release oil crosses over and becomes apply oil. These servos often air check fine, because the apply side is fine. A small leak like that gives wrong-gear starts or a band failure after a short time, with gear ratio codes [5]. His quick test: engine running, truck on the lift, in Drive, have a second tech try to turn each band adjusting screw in. In Drive both bands should be off and both screws should turn. A tight screw means a band is applied when it should not be [5].
Step 5: Band Adjustment, and When It Will Not Save You
TransGo's adjustment for both the overdrive and intermediate bands: tighten the adjusting screw snug with a short wrench, back it off two turns, and tighten the locknut. Their sheet also notes the servo struts install with the short side toward the valve body [6].
An adjustment fixes a band that has simply worn into excess clearance. It will not fix a burned lining or a worn pin bore. If an adjustment cures the slip for a week and then it comes back, you are pushing a burned band with a leaking servo, and the case needs the sleeve.
When It Is the Valve Body, Not the Band
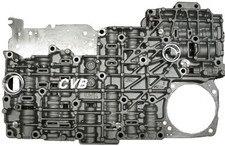
Warnke's article points to a less obvious cause. The TCC modulator and main regulator bores wear first, then the VFS 1, 2 and 3 modulator bores, which cuts clutch and servo pressure. The PCM's adaptive strategy hides it for a while, then you get gear ratio codes or slippage, and the solenoid or pin bore takes the blame when the VFS modulator valves simply cannot supply enough pressure [3]. Ford's own description of the PC solenoids backs this up: they control line pressure and band and clutch apply pressure, and a pressure that is always low can come from wiring, the PCM, or a solenoid stuck open or closed [1].
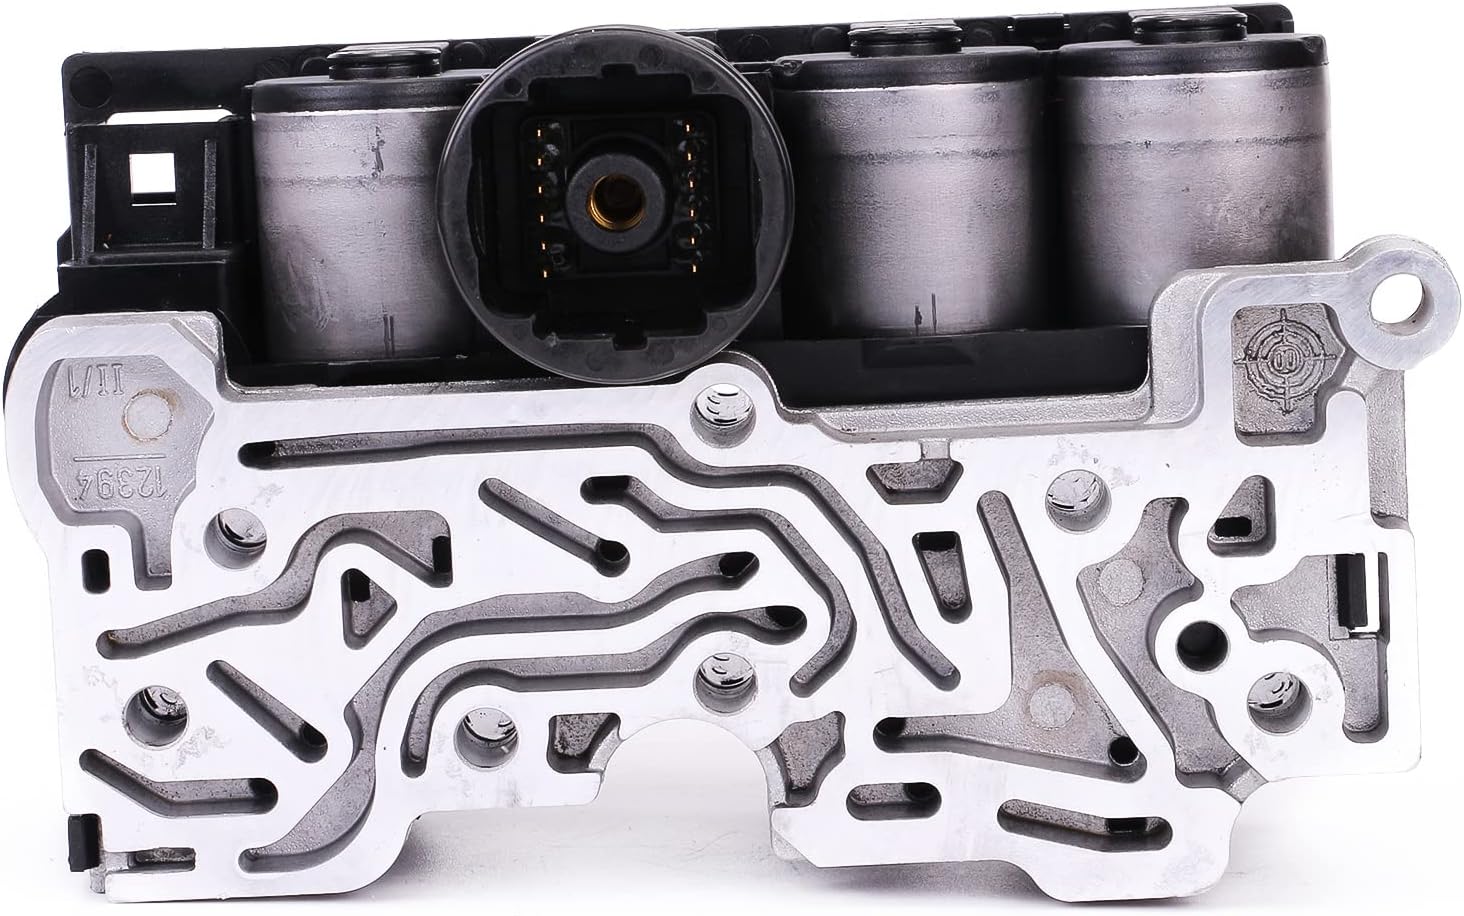
If you replace a solenoid pack, Sonnax recommends priming the VFS solenoids with fresh MERCON V before installation, running a relearn, and checking the battery and PCM grounds and the mass airflow sensor, since the strategy uses all of it [3].
The Fix, in Order
- Level and fluid: MERCON V, check plug, TFT 81-120°F, full stream out the hole [2].
- Codes and tests: quick test, then Ford Tests A, B and D (and E for 2-3/3-2 complaints) [1].
- Gauge with the right engine's specs: on a 4.6L, 100-135 psi forward and 175-215 psi Reverse at idle [1].
- Band test in Drive: both adjusting screws should turn in [5].
- Slip on 1-2 and 4-5: overdrive band and servo, check the pin bore, sleeve it if worn, new band and servo [1][4].
- Slip on 2-3: intermediate band and servo, same pin bore check [1].
- Slip everywhere with low pressure: pump, filter, valve body wear and solenoid pack before condemning the whole unit [1][3].
A pan full of band and clutch lining is past a valve body or solenoid fix: rebuild it with both servo bores sleeved, or the new frictions burn up the same way.
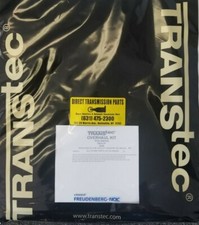
Band and clutch rebuild kits, valve bodies, solenoid packs and filter kits for the 2002-2005 Mountaineer and Explorer 5R55W/S, with checkout on our site.
Shop 5R55W parts →FAQ
Why is my Mercury Mountaineer transmission slipping?
On a 2002-2005 Mountaineer with the 5R55W/S, slipping usually comes from a band that is not getting full apply pressure, most often because the servo apply pin has worn its bore in the aluminum case and leaks apply oil. A wrong fluid level from a guessed fill, worn valve body bores, a pressure control solenoid fault, or a worn direct or forward clutch can also cause it. Which shift slips tells you where to look.
What is the line pressure spec for a 4.6L Mountaineer 5R55W?
Ford lists 75-120 psi in Park and Neutral, 175-215 psi in Reverse and 100-135 psi in the forward ranges at idle for the 4.6L V8. The 4.0L V6 specs are lower in Reverse and Drive, so using Explorer V6 numbers on a V8 truck can hide a real low-pressure problem.
Why does my 5R55W slip on the 1-2 and 4-5 shifts?
Ford's symptom chart lists the overdrive band and servo as the mechanical suspect for both a slipping 1-2 and a slipping 4-5 shift. When both of those shifts flare but 2-3 and 3-4 feel normal, check the overdrive servo pin bore for wear, since a worn bore leaks apply oil and lets the band burn.
What transmission fluid does a Mountaineer 5R55W take?
Ford specifies MERCON V, with 12.6 quarts (12.0 L) total capacity. There is no dipstick: with the engine running in Park and TFT between 81 and 120 degrees F, remove the level plug in the pan and add fluid through the fill adapter until it runs out in a steady stream. The AWD transfer case is separate and takes MERCON ATF.
Can a band adjustment fix a slipping Mountaineer transmission?
Only if the band has worn into extra clearance and is not burned. TransGo's procedure is to tighten the adjusting screw snug with a short wrench, back it off two turns and lock the nut. If the lining is burned or the servo pin bore is worn, the adjustment will not last and the bore needs a sleeve repair plus a new band.
Sources
- Ford Motor Co. service information (Mitchell reprint), 2002 Explorer/Mountaineer, "5R55W/S Diagnosis." Backs the 4.0L/4.6L application, PC solenoid description, soft/slipping shift symptom charts and their mechanical suspects, the quick test and Tests A, B, D and E, the 4.0L and 4.6L line pressure and pressure control specifications, line pressure test results, and the stall speed specifications, precautions and results. 5R55W/S Diagnosis (PDF)
- Ford Motor Co. service information (Mitchell reprint), "Servicing - Explorer & Mountaineer." Backs the TFT check procedure at 81-120°F, the check plug and fill tool 307-437, MERCON V (XT-5-QM/XT-5-DM), 12.6 qt (12.0 L) capacity, and MERCON ATF (XT-2-QDX) for the transfer case. 5R55W/S Servicing (PDF)
- Sonnax, Bob Warnke, "Figuring Out the 5R55 Alphabet." Backs the W in 2002-2003 and S in 2004-2005 Explorer/Mountaineer, the 24-tooth and 38-tooth overdrive sun gears, the VFS modulator bore wear and slippage, the early MERCON V solenoid issue with additive 4L2Z-19B546-AB and FSA 04B22, and the solenoid priming and relearn advice. sonnax.com/tech_resources/195
- Sonnax, Overdrive & Intermediate Servo Pin Bore Sleeve Kit 56361J-01K. Backs the apply and release oil paths, cross-leak and delayed Reverse from bore wear, the 1-2/2-3/4-5 flare and 732/733/735 symptom list, sump foaming and fluid out the vent, and the sleeve repair and tooling. sonnax.com/parts/2207
- ATRA / GEARS Magazine, Mike Brown, "5R55N with Wrong Gear Starts and Bindups? Look for a Faulty Servo." Backs 2nd and 5th gear slip on the W/S and the pin bore check, release-oil cross-leak through a damaged servo piston, why those servos air check fine, and the band screw test in Drive. gearsmagazine.com
- TransGo, SK 5R55W shift kit instructions (2013). Backs the full-stream fill check, the P0732/P0735 code pattern with 1-2 slide bump, 2-3 flare and 4-5 slide bump or burned OD band, servo strut orientation, and the band adjustment of snug then back off two turns. TransGo SK5R55W (PDF)