The 6L90 is the heavy-duty member of GM's 6L family — the six-speed you'll find behind big-block gas and Duramax diesel trucks, 2500/3500 Silverado and Sierra, and the larger SUVs. It is a clutch-to-clutch automatic, which means there is no governor and no throttle valve deciding when a clutch applies. Instead, a stack of pressure control (PC) solenoids and their matching clutch regulator valves inside the valve body meter apply oil to each clutch on command. When one of those valve bores wears or a bore plug starts to leak, the transmission acts up in ways that look electrical but aren't. That is the trap this guide is written to keep you out of.
This is a rebuilder's walkthrough of 6L90 valve body problems: what they feel like from the driver's seat, what actually causes them, a numbered scan-tool test you can run on the vehicle, and how to decide between a targeted valve-body repair and a full replacement before you spend money on the wrong part.
The short version: Most 6L90 "solenoid" complaints are really hydraulic. A worn clutch regulator valve bore or a bore/end plug leaking at its retainer bleeds off the pressure a good solenoid is commanding, and the computer logs a solenoid performance code for a valve body that is the real problem. Confirm it with a commanded-vs-actual PC solenoid pressure test on a scan tool before you condemn the TEHCM. That single step is the difference between a valve-body fix and a needlessly expensive one.
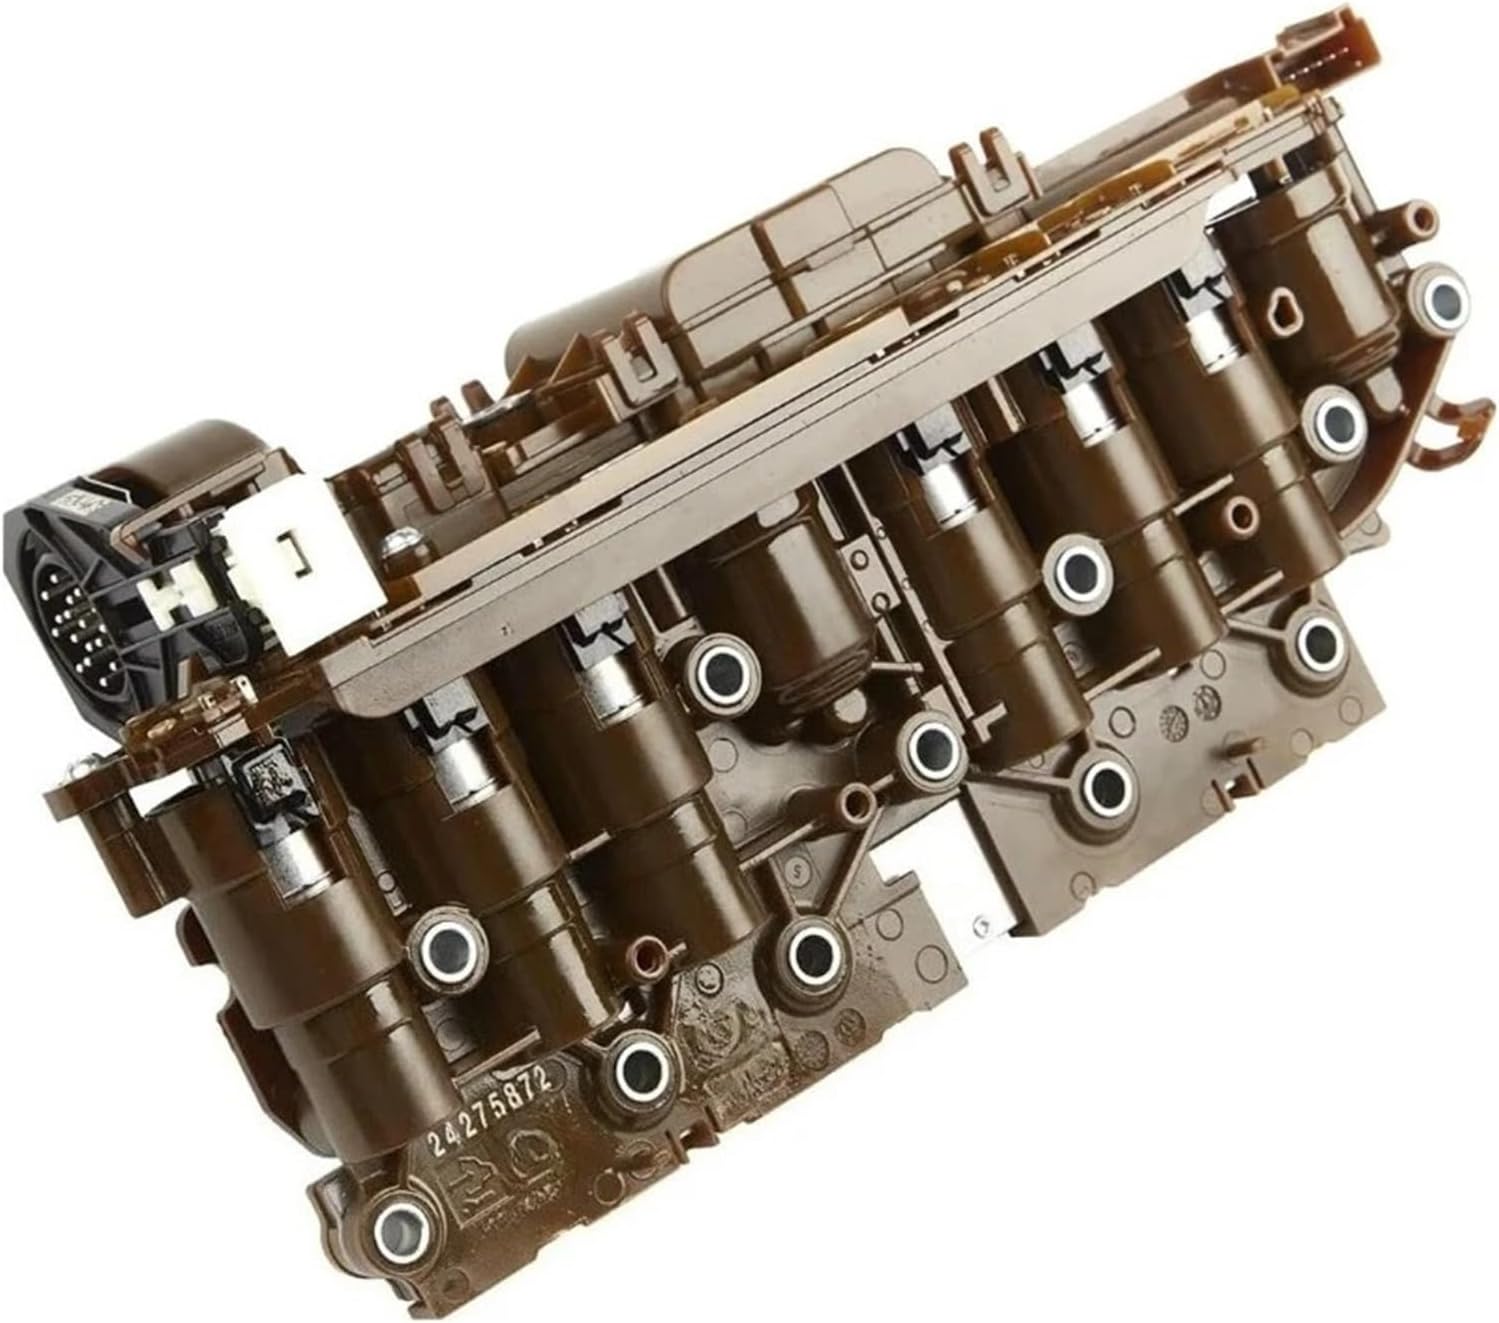
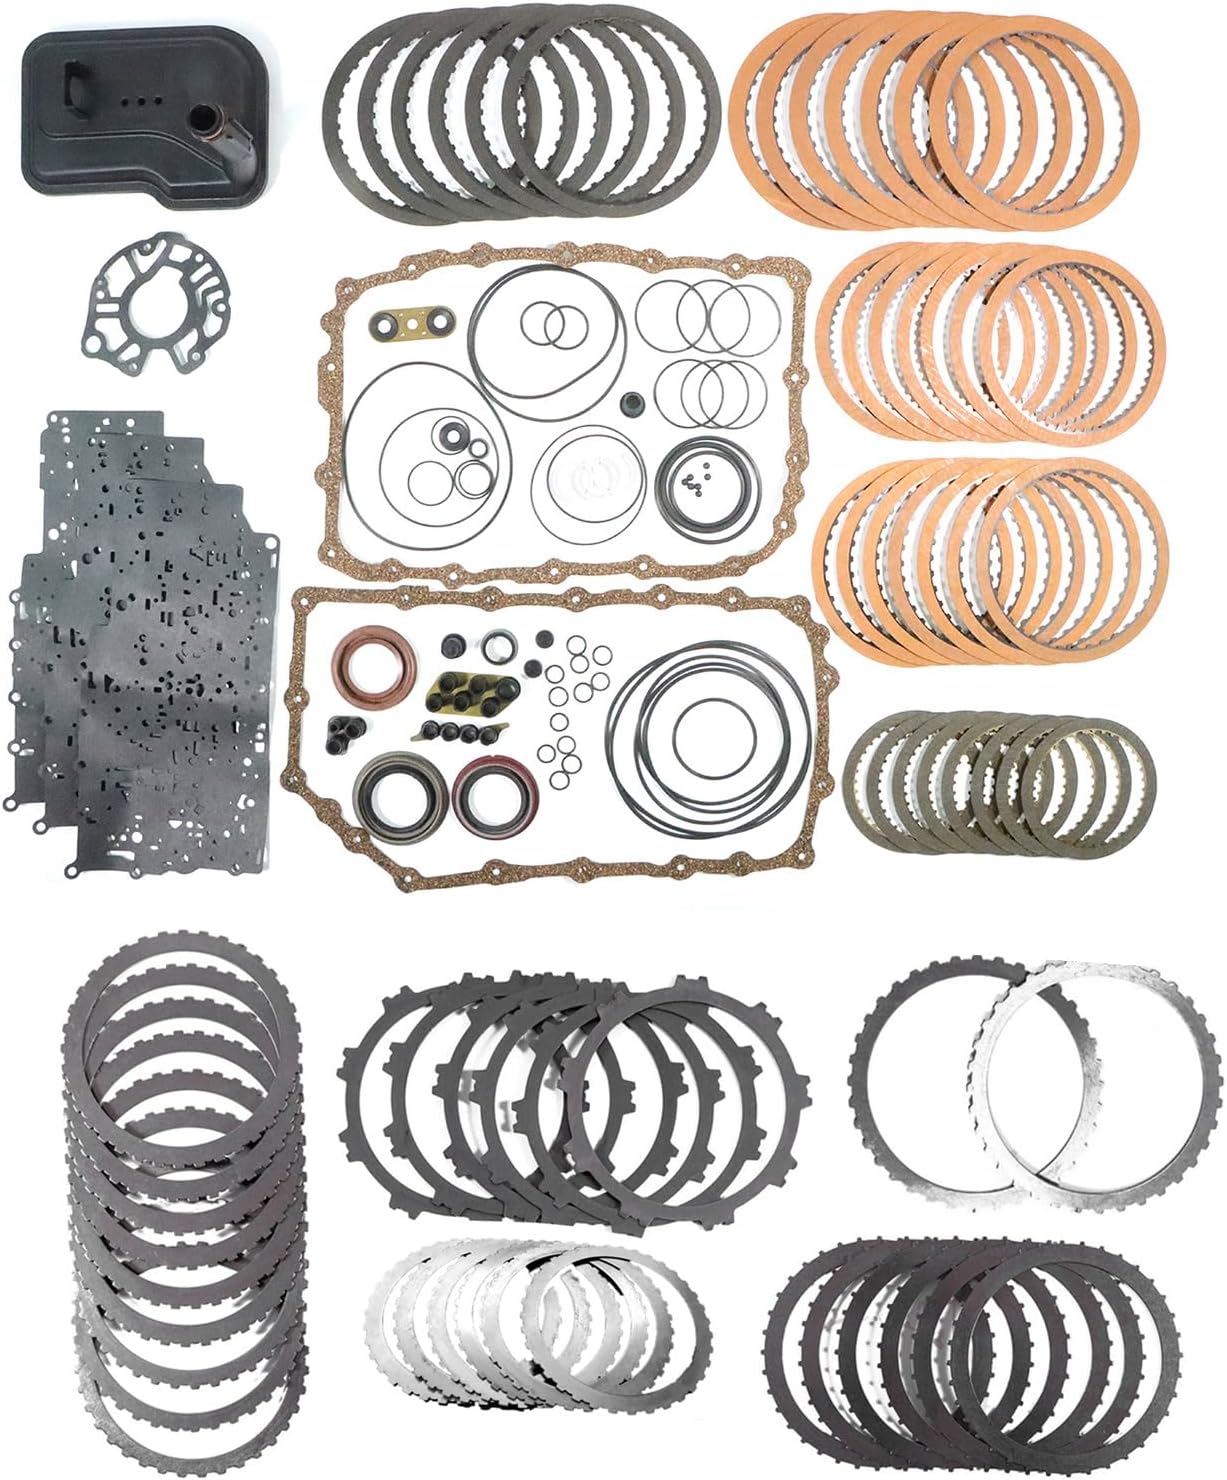
What the 6L90 Valve Body Actually Does
The 6L90 valve body carries the main line pressure regulator circuit, the solenoid feed circuit, the torque converter clutch (lockup) control, and a clutch apply control circuit for each of the five friction clutches. Per Sonnax, each clutch has its own clutch regulator valve, and a matching clutch boost valve provides feedback pressure that balances the regulator to assist apply and release; the PC solenoid's fluid acts on the boost valve to precisely control how much oil reaches the balance end of the regulator valve. [2] At the end of each of those valves sits a bore plug (end plug) that seals the actuator/solenoid feed pressure that controls the valve as gears change. [2]
That architecture is why a small hydraulic leak is such a big deal on this unit. There is no mechanical safety net — if the valve or its end plug can't hold the commanded pressure, the clutch it serves slips, flares, bangs, or doesn't engage at all. And because the electronics are commanding the right pressure the whole time, the fault reads as a solenoid problem on a scan tool.
Symptoms of a Failing 6L90 Valve Body
Valve body wear rarely announces itself as one clean failure. It shows up as a pattern. The common 6L90 complaints that point at the valve body are:
- Harsh, bumpy, or flaring shifts — especially into or out of a specific gear as one regulator circuit loses control of its clutch. [3]
- Slipping or burnt clutches — dark, burnt-smelling fluid with debris, from a clutch that has been applying at the wrong pressure. [3]
- No reverse, delayed engagement, or wrong-gear starts — a clutch circuit that can't build or hold apply pressure. [1] [3]
- Bind-ups and TCC (lockup) shudder or harsh apply from wear in the converter and lockup control circuits. [3]
- Solenoid performance / pressure control codes — most notably P0776/P0777 on the 3-5-R circuit, and the related family below, set by hydraulic losses rather than a dead solenoid. [4]
- Erratic, high, or low line pressure and, in bad cases, limp mode or broken hard parts from pressure spikes. [5]
| Code | PC solenoid | Clutch it controls |
|---|---|---|
| P0776 / P0777 | PC Solenoid 2 | 3-5-R clutch (3rd, 5th, Reverse) |
| P0796 | PC Solenoid 3 | Low-Reverse / 4-5-6 clutch |
| P2714 | PC Solenoid 4 | 2-6 clutch |
| P2723 | PC Solenoid 5 | 1-2-3-4 clutch |
What Actually Causes 6L90 Valve Body Problems
1. Worn clutch regulator valve bores
Aluminum bores wear where a steel valve strokes thousands of times a day. Once the clearance opens up, the regulator valve no longer seals, and the clutch it feeds gets erratic pressure. Sonnax notes that wear at the solenoid regulator valve bore is a known problem area, and that shift, clutch, and performance conditions caused by bore wear cannot be corrected by simply bolting on another used or reman valve body if the wear is in the pump-side bores. [5]
2. Leaking bore plugs / end plugs
This is the cheap cause people miss. The bore plug at the end of a clutch regulating valve can leak at its retainer. That leak slows the regulating valve's reaction and bleeds off solenoid signal pressure — which the computer reads as a solenoid stuck off or a solenoid performance code. [4] Same code, completely different (and far cheaper) fix than a TEHCM.
3. Pressure regulator valve wear in the pump
The main line PR valve can delaminate and wear its bore, giving erratic line pressure that shows up as harsh or soft shifts, burnt frictions, overheating, and even converter clutch failure. These pump bores should be checked for wear whenever the valve body is serviced, because a new valve body alone won't fix them. [5]
4. Debris and dirty fluid
A PC solenoid can be mechanically hung by a piece of debris — the Low-Reverse/4-5-6 solenoid is a documented example. [5] Low or contaminated fluid is also a primary trigger for pressure control codes, which is why fluid is the first thing you check, not the last. [6]
How to Test Your 6L90 Valve Body
The point of this procedure is to prove whether the pressure loss is hydraulic (valve body) or electrical (solenoid/TEHCM) before you take anything apart. Work it in order.
- Check the fluid first. The 6L90 uses Dexron VI. Verify level at operating temperature and inspect condition. Dark, burnt fluid with debris points toward burnt frictions and a mechanical problem; clean fluid with a pressure-control code points toward the valve body / hydraulic side. Low or dirty fluid alone can set these codes, so correct that before diagnosing further. [6]
- Pull and record every code. Note the exact DTC. P0776/P0777 is the 3-5-R circuit (PC Solenoid 2); P0796, P2714, and P2723 map to the other clutch solenoids. Do not act on the word "solenoid" in the description — on this unit it is frequently hydraulic. [4]
- Set up live data for the flagged circuit. With a scan tool that has full transmission coverage, graph the PC solenoid commanded pressure against the PC solenoid actual pressure PID for the clutch in the code (for a P0776 that's PC Solenoid 2 / 3-5-R), plus the transmission fluid (line) pressure and PC solenoid current/amperage PIDs. GM's own on-board diagnostic strategy for the 6L80/6L90 monitors solenoid B performance and transmission pressure to set these codes, so those are the parameters that matter. [6]
- Drive it and read the gap. Command the transmission through the failing range (for a 3-5-R fault, watch reverse apply and the 2-3 and 4-5 shifts). If commanded pressure is correct but actual pressure can't build or won't hold, and the solenoid's electrical values (resistance/current) are in spec, the fault is hydraulic — a worn regulator valve bore or a leaking bore plug, not the solenoid. If actual pressure stays high when the solenoid is commanded off, the valve or solenoid is stuck. [4] [6]
- Check the solenoid electrically. Confirm PC solenoid resistance and the wiring/connector to the internal TEHMC are good. A solenoid that reads in spec but still can't produce commanded pressure exonerates itself and indicts the valve body. [6]
- Inspect the clutch regulator valve and bore plug. With the pan down or the valve body out, check the regulator valve for the code's clutch: look for a scored or worn bore, a valve that doesn't stroke freely, and a bore/end plug that isn't sealing at its retainer. Confirm the end plug retainer is holding pressure — a leaking one here is the classic cause of a "solenoid" code. [2] [4]
- Check the pump-side PR valve bore. Because pressure regulator valve bore wear in the pump can't be fixed by a valve body swap, inspect it for wear whenever you're this deep — erratic line pressure at the balance or spring end confirms it. [5]
We stock 6L90 valve bodies, clutch regulator valve and bore-plug repair kits, PC solenoids, rebuild kits, Dexron VI, and the tools to install them — shipped fast from the USA.
Shop 6L90 valve bodies →Repair or Replace: Making the Call
Once the test tells you the fault is hydraulic, you have three tiers of fix, and the diagnosis you just did points to the right one:
Targeted valve-body repair
If a single regulator valve bore is worn or one bore plug is leaking, a focused repair — oversized valve kit, resealed or re-retained end plug — restores the circuit at a fraction of the cost of a whole assembly. A shift/repair kit designed for the 6L45–6L90 family seals the critical pressure losses in the main line, clutch apply control, solenoid feed, and lockup circuits at once. [2]
Reman or replacement valve body
If multiple bores are worn or the casting is damaged, a remanufactured valve body corrects the common conditions — burnt clutches, harsh/flare shifts, bind-ups, wrong-gear starts, and solenoid performance codes — in one part. [3] Just remember the caveat: wear in the pump PR valve bore isn't corrected by a new valve body, so verify the pump before you count on a replacement to solve everything. [5]
What to do after installation
Whether you repair or replace, a scan-tool transmission adaptive/relearn reset is required afterward so the module re-learns clutch apply pressures; skipping it can leave you chasing shift quality that the hardware already fixed. [5]
Do the diagnosis in that order and the 6L90's most common failure stops being a guessing game. A large share of "solenoid" codes on this transmission are a worn valve bore or a leaking bore plug — a valve-body-level fix, not a TEHCM and not a teardown. If you're working through related drivability issues, our 6L80/6L90 limp mode guide, our line pressure testing walkthrough, and the 3-5-R clutch failure breakdown cover the diagnostic steps that apply directly to the valve body work above. When you're ready for parts, our 6L90 valve bodies and repair kits ship fast from the USA.
Sources
- Sonnax — GM 6L45/50, 6L80/90 No Movement Conditions: Analysis & Repair Tips, on clutch regulator valves, no-movement and no-reverse causes in the 6L80/6L90. sonnax.com/tech_resources/1216
- Sonnax — GM 6L45, 6L50, 6L80, 6L90 Valve Body Layout, identifying the clutch regulator valves, clutch boost valves, and end/bore plugs that seal solenoid feed pressure and control clutch apply. sonnax.com/tech_resources/1052
- Sonnax — Remanufactured Valve Body GM6L90E, on the complaints (burnt clutches, harsh/flare shifts, bind-ups, wrong-gear starts, solenoid performance codes) a corrected valve body addresses. sonnax.com/parts/4622-remanufactured-valve-body
- Sonnax — GM 6L45–6L90 Zip Kit (6L45-6L90-ZIP), on sealing critical circuit pressure losses in the main line, clutch apply control, solenoid feed, and lockup circuits, and how a leaking bore plug/worn bore mimics a solenoid code. sonnax.com/parts/3505-zip-kit
- Sonnax — GM 6L80 unit reference, on the clutch-to-clutch architecture, PC solenoid control, pressure regulator valve/bore wear in the pump, and required post-service adaptive relearn. sonnax.com/units/301-6l80
- GM Service Operations — 6L80/6L90 Transmission OBD Diagnostics (Mode 6), on the on-board strategy that monitors PC solenoid performance and transmission pressure to set clutch pressure-control codes. gsitlc.ext.gm.com — 11OBDG07 TRANS Diagnostics (PDF)