A 4L60E that drips is not just a driveway problem. The fluid is the coolant, the hydraulic medium and the lubricant all at once, and there is no reserve. A slow leak nobody chases for a year turns into a burnt 3-4 pack, a glazed band, and a rebuild bill.
The trouble is that a 4L60E leaks in about nine different places, and gravity makes all of them look the same by the time fluid reaches the crossmember. This is the map: what each leak point is, how to tell it apart from the one next to it before you pull anything, and what actually seals it, with the factory torque numbers that decide whether the repair holds.
The short version: Clean the case, drive it, and find the highest wet point before buying a single seal. Front-of-case wetness is the converter seal, the pump-to-case seal, or the converter hub itself — three different jobs. Rear-of-case wetness is usually the extension bushing, not the seal. The 20-pin case connector and the 2-4 servo cover O-ring are the two everybody misses. Fluid out of the vent is not a leak point at all; it is a symptom.
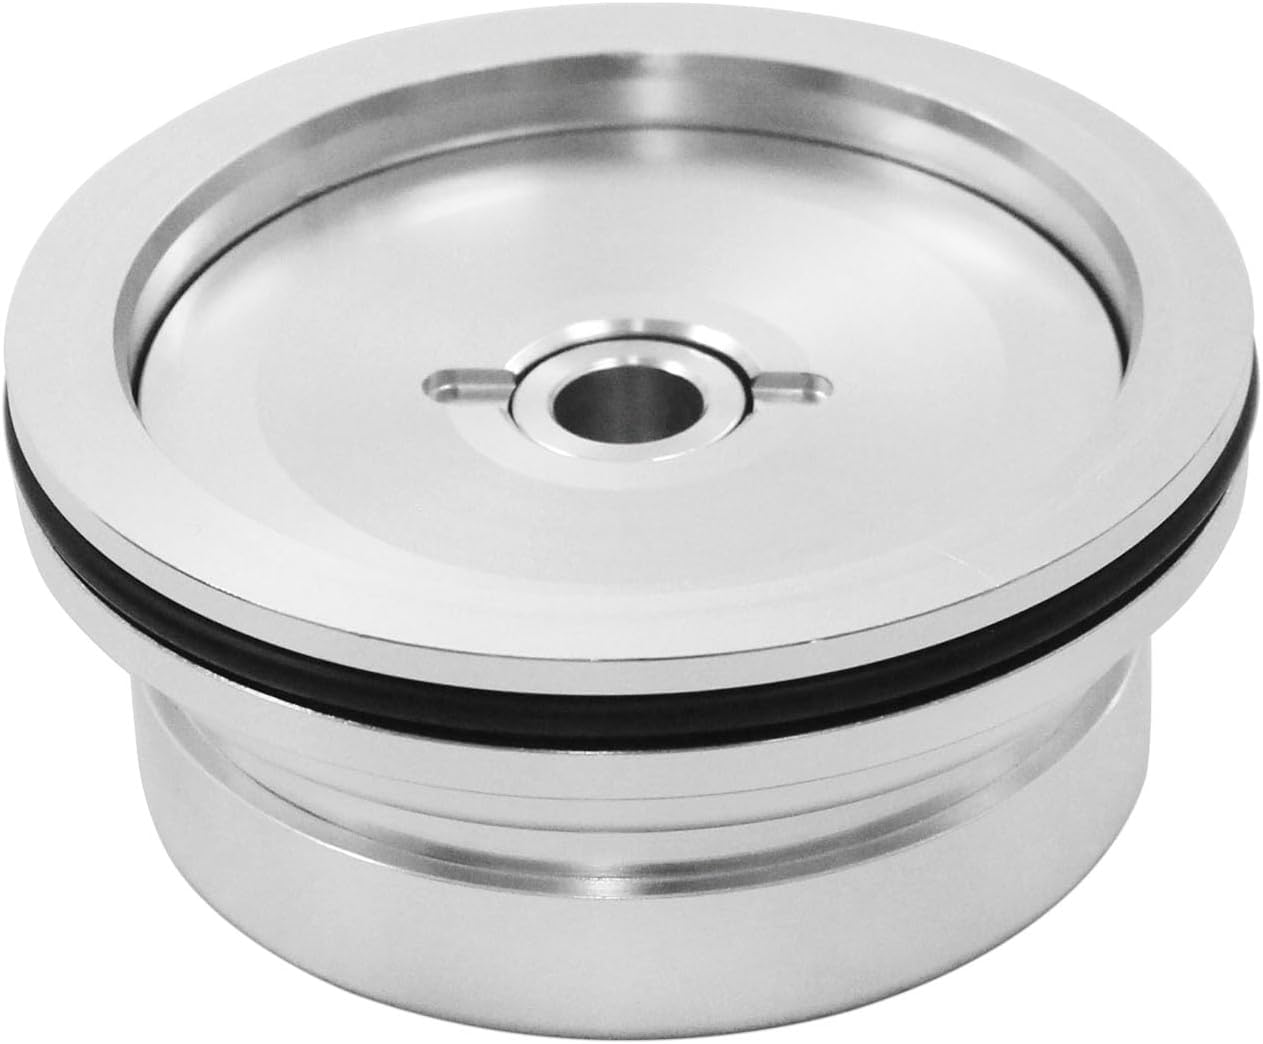
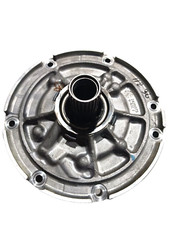
Step One: Prove It Is ATF, Then Find the Highest Wet Point
Engine oil off the rear main drips in the same general area. If the unit has been cooked, ATF goes dark brown and the smell test gets less useful, so go by viscosity — ATF stays thin between your fingers even when burnt.
Once you know it is ATF, stop guessing. Degrease the case, bellhousing, pan rail and tailshaft, get it dry, run the vehicle 20 to 30 minutes, and put it back on the hoist. Fluid runs down and back, so the source is always at or above the highest wet spot. Check the level first, too: an overfilled 4L60E pushes fluid out the vent and coats the top of the case, and you can lose an afternoon hunting a seal that is fine.
The Front of the Case: Three Leaks That Look Identical
Fluid dripping from the bottom of the bellhousing has three possible sources, and they are not interchangeable jobs.
1. The converter hub seal (front pump seal)
The lip seal in the pump body rides on the converter hub. It hardens with heat and cycles, or gets cut during installation, and weeps down the inside of the bellhousing. What most people skip is the pump bushing behind it: if that bushing has walked or worn, the hub is no longer running true in the seal and a new seal leaks again inside a year. Replace the bushing any time the pump is apart.
2. The pump-to-case seal
The seal on the pump body outer diameter, sealing the pump-to-case joint. Per GM's Hydra-Matic 4L60-E overhaul procedure: install the pump cover to case gasket, install the oil pump to case seal on the pump, install the pump with all holes aligned, then torque the pump-to-case bolts to 24 N·m (18 lb ft). Gasket and seal are separate parts and both have to be right. This leak lands fluid in exactly the same place as a bad converter seal, so confirm which before you order.
3. The converter hub itself
GM's criteria say to replace the torque converter if there is evidence of external leaks in the hub area, or if the hub is scored or damaged — a cracked hub weld or scored hub destroys a new pump seal in short order. The same list calls for replacement when metal particles show up after flushing the cooler and lines, or when the pump assembly shows damage, both common on a unit run low by a leak.
The Pan Rail
The most common leak on the unit, and the one most often made worse by the person fixing it. Late 4L60E pans use a molded rubber gasket with a steel core. It is reusable and it does not want sealant — adding RTV to a molded gasket keeps it from compressing correctly and the pan never seats flat.
The bigger cause is torque. There is a widely repeated 97 lb-in figure on the forums for 4L60E pan bolts; GM's own overhaul procedure specifies 12 N·m (9 lb ft), roughly 106 lb-in. Either number is low, and that is the point. These are small screws threaded into aluminum, and the failure mode is cranking them down, dimpling the rail around each hole, and creating the exact leak path you were trying to close. Use a click-type inch-pound wrench, work from the center outward, and flatten or replace a rail already dimpled from a previous visit. Check the case threads too — GM's inspection step calls for repairing damaged bolt hole threads with a heli-coil, and a pulled thread will not hold any gasket.
The 20-Pin Case Connector: The One Everybody Misses
On the driver side of the case, the internal wiring harness passes through a plastic bulkhead connector sealed with an O-ring. Transtec describes the part exactly as its job: an electrical case connector seal that secures the contact pins connecting the internal harness to the vehicle harness with a reliable seal to prevent leakage. Transtec's number is 49455830, replacing legacy B61117, covering the 4L60E, 4L80E, 4T80E and Allison 1000/2000 series.
When that O-ring hardens or the bulkhead cracks, fluid runs down the outside of the case — and worse, ATF wicks up inside the external harness by capillary action and shows up in the vehicle-side connector, sometimes feet away at the PCM. ATF in a transmission connector pin cavity means a case connector leak, and a wiring problem too, because oil-soaked terminals corrode and throw intermittent solenoid codes that look exactly like failed solenoids.
The repair is inside the pan: drop the pan and filter, move the pressure control solenoid retainer aside, compress the plastic locking tabs so the bulkhead drops into the case, and replace the seal or harness. Sonnax also makes a connector bracket (77980-01K) that holds the connector properly in the case so the joint is not worked loose each time the external harness is unplugged.
The 2-4 Servo Cover O-Ring
Passenger side of the case, under a cover held by a retaining ring, is the 2-4 servo. The cover seals with a single O-ring, and it is a real leak point on high-mileage units because the servo cycles constantly and the cover sees case heat directly.
GM's procedure uses J 29714-A Servo Cover Compressor to push the cover in far enough to free the retaining ring, and J 22269-01 to pull the piston. Note GM's own removal instruction: if the cover seems hung up on the seal, cut the O-ring off before pulling it. Techs break covers and gouge servo bores prying at a cover a swollen O-ring is holding hostage.
While it is open, GM says to check the 2-4 servo bore, the third accumulator retainer and ball assembly, the servo bore orifice cup plug, and the 2nd apply piston pin bore for porosity, burrs, debris and other damage. The servo pin bore is also a classic hidden internal leak — Sonnax reports a known-good bore vacuum testing around 18 in-Hg against about 10 in-Hg for a bad one.
The Rear: Extension Seal, Sleeve, Bushing and Speed Sensor
A wet tailshaft and yoke is the classic rear seal call, and the one most often repaired wrong. The lip seal only seals as well as the bushing behind it lets it: when the case extension bushing wears, the yoke moves in the bore, the seal lip loses concentricity, and a new seal weeps within months. Plan on the bushing.
GM's teardown order names every seal you might be missing:
- Remove the sensor retaining bolt, then the speed sensor and its O-ring seal.
- Remove the case extension bolts, then the case extension and the case seal.
- Remove the output shaft sleeve and the output shaft O-ring seal — not all models use them.
That is three seals at the back of the case besides the rear lip seal, and every one will wet the tailshaft area. The speed sensor O-ring is the cheapest fix on this list and the one most often missed.
Going back together: install the output shaft sleeve and output shaft seal (do not push the sleeve past the machined surface on the output shaft), install the case extension to case seal and the case extension, torque the case extension bolts to 35 N·m (26 lb ft), install the internal speed sensor and torque its bolt to 11 N·m (8 lb ft), then install the case extension oil seal assembly with J 21426 Rear Seal Installer. A rear seal knocked in cocked with a punch is a leak you get to do twice.
Cooler Lines and Fittings
Easy to overlook because the wetness shows up forward of the pan and reads like a pump leak. The cooler connectors thread into the case and back out with vibration and heat cycles. GM's case assembly inspection includes a specific step: inspect the cooler connectors for damage and proper torque, specification 38 N·m (28 lb ft). That is the highest torque on this list by a wide margin, and the one most often left finger-tight after a cooler line R&R. Check the hard lines where they pass the crossmember for rub-through and the quick-connect fittings for a cracked collar.
The radiator end deserves the same attention. Sonnax documented a pattern on 1999-2006 GM full-size pickups where the small metal clip that retains each 4L60E cooler line at the radiator wears through, often helped along by loose, floppy lines, until a line slides out of its fitting. Per that Sonnax write-up, in more than 75% of the line-popped-out cases the author saw, the 3-4 clutches were burned by the time the driver noticed. The fix is cheap: replace the clips at both the upper and lower fittings, not just the one that failed, and tie the lines so they cannot flop. GM added cooler line brackets to the radiator shroud for 2007. Inspect the clips on any high-mileage truck, because the author found some badly worn at 65,000 miles.
Case Porosity and the Third Accumulator Ball
When the leak is not at any joint, it is coming out of the casting. Aluminum case porosity is real on this unit, and GM's inspection procedure asks for porosity by name at the 2-4 servo bore, the third accumulator retainer and ball assembly, the servo bore orifice cup plug, the 2nd apply piston pin bore, and the 3-4 accumulator bore. A porous case weeps under pressure and looks dry at rest, which is why it survives so many inspections.
GM publishes a bench check for the third accumulator that costs ten minutes and nothing else:
- Install the 2-4 servo into the case.
- Compress the servo cover with J 29714-A and install the servo cover retaining ring.
- Pour solvent into the accumulator bore until the channel is filled.
- Watch for leaks in the case channel.
- If leakage is observed, replace the third accumulator retainer and ball assembly.
This matters more than it looks. Sonnax calls a leaking third accumulator checkball capsule in the 4L60/E a common failure after repairs, and one that takes out the band and the 3-4 clutches. Sonnax also warns against the shortcut some builders use, pressing a cup plug in place of the ball to stop the leak: the ball is not just a seal, it is also a vent when air is needed to exhaust oil. Plug it and you choke off that vent, and the result is soft 2-3 shifts and 3-2 flares from arrested venting.
Fluid Out of the Vent Is Not a Leak
The vent tube on top of the case is doing its job when fluid comes out of it. Something else is wrong. In order of likelihood:
- Overfill. Check this first, every time, before you touch anything.
- Aeration. A low level, a cracked or misplaced filter neck seal, or a filter not seated in the pump bore lets the pump pull air. Foamed fluid expands and goes out the vent.
- An internal pump or stator tube leak. This is the one that gets missed.
Sonnax lists fluid leaking out of the vent as a direct symptom of pump leaks with the stator tube installed, alongside clutch failures across the reverse, 3-4, forward, overrun and TCC packs plus TCC codes and chatter. The culprits it names: the three core-drilled cup plugs in the oil passageways, pump cover and center bore warpage caused by heat from a leak, pump cover to pump body warpage, the stator support tube itself, cracks from pressing a tube back into the cover, and replacement stator tubes that are bad new out of the box. That last one catches people — new does not always mean good.
Finding the Leaks You Cannot See: Vacuum Testing on the Bench
With the unit apart, vacuum testing catches the leaks that pass a conventional air test. Perfect vacuum is 29.92 in-Hg but changes with altitude, so per Sonnax the stand is calibrated so absolute vacuum reads 25 in-Hg on the gauge. That 25 is your no-leak value; at extreme altitude the maximum may only reach 22 in-Hg, and that 22 is a full seal there. Sonnax recommends a 3 cfm pump.
On the 4L60/E pump the pass/fail is clean: every individual feed test on the pump cover and stator tube must read your sealed 25. Stack the pump body onto the cover and a 1 in-Hg loss is acceptable, so 24 is fine. At 23.5, flat-surface the component and retest. For worn valve bores the scale is broader — an excellent circuit runs 22 to 23 in-Hg, a severely worn bore as low as 8.
The Torque Numbers That Keep It Sealed
Straight from GM's Hydra-Matic 4L60-E overhaul procedure. Print this and tape it to the bench.
| Fastener | GM specification |
|---|---|
| Transmission oil pan screws | 12 N·m (9 lb ft) |
| Pump to case bolts | 24 N·m (18 lb ft) |
| Case extension to case bolts | 35 N·m (26 lb ft) |
| Internal speed sensor retaining bolt | 11 N·m (8 lb ft) |
| Cooler connectors | 38 N·m (28 lb ft) |
| Valve body bolts | 11 N·m (8 lb ft) |
| Converter housing bolts to case | 65-75 N·m (48-55 lb ft) |
One note on refilling: the factory 4L60-E overhaul procedure was written around DEXRON-III, long out of production. DEXRON-VI is the current service fill, and Mobil states its DEXRON-VI ATF meets or exceeds GM's DEXRON-VI specification, provides warranty protection for 2006 and newer GM vehicles, and gives improved performance in older GM vehicles wherever DEXRON is specified. Use DEXRON-VI in a 4L60E of any year, and set the level on a hot check rather than by eye — a leak repair that ends in a chronic underfill has not fixed anything.
4L60E Overhaul Gasket & Seal Kit, 1993-2008 (OEM KP33900EF)
If you are dropping the pan and pulling the extension anyway, buy the seal set once instead of making three counter trips. Available at our sister store CoreTransmissionParts, alongside the full 4L60E parts collection if you only need one piece — the extension housing rear seal or the Sonnax case connector bracket, for example.
Shop the 4L60E gasket and seal kit →Keeping It Dry
Repeat leaks come from three habits, all free to fix. Torque to spec, especially the low numbers — the pan at 12 N·m and the speed sensor bolt at 11 N·m are the two most-overtightened fasteners on this unit, and aluminum does not forgive. Replace the wear part behind the seal — pump bushing behind the converter seal, extension bushing behind the rear seal; a seal is usually a consequence, not a cause. Control heat — every seal on this list dies from heat first and age second, and an auxiliary cooler plus a real service interval prevents more leaks than any brand of gasket.
When a leak will not localize to any joint, stop buying seals. Clean the case, run it, look for weeping out of the casting itself, and run GM's solvent check on the third accumulator before you call the case scrap.
Shop 4L60E gasket and seal kits, pan gaskets, front pump and extension housing seals, internal wiring harnesses and case connector parts, plus the tools to install them — shipped fast from the USA.
Shop 4L60E parts →Sources
- General Motors — Hydra-Matic 4L60-E Overhaul Procedures (GM factory overhaul manual, hosted as course material for AUTO 211). Backs: transmission oil pan screws at 12 N·m (9 lb ft); pump to case bolts at 24 N·m (18 lb ft); case extension to case bolts at 35 N·m (26 lb ft); internal speed sensor retaining bolt at 11 N·m (8 lb ft); valve body bolts at 11 N·m (8 lb ft); converter housing bolts at 65-75 N·m (48-55 lb ft); the cooler connector specification of 38 N·m (28 lb ft) and the instruction to inspect cooler connectors for damage and proper torque; the speed sensor and case extension removal order (sensor retaining bolt, speed sensor and O-ring seal, case extension bolts, case extension and case seal, output shaft sleeve and output shaft O-ring seal); the reinstallation order including not pushing the sleeve past the machined surface and using J 21426 Rear Seal Installer for the case extension oil seal assembly; the pump install order of pump cover to case gasket then oil pump to case seal; the 2-4 servo removal instruction to cut the O-ring if the cover is hung up, using J 29714-A Servo Cover Compressor and J 22269-01; the case inspection for porosity, burrs and debris at the 2-4 servo bore, third accumulator retainer and ball assembly, servo bore orifice cup plug, 2nd apply piston pin bore and 3-4 accumulator bore; the heli-coil instruction for damaged bolt hole threads; the Retainer and Ball Assembly Leak Check solvent procedure; the torque converter replacement criteria including external leaks in the hub area, a scored hub, metal particles after flushing the cooler and lines, and pump assembly damage; and DEXRON-III as the original assembly lubricant called out in the manual. GM Hydra-Matic 4L60-E Overhaul Procedures (PDF)
- Sonnax — Randall Schroeder (Sonnax TASC Force), "4L60/E Pump Cover & Stator Tube: Finding Hidden Leaks with Individual Vacuum Testing" (February 11, 2026). Backs: fluid leaking out of the vent listed as a direct symptom of pump leaks with the stator tube installed, alongside reverse, 3-4, forward, overrun and TCC clutch failures plus TCC codes and chatter; the leak culprits of three core-drilled cup plugs in the oil passageways, pump cover and center bore warpage caused by heat from a leak, pump cover to pump body warpage, the stator support tube, cracks caused when pressing a replacement tube into the cover, and bad new-out-of-box replacement stator tubes; and the pass/fail values of 25 in-Hg on every individual feed test, 24 in-Hg acceptable when the pump body is added to the pump cover, and flat-surfacing the component if the reading is 23.5. sonnax.com/tech_resources/1616
- Sonnax — Randall Schroeder (Sonnax TASC Force), "Seal the Deal: How to Prevent Comebacks with Non-Valve-Body Vacuum Testing" (September 12, 2017). Backs: perfect vacuum at 29.92 in-Hg and calibrating the stand so absolute vacuum reads 25 in-Hg, with 22 in-Hg representing a full seal at extreme altitude; a known-good servo pin bore reading about 18 in-Hg versus about 10 in-Hg for a known-bad bore; the third accumulator checkball capsule in the 4L60/E leaking as a common failure after repairs that takes out the band and 3-4 clutches; and the warning that substituting a cup plug for the third accumulator ball chokes off the vent and causes soft 2-3 shifts and 3-2 flares from arrested venting. sonnax.com/tech_resources/633
- Sonnax — "Vacuum Testing for Leakage" (published January 22, 2011; updated September 16, 2024). Backs: a perfect vacuum measuring 29.9 in-Hg and changing with elevation; an extremely good circuit reading approaching 22 to 23 in-Hg while a severely worn bore can read as low as 8 in-Hg; and the recommendation of a 3 cfm vacuum pump for this testing. sonnax.com/tech_resources/121
- Transtec (Freudenberg-NOK sealing group) — Case Connector Seal, part number 49455830. Backs: the description of the electrical case connector seal as securing the electrical contact pins that connect the internal wiring harness to the vehicle harness with a reliable seal to prevent leakage; the legacy part number B61117 it replaces; and the coverage across GM 4L60E, 4L80E, 4T80E and Allison 1000/2000 series units. transtec.com — Case Connector Seal 49455830
- ExxonMobil — Mobil Dexron-VI ATF product page. Backs: the fluid meeting or exceeding the requirements of GM's DEXRON-VI specification, providing warranty protection for 2006 and newer GM vehicles, and providing improved performance in older GM vehicles wherever DEXRON is specified. mobil.com — Mobil Dexron-VI ATF
- Sonnax — "Transmission Versus Cooler Line." Backs: worn radiator cooler line retaining clips letting 4L60E cooler lines slide out on 1999-2006 GM full-size pickups, burned 3-4 clutches in more than 75% of the line-popped-out cases the author saw, clip wear found as early as 65,000 miles, the fix of replacing both clips and securing the lines, and GM adding radiator shroud brackets in 2007. sonnax.com/tech_resources/123