Red fluid on the driveway under a 6L80 gets blamed on "a bad seal" more often than it gets actually traced to one. The truck sits in the bay, someone wipes the pan rail, calls it good, and the customer is back in three weeks with the same puddle. GM's own service bulletins describe exactly this problem: two leak points that sit two feet apart and look identical until you clean the area and drive the truck to restart the leak.
What follows is the leak map for the 6L80, built from GM's published bulletin on the rear output seal and slip yoke welch plug, GM TechLink's field write-up of the same condition, and the ATRA-published fix for a pump wear issue that gets misdiagnosed as a leak even though nothing ever hits the ground.

Clean It, Drive It, Then Decide
GM's diagnostic sequence for this exact problem starts with a step most shops skip: wipe the suspect area down with mineral spirits or equivalent before you look at it at all. A smeared, dusty leak that has been building for weeks tells you nothing about where it started. Clean it dry, take a short drive around the block to restart the leak under normal operating pressure and heat, then inspect while the trail is fresh. If two areas are both wet after that drive, dry them again and repeat. Guessing from a dirty under-truck photo is how a shop replaces a seal, sends the truck out, and sees it back with the identical puddle a month later.
The #1 Spot on AWD/4WD Trucks: Output Seal vs. Slip Yoke Welch Plug
GM Service Bulletin 22-NA-225, "Information on Red Fluid Leak from Center of Vehicle Located by the Rear of the Transmission or Transfer Case Area," covers exactly the symptom most 6L80 owners describe: red fluid pooling under the middle of the truck. It applies to AWD and 4WD trucks and SUVs carrying RPO F48 across the Escalade, Colorado/Canyon, Silverado/Sierra 1500 and 2500HD/3500HD, Suburban, Tahoe and Yukon lines, model years 2015 through 2024, and GM is specific that 2WD trucks and 8-speed-equipped trucks are not in scope, since the 8-speed platforms do not use a slip yoke with a welch plug at all.
The bulletin lays out a two-point check, and it matters that you do it in order:
- Visually inspect the rear output seal and its boot for ATF. If it is wet, replace the output seal and you are done.
- If the seal and boot are dry, inspect the welch plug on the front of the propeller shaft slip yoke. If that is leaking, replace the propeller shaft front slip yoke.
- If both are wet and you cannot tell which one started it, dry both with a soft rag, drive the truck around the block to reload the leak, and go back to step one.
GM TechLink's own write-up on this bulletin adds the practical complaint from the field: technicians kept replacing the wrong part because the output seal and the welch plug sit close enough together that fluid from one runs down and pools near the other. The clean-and-redrive step exists specifically to stop that guessing.
On the parts side, the two failures call for two different fixes, and they are not interchangeable: a leaking output seal is a seal-and-boot job at the transmission output shaft, while a leaking welch plug means the propeller shaft's front slip yoke itself gets replaced, since the plug is pressed into the yoke and is not sold or serviced separately from it.
Get the output seal and gasket set →
The Pan Rail: Common, and Usually Self-Inflicted
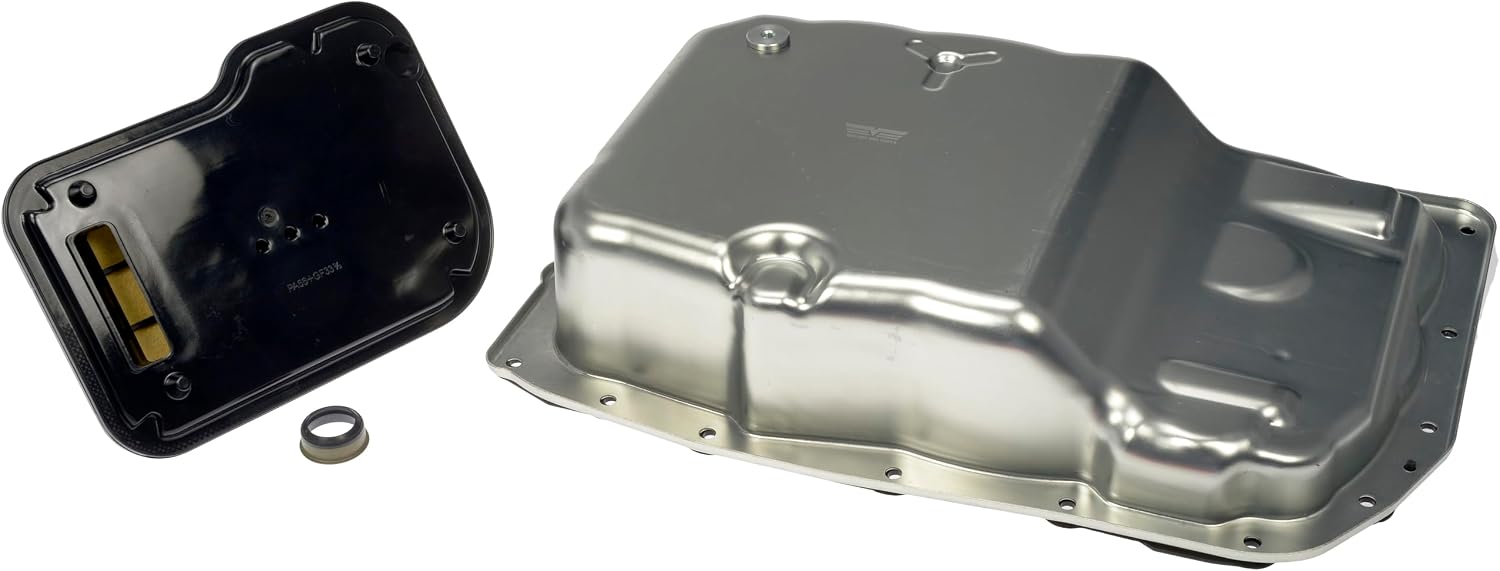
The pan gasket itself is a durable part. GM lists it under its own part number, 24224781, as the OE fluid pan gasket for the 6L80 and 6L80E, and a gasket that age out from heat cycling alone is the exception, not the rule. The far more common cause of a weeping pan rail is the service history: a prior fluid change where the bolts went back in over-torqued, which crushes the gasket unevenly, or where the old gasket got reused instead of replaced. Either one leaves a rail that looks fine in the box and weeps within a few thousand miles.
The fix is unglamorous but it works: replace the gasket, do not reuse it, and torque the pan bolts to the exact figure in GM service information for your specific model year rather than going by feel. "Snug plus a quarter turn" is exactly how the next over-torque happens. If the rail keeps weeping after a correct gasket and correct torque, the rail itself may be warped from a previous over-torque event, and at that point a replacement pan is cheaper than a third gasket.
Internal "Leak" That Never Reaches the Ground: Pressure Regulator Bore Wear
Not every 6L80 fluid complaint is an external leak at all. Gears Magazine, ATRA's trade publication, documents that GM's 6L45, 6L50, 6L80 and 6L90 pumps are known for wear in the pressure regulator valve bore, and that the original fix required drilling the pump to fit an oversized valve kit before Sonnax released a drop-in replacement kit (104520-15K) that no longer needs it. That bore wear does not put fluid on your driveway. It bleeds line pressure internally, inside the pump, and the symptoms are a soft or harsh shift, a line-pressure code, or an overheating complaint rather than a puddle.
The reason this belongs in a leak article is the misdiagnosis it causes: a shop sees a line-pressure or overheat complaint, assumes the unit is low, tops it off, and sends the truck out. The fluid level was never the problem, nothing was actually leaking, and the real fix is a pump teardown and a pressure regulator kit, not another quart of DEXRON-VI. If you have ruled out every external seal and the truck still acts like it is down on pressure, this is where to look next.
Output seals, pan gaskets, valve body end plug kits, filters, coolers and master rebuild kits for 6L80 and 6L90 units.
Shop 6L80 parts →Smaller, Still-Real Leak Points
Two more spots are worth a look on the same inspection, both internal to the valve body rather than visible from under the truck at a glance:
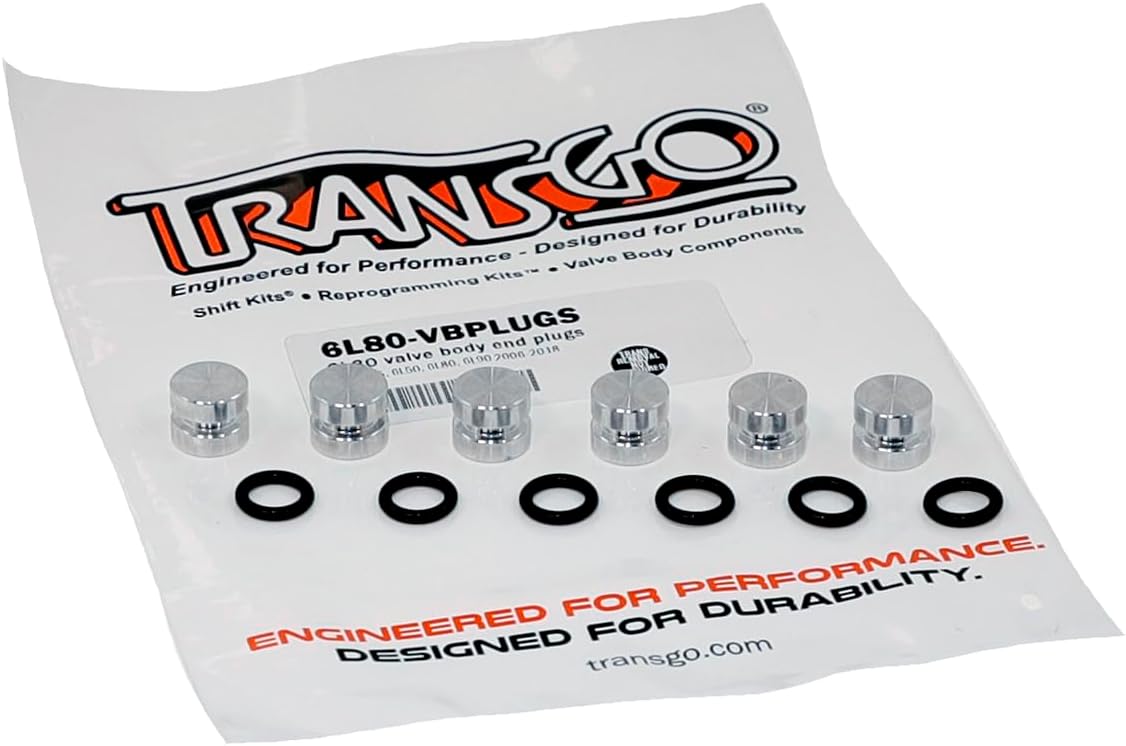
- Valve body end plugs. The pressure regulator and isolator valve circuits are capped with pressed-in end plugs, and worn or distorted plug bores let fluid bypass internally the same way a worn pressure regulator bore does. Sonnax sells a dedicated end plug kit (6L8-VBPLUGS) for 2006-2017 units for exactly this wear pattern.
- Cooler line fittings. Not unique to the 6L80, but worth checking before you tear into anything else: a weeping quick-connect fitting at the radiator tank or the cooler itself looks identical to a transmission-side leak from a few feet away, and it is a five-minute fix compared to pulling a pan or a transfer case.
Fluid Type Matters Once the Leak Is Fixed
Whatever you repair, refill with licensed DEXRON-VI and nothing else. Mobil's own DEXRON-VI product data sheet lists a kinematic viscosity of 29.5 mm2/s at 40 C and 5.83 mm2/s at 100 C for a fluid that meets GM's specification, and that thin, shear-stable profile is what the clutch-to-clutch shift logic in a 6L80 is calibrated around. DEXRON-HP, the fill for GM's 8-speed and 10-speed units, sits on the same parts-counter shelf and is not a substitute. Topping off with the wrong fluid after a correct seal job changes shift feel and clutch apply timing even though nothing leaks.
When you refill, use the plug-and-drip method these units are built around rather than guessing at a quart count: bring the fluid to 86-122 F (30-50 C), shift through each range for about three seconds to fill the clutch circuits, return to Park, then pull the level control plug in the pan. Fluid should drip out, not run in a stream and not stay dry. Add or let fluid drain until it drips, then reinstall both plugs. Setting the level this way after a leak repair is what keeps the same truck from coming back with a new complaint that is really just the wrong fill level.
The Short Version for the Bench
- Always clean and redrive first. A dirty leak tells you nothing; GM's own bulletin opens with this step for a reason.
- AWD/4WD trucks, RPO F48: check the rear output seal before the slip yoke welch plug. Per 22-NA-225, 2WD and 8-speed trucks are not in scope.
- Pan rail: usually a service-history problem, not a bad gasket. Replace the gasket, do not reuse it, torque to the GM spec for your model year.
- No puddle but acts low on pressure: check the pump's pressure regulator bore and the valve body end plugs before you top off again.
- Cooler fittings: rule out a radiator-side leak before you commit to a transmission-side repair.
- Refill: licensed DEXRON-VI only, set by the plug-and-drip method at 86-122 F, never DEXRON-HP.
FAQ
Where does a 6L80 leak fluid most often?
On AWD/4WD trucks and SUVs, GM's own service bulletin 22-NA-225 identifies the rear output seal and the front propeller shaft slip yoke welch plug as the two sources of a red fluid leak at the center-rear of the vehicle, and says technicians frequently confuse the two until the area is cleaned and re-inspected. On any 6L80, the pan rail gasket is the other high-frequency spot, usually made worse by over-torqued pan bolts on a prior service rather than a bad gasket out of the box.
How do I tell if a 6L80 leak is from the output seal or the slip yoke plug?
Per GM bulletin 22-NA-225, clean the area with mineral spirits, then visually inspect the output seal and boot first. If that area is dry, check the welch plug on the front slip yoke. If both are wet, dry everything with a rag, drive the truck a short distance around the block to restart the leak, and re-inspect from the top. Guessing without the clean-and-redrive step is the single biggest reason this area gets misdiagnosed.
Can a 6L80 leak without any fluid showing up on the ground?
Yes, in a sense. Wear in the pump's pressure regulator bore on GM 6L45/6L50/6L80/6L90 units bleeds line pressure internally, which shows up as harsh or soft shifts, overheating, or a line-pressure complaint on a scan tool rather than fluid on the driveway. It is not an external leak, but shops that only check for drips under the truck can miss it and keep topping off a transmission that is not actually low.
What fluid do I use when I top off or refill a 6L80 after a leak repair?
Licensed DEXRON-VI only, never DEXRON-HP, which is the fill for GM's 8-speed and 10-speed units. Mobil's DEXRON-VI product data sheet lists a kinematic viscosity of 29.5 mm2/s at 40 C and 5.83 mm2/s at 100 C for a fluid that meets GM's spec, and mixing in the wrong ATF after a seal job undoes the repair by changing clutch apply timing even if the new seal holds perfectly.
Is it safe to just add fluid and keep driving a leaking 6L80?
Short term only, and only if you are tracking the level. A 6L80 running low starves the pump pickup on grades and in corners, which drops line pressure under exactly the load that stresses the 3-5-Reverse clutch pack hardest. Identify and fix the actual leak source using the clean-drive-recheck method rather than treating a quart of DEXRON-VI every week as a maintenance plan.
Related 6L80 guides
Sources
- General Motors — Service Bulletin 22-NA-225, "Information on Red Fluid Leak from Center of Vehicle Located by the Rear of the Transmission or Transfer Case Area," October 2023 (NHTSA-hosted PDF). Backs the affected vehicle list (Escalade, Colorado/Canyon, Silverado/Sierra 1500 and 2500HD/3500HD, Suburban, Tahoe, Yukon, 2015-2024, RPO F48 AWD/4WD only, 8-speed trucks excluded), the mineral-spirits clean step, and the output-seal-vs-welch-plug diagnostic sequence including the dry-and-redrive instruction. static.nhtsa.gov
- GM TechLink — "Identifying a Transfer Case Seal or Prop Shaft Plug Leak." Backs the field context for bulletin 22-NA-225: why technicians commonly misidentify which of the two leak points is the actual source before cleaning and re-inspecting. gm-techlink.com
- Gears Magazine (ATRA) — "Sonnax 6L Series PR Valve Kits: Now — No Drilling Required," March 2025. Backs the pressure regulator valve bore wear issue on GM 6L45/6L50/6L80/6L90 pumps, the original pump-drilling repair requirement, and the drop-in 104520-15K kit that removes that step. gearsmagazine.com
- ExxonMobil — Mobil DEXRON-VI ATF product data sheet. Backs the fluid property figures quoted for a licensed DEXRON-VI (kinematic viscosity 29.5 mm2/s at 40 C, 5.83 mm2/s at 100 C, flash point 220 C) and the GM DEXRON-VI approval claim. mobil.com
- EFILive technical reference — 6L80E fluid level check procedure. Backs the plug-and-drip fill method, the 86-122 F (30-50 C) check temperature window, and the range-sweep preparation sequence used after a leak repair. www.efilive.mez.co.uk
- Michigan Motorsports — GM 24224781 Transmission Pan Gasket listing for 6L80/6L80E. Backs the OE pan gasket part number referenced for the pan rail section. www.michiganmotorsports.com