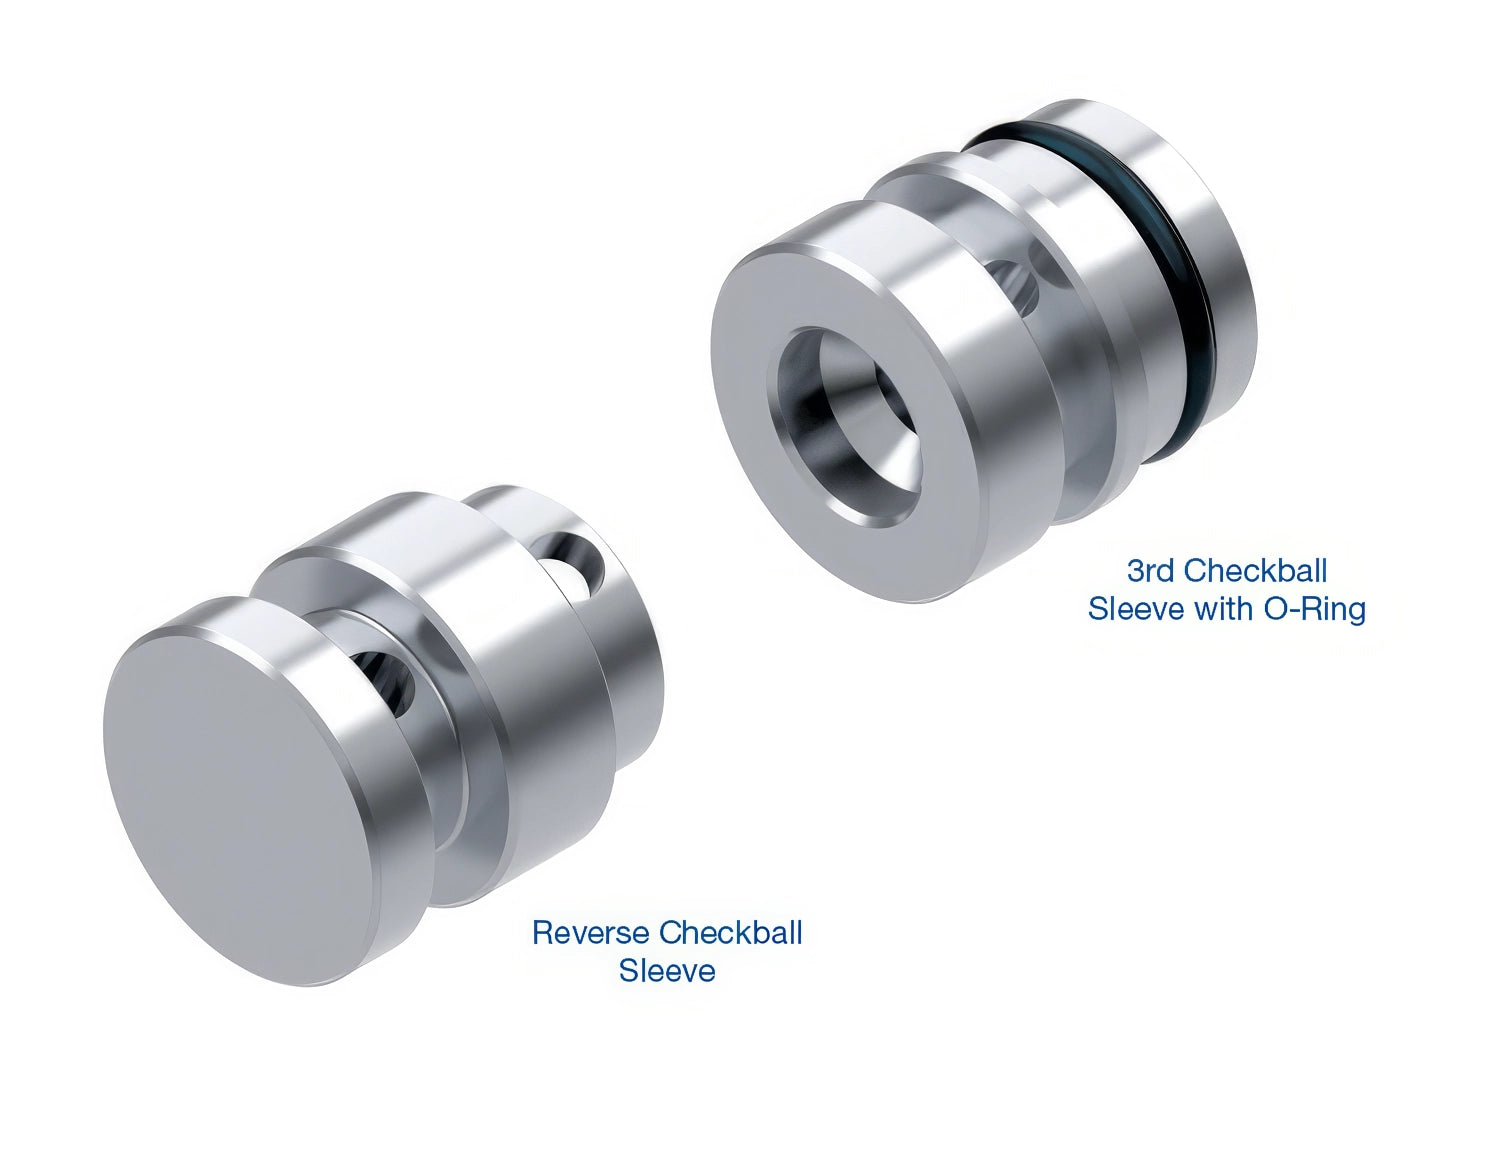
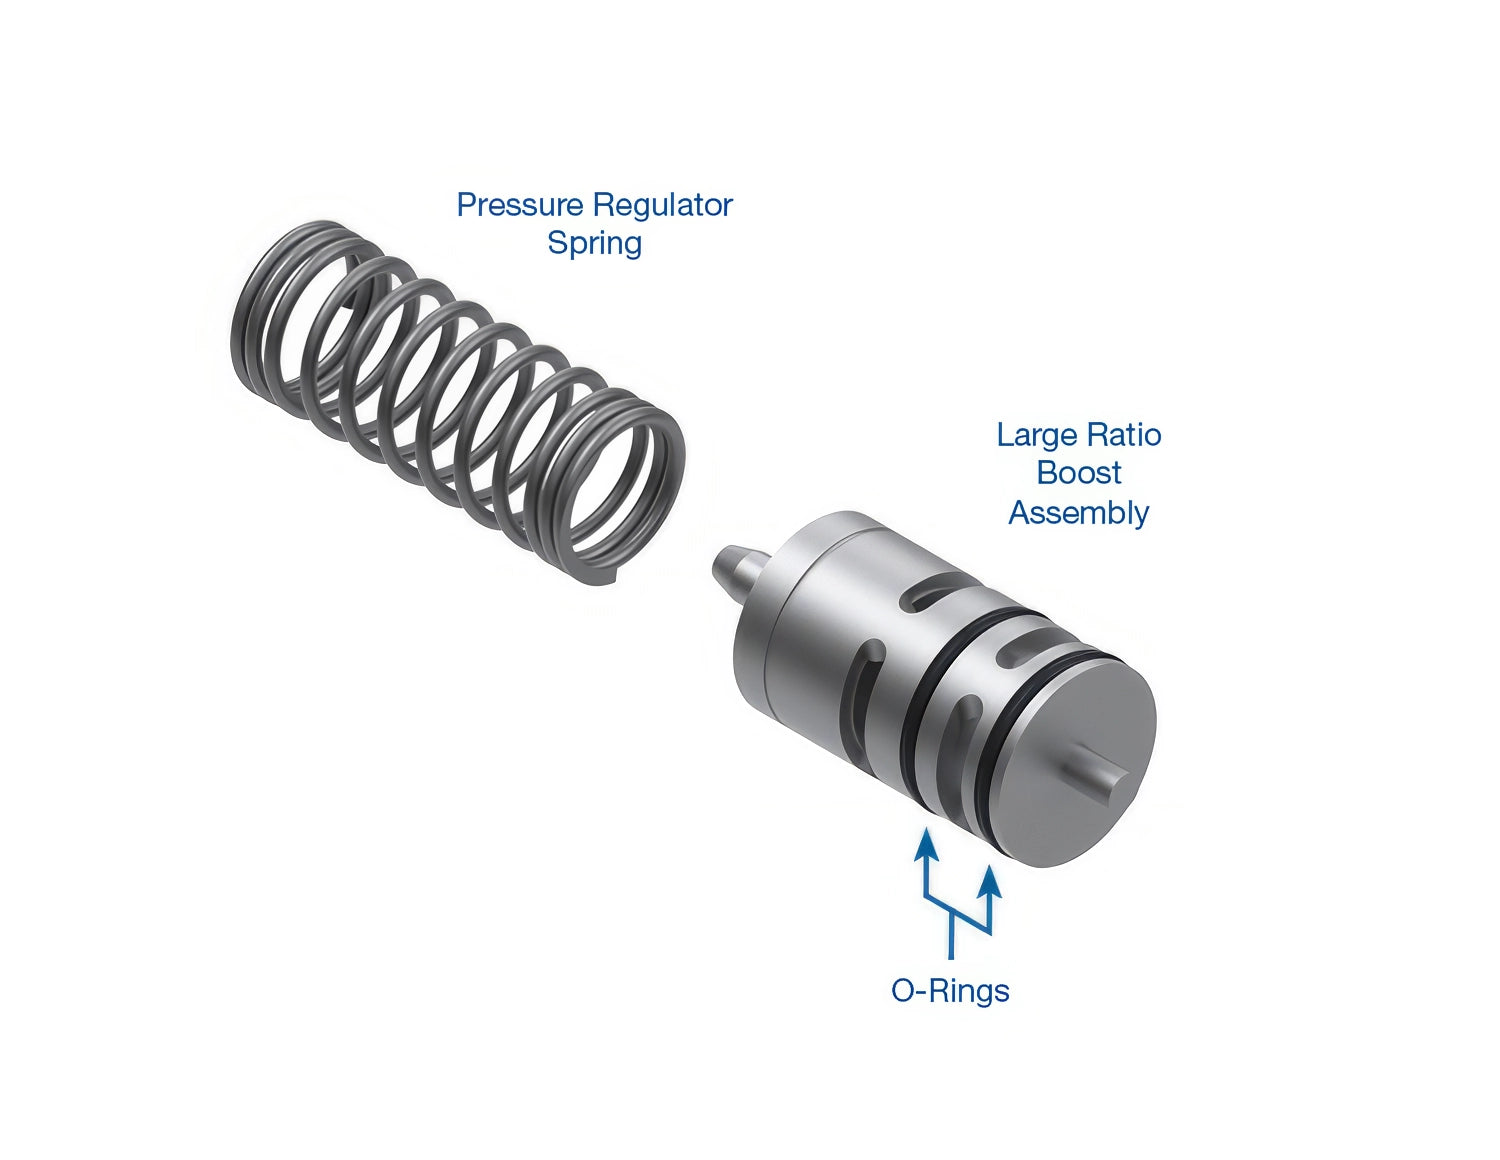
Line pressure that will not hold steady, a buzz from under the truck in Park or Reverse, or a TCC that applies soft and shudders on a 4L80E can all trace back to a part most people never think about: the small plug that caps the end of a valve bore. This Sonnax end plug kit is a valve body repair kit for the 1991-2013 4L80E in heavy-duty Chevrolet and GMC pickups, Suburban 2500, Express and Savana vans, and the Hummer H1. It is installed while the valve body is on the bench. It is not a complete valve body.
What an end plug does in a 4L80E valve body
Every spool valve in the 4L80E rides in a drilled bore, and the open end of that bore has to be sealed. GM did that with a pressed or pinned end plug held by a retaining pin. The plug does two jobs: it caps the bore so oil cannot escape out the end, and it acts as a stop that sets how far the valve can travel. On regulating valves such as the pressure regulator and TCC regulator, oil pressure on one end of the valve is balanced against a spring on the other. If the plug leaks, that balance is lost and the valve regulates to the wrong number.
Sonnax points to the aluminum balance plug at the end of the 4L80E pressure regulator as a leak path that unbalances the valve, producing high line pressure and an audible buzz. An end plug that leaks in the TCC circuit bleeds off the oil that is supposed to hold the converter clutch. O-ringed replacement plugs are the standard fix: the O-ring seals against the bore instead of relying on a metal-to-metal fit that wears loose.
Symptoms of leaking end plugs
- Line pressure that reads high or low against spec, or will not rise properly with throttle
- A buzz or hum in Park, Neutral or Reverse from a pressure regulator that is hunting
- TCC shudder, slip, or a converter that will not stay locked at cruise
- Harsh or soft shifts that change as the fluid warms up and thins out
- Failed vacuum test readings at the end of an otherwise good bore
How to confirm it before you order
Put a gauge on the line pressure port and test in each range against the chart, then compare against what the computer is commanding through the EPC solenoid. Pressure that will not follow the command points at the hydraulic side. On the bench, a vacuum test at the plug end of a bore tells you whether the plug is sealing. Our 4L80E valve body testing guide walks through the pressure checks in order, and the valve body wear guide covers which bores to vacuum test and why a leaking plug can make a good valve look bad.
Fitment: 1991-2013 4L80E
This kit is listed for the 4L80E from 1991 through 2013. Sonnax makes more than one end plug for this unit because the bores are not all the same diameter, so measure the plug you are replacing or match it against the bore before you install anything. If you want us to check first, send your year, vehicle and VIN, or your old plug size, and we will confirm the kit matches your valve body. Complete remanufactured valve bodies and the rest of our 4L80E parts are on the 4L80E parts page.
Install notes
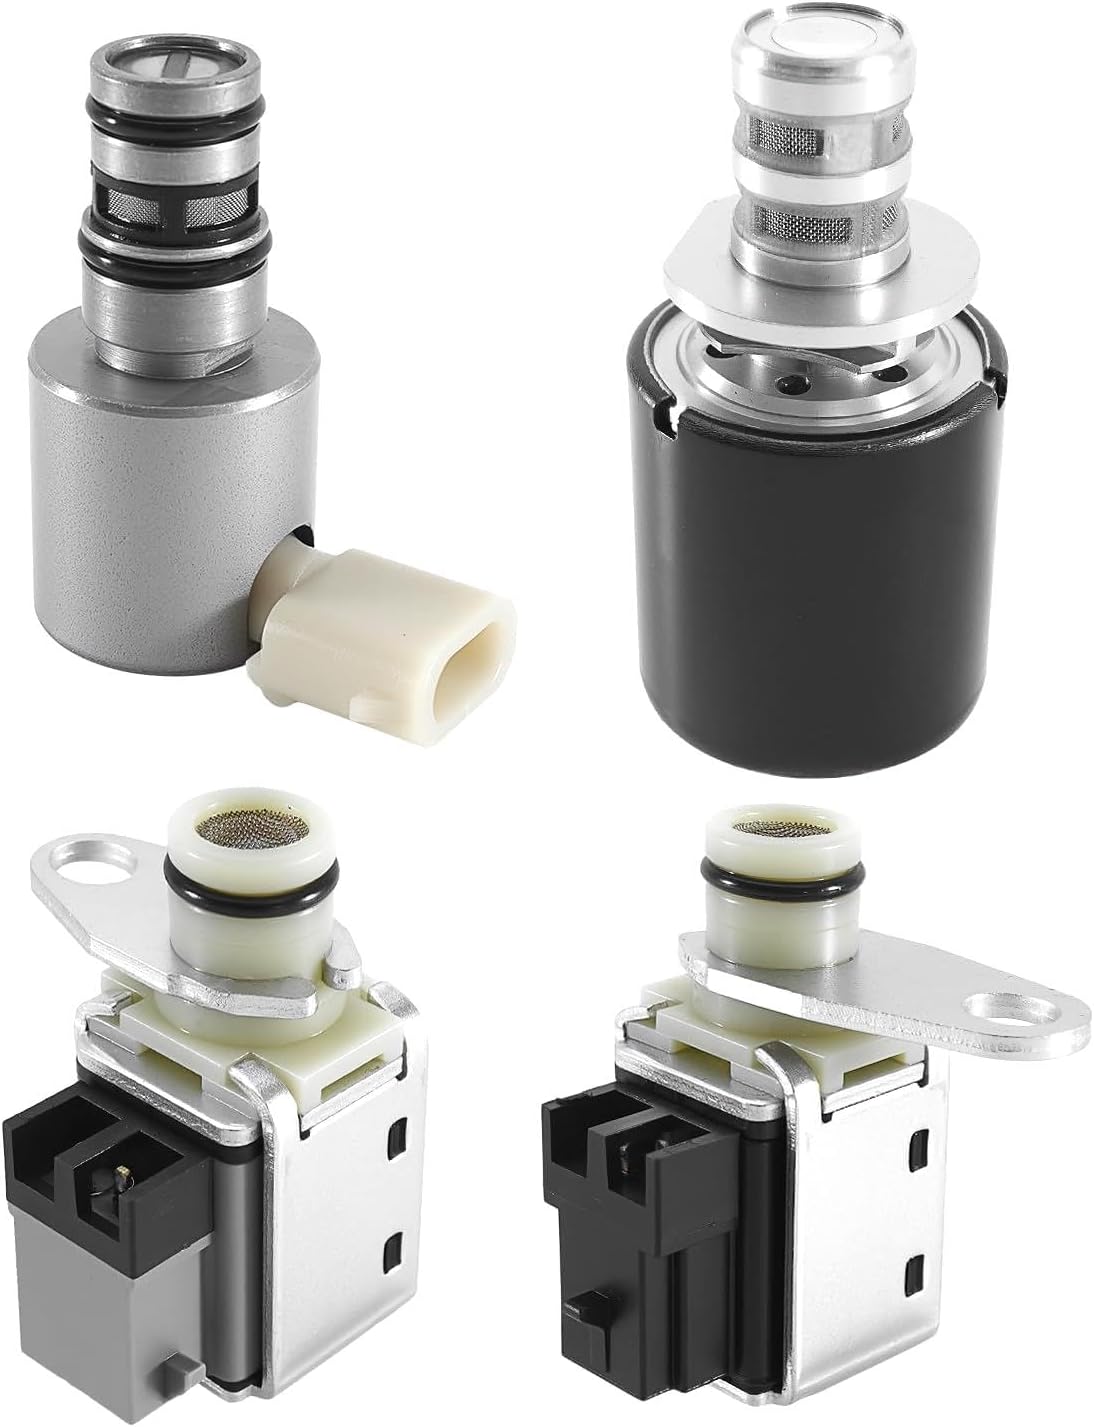
Pull the OE retaining pin, remove the old plug, and inspect the bore lip for burrs or scoring. Lube the new O-ring with clean ATF before you slide the plug in so it does not cut on the bore edge, then secure it with the original retaining pin. Do one bore at a time so springs and valves go back where they came from; a spring in the wrong bore changes line pressure all by itself. Retest with vacuum after installation. Refill with Dexron VI ATF and let the computer relearn. If pressure was high enough to cause a buzz, check the direct clutch for heat damage, and consider a rebuild kit plus a solenoid kit if you are already in that deep.