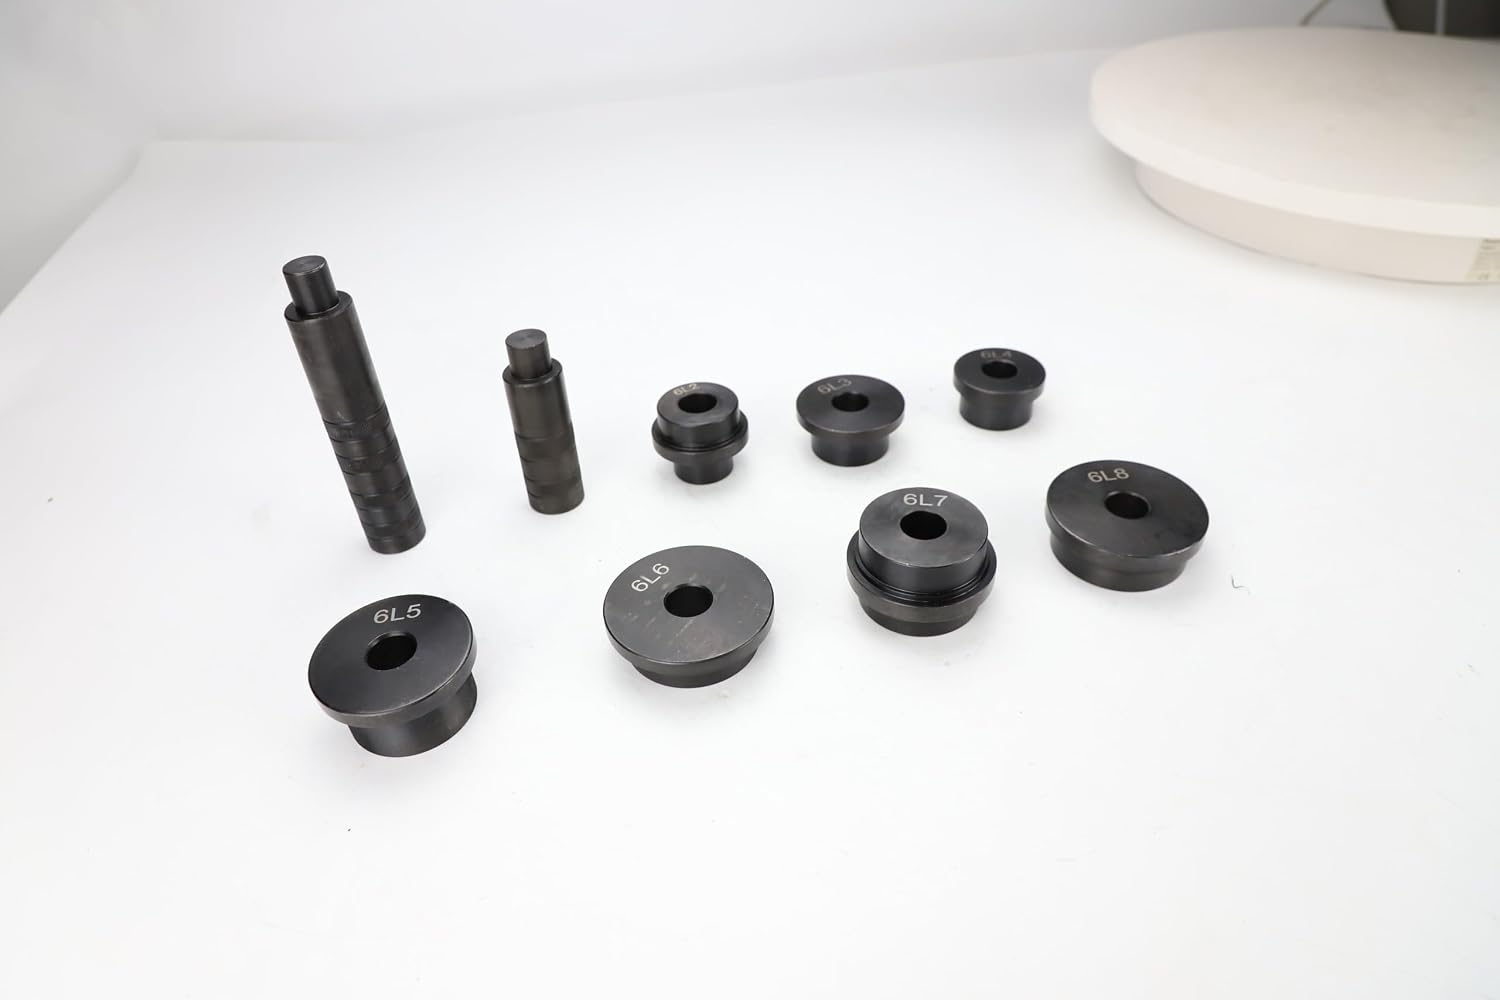
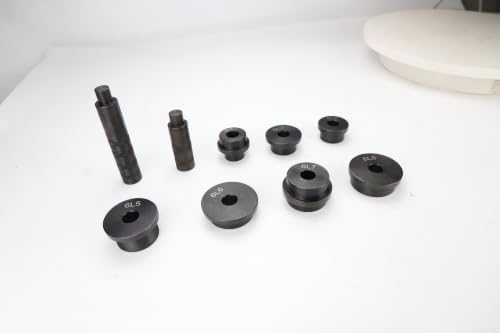
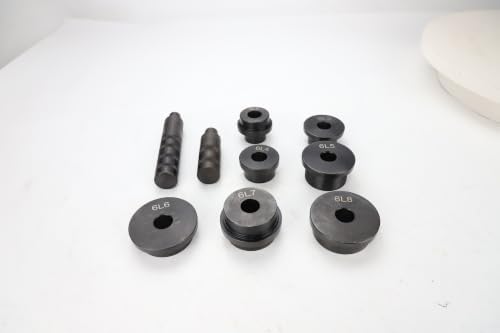
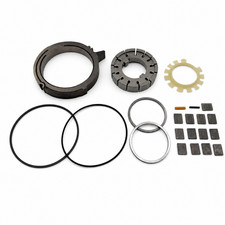
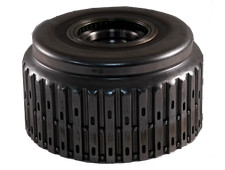
This nine-piece set is for the rebuilder or serious home builder who has a GM 6L80 or 6L90 torn down and wants every new bushing to go in straight the first time. It covers the six-speed used from 2006 on in 2WD, 4WD, AWD and RWD Chevrolet Silverado, Tahoe and Suburban, GMC Sierra and Yukon, Cadillac Escalade, Camaro and Corvette. Seven solid steel mandrels and two driver handles, heat treated and black oxide finished, built to replace the 104BDMK set. The common search behind it is a 6L80 that keeps coming back with shudder, low pressure or burnt clutches even after the obvious parts were changed.
What this installer set does in a 6L80 or 6L90
In the 6L80, fluid for the clutches travels through the stator support and through the shafts and drums that spin inside it, sealed by rings that ride in tight bores. The bushings hold those shafts on center. When a bushing wears, the shaft can move off center, the seal rings stop sealing evenly, and the circuit they feed loses pressure. Sonnax puts it plainly: OE bushing wear in these units lets fluid escape and throws parts out of alignment, leading to harsh shifts and clutch failure. A mandrel from this set registers on the bore and pushes on the face of the bushing only, so it enters square and stops at its seat. Because the mandrels are hardened, the shoulder keeps its edge under press load rather than flattening over after a few jobs.
Symptoms tied to bushing wear in this unit
- TCC apply and release complaints or a P0741 converter clutch code; Sonnax lists both among bushing failure symptoms
- Converter shudder that returns after a fluid change, which can be a leaking TCC feed rather than bad fluid
- A burnt 3-5-R or 4-5-6 pack that looks like a clutch failure but was starved for pressure
- Gear ratio or solenoid performance codes on a valve body that tests good
- Seal rings worn on one side, or a bushing with a shiny half and a dull half at teardown
How to confirm it before you buy
Do not assume bushings until pressure and controls are ruled in or out. Start with mainline pressure compared to commanded pressure, the test Gears Magazine describes for the 6L80, and with a valve body that passes a vacuum test. If the hydraulic controls check out and the unit still loses pressure in one range, the leak is usually in the rotating circuits, where bushings and seal rings live. Our 6L80 common problems and fixes guide lays out the failure patterns, and the 6L80 Corvette shift problems guide shows the adapt and pressure checks to run before tearing a unit down. On the bench, measure clearance at every journal against your rebuild manual.
Fitment
The listing covers the GM 6L80 and 6L90 six-speed automatic, 2006 and up, in every drive layout. The bushings sit in the same places regardless of 2WD or 4WD, so the same set works on a truck, SUV or car unit. It does not fit the smaller 6L45 and 6L50, which use a different bushing kit, or the front-drive 6T series. The set is tools only, and bushings are sold separately. Confirm your unit by its RPO code (MYC for 6L80, MYD for 6L90) or send us the year and VIN, and browse matching parts on our 6L80 transmission parts page.
Install notes
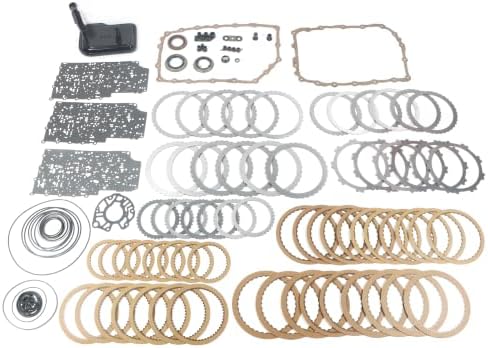
Set the housing on a machined face, never on a gasket surface or a thin web, so it stays flat under load. Use a shop press for every bushing you can reach that way; Sonnax specifies an arbor press for precision bushings because hammering can distort them. Where a housing will not sit square in the press, use a handle with a dead blow and keep the strokes light. Record each old bushing's depth and oil-hole position before you remove it, clean the bore, lube the new bushing with Dexron VI, and press until the mandrel bottoms. Then bore-gauge it and spin the mating shaft by hand. This set pairs with a complete kit like the 6L80 master rebuild kit with steels, frictions and filter, and refill with full synthetic Dexron VI ATF before the relearn.