Servo pin travel is the cheapest step in a 4L60E rebuild and the one that puts the most units back on the bench. It costs nothing but a dial indicator and fifteen minutes, it uses parts you already have in the core, and if you skip it the band you just paid for will tell on you inside 10,000 miles. Every other upgrade in the servo bore — a bigger second-apply piston, a wider band, a dual servo — sits downstream of this measurement.
This is the procedure, with the actual numbers: what travel you are shooting for, both ways to measure it, how the OE pins are marked, how to grind a pin without ruining it, and the release checks that catch the mistake before the pan goes on.
The spec: Set the servo for .075" to.125" of travel, measured at the servo cover with a dial indicator, per the Sonnax install instructions for the 4L60/4L60-E servo kits. That number is not about how hard the band grabs — it is about making sure the band both fully applies and fully releases. And never shim the servo to get there: shimming drives the piston deeper into the bore where it can bottom out and take the band with it.
What the pin is actually doing
The 2-4 band wraps the reverse input drum and holds it in 2nd and 4th. The servo lives in a bore cast into the case at the passenger side, and the apply pin is the mechanical link between piston and band. Sonnax's own patent on the dual-piston 4L60E servo describes the OE arrangement plainly: second clutch fluid acts on a 2nd apply piston that moves in a sealed fashion between the case and an inner piston housing, forcing the apply pin against the band, and in 4th gear "4th clutch fluid is fed through the hollow distal end of apply pin 26" to act on a separate 4th apply piston (US Patent 5,944,627, Sonnax Industries, issued August 31, 1999). The pin is not just a pushrod. It is also a fluid passage.
Pin length sets where in the piston's stroke the band actually clamps. A pin that is too short lets the piston travel a long way before the band takes load, so the servo runs out of usable stroke right when it needs the last of its force — the band slips at the end of apply, glazes, and burns. A pin that is too long clamps the band early and never lets it fully release, so the band drags in 3rd and Drive and cooks from the other direction. Travel is the single measurement that keeps you between those two failures.
Release is the half nobody thinks about
Gregg Nader's Sonnax piece on performance servos makes the point that matters here: on any servo used on a synchronized shift, release is hydraulically powered, not spring powered. The 4L60/E servo piston has a release area larger than its apply area, giving what Sonnax calls a proper reaction area ratio — the OE 700-R4 and 4L60/E servos range from about .46:1 (the old four-cylinder piston) up to .74:1 for the "Corvette" servo. That ratio is what guarantees the band lets go cleanly on the 2-3 shift while the 3-4 clutch takes over.
This is why the "slab-style" servos with no cushion spring are a trap. Sonnax measures those at roughly a 1.01:1 ratio — an improper ratio that converts the servo from hydraulically powered release back to spring-powered release and introduces what they call the pin bias effect, where apply force never fully goes away. You get a bigger apply area and a band that drags. If you are chasing apply area, do it with a piston that keeps the release area larger, and then set the pin.
Method 1: dial indicator on the bench
This is the method I use, and it is the one Sonnax documents for its 2nd Gear Super Hold Servo Kit 77911-03K and the 4th Gear Super Hold Dual Servo Kit 77767K.
- Assemble the servo without seals for the measurement. Seal drag and the effort of pushing a fresh D-ring down the bore will lie to you. Make sure the 2nd gear release spring is on the pin.
- Install the 2nd gear servo assembly, the 4th gear servo assembly, and the servo cover retaining ring into the case.
- Set a dial indicator on the servo cover.
- Depress the cover and read how far it travels. That distance is your servo travel.
- If travel is out of range, change pins or grind the tip until you land in .075"–.125".
- Tear it back down, install and lubricate all seals, and reassemble for real.
Two details people get wrong on step 5. First, keep a spherical radius on the pin tip when you grind — a flat or off-center tip concentrates load on the band apply lug. Sonnax's own trick is to cut a 3/8" flat washer in half and use the inner hole as a radius gauge. Second, take material in small passes and re-measure. You cannot put it back.
Method 2: the GM J33037 apply pin gauge
The factory tool is the Kent-Moore J-33037 intermediate band apply pin gauge, sometimes listed as the servo pin length checking tool. You install it in place of the servo, torque it to bring the gauge line into view through the window, and read where the line falls. Sonnax publishes the translation between the gauge window and actual travel, which is the part that makes the tool genuinely useful:
| White line location in window | Travel with OE 4th gear servo | Travel with Sonnax 77767K dual servo |
|---|---|---|
| Short pin side of window | .125" | .075" |
| Center of window | .100" | .050" |
| Long pin side of window | .075" | .025" |
The whole gauge slot window represents only about .050" of pin travel. That is the number to keep in your head: the window is narrow, so a reading that looks "close enough" by eye can still be half your tolerance band.
Note the right-hand column. Sonnax warns that its 4th gear super hold dual servo reduces pin travel by.050", so if you are installing 77767K and gauging with J33037, you have to compensate. Their instruction is to set pin length so the gauge line sits near the outside edge (short pin side) of the window, as if the pin were the shortest allowable — that lands you at.075" once assembled. From there you can measure the pin with calipers and remove up to another.050" of material to move up inside the.075"–.125" range. Gauge a dual servo like an OE servo and you will end up at.025" of travel and a band that never fully releases.
The OE pins and how they are marked
GM produced the apply pin in several lengths so the assembly line could select for stack-up. The pins are identified by machined rings or grooves around the body, and the ACDelco numbers commonly cataloged for the 700-R4/4L60/4L60-E family fall in two groups:
| Part number | Approx. length | Identification |
|---|---|---|
| 8667571 | 2.61–2.62" | 2 rings (early 700-R4 group) |
| 8667572 | 2.67–2.68" | 3 rings |
| 8667573 | 2.72–2.73" | Wide band |
| 8680499 | 2.59–2.60" | 1 groove (later group) |
| 8680500 | 2.65–2.66" | 2 grooves |
| 8680501 | 2.70–2.71" | No groove — longest |
Verify the number against a current ACDelco listing before you order, and understand what the chart is and is not. It tells you which pin to reach for first. It does not tell you what your case, band, and drum stack up to. Two units with the same part numbers on the bench can want different pins once you account for band wear, drum wear, and how deep the servo bore has been eaten. Measure travel every time. The chart is a starting point, not an answer.
When the longest OE pin still leaves you short, Sonnax sells a chromoly pin (kit 77787-02K) that is longer than the longest OE pin, with dual PTFE seals for the case bore and an O-ring between the pin and the 2nd gear piston. Starting long and grinding down beats stacking washers behind a short pin.
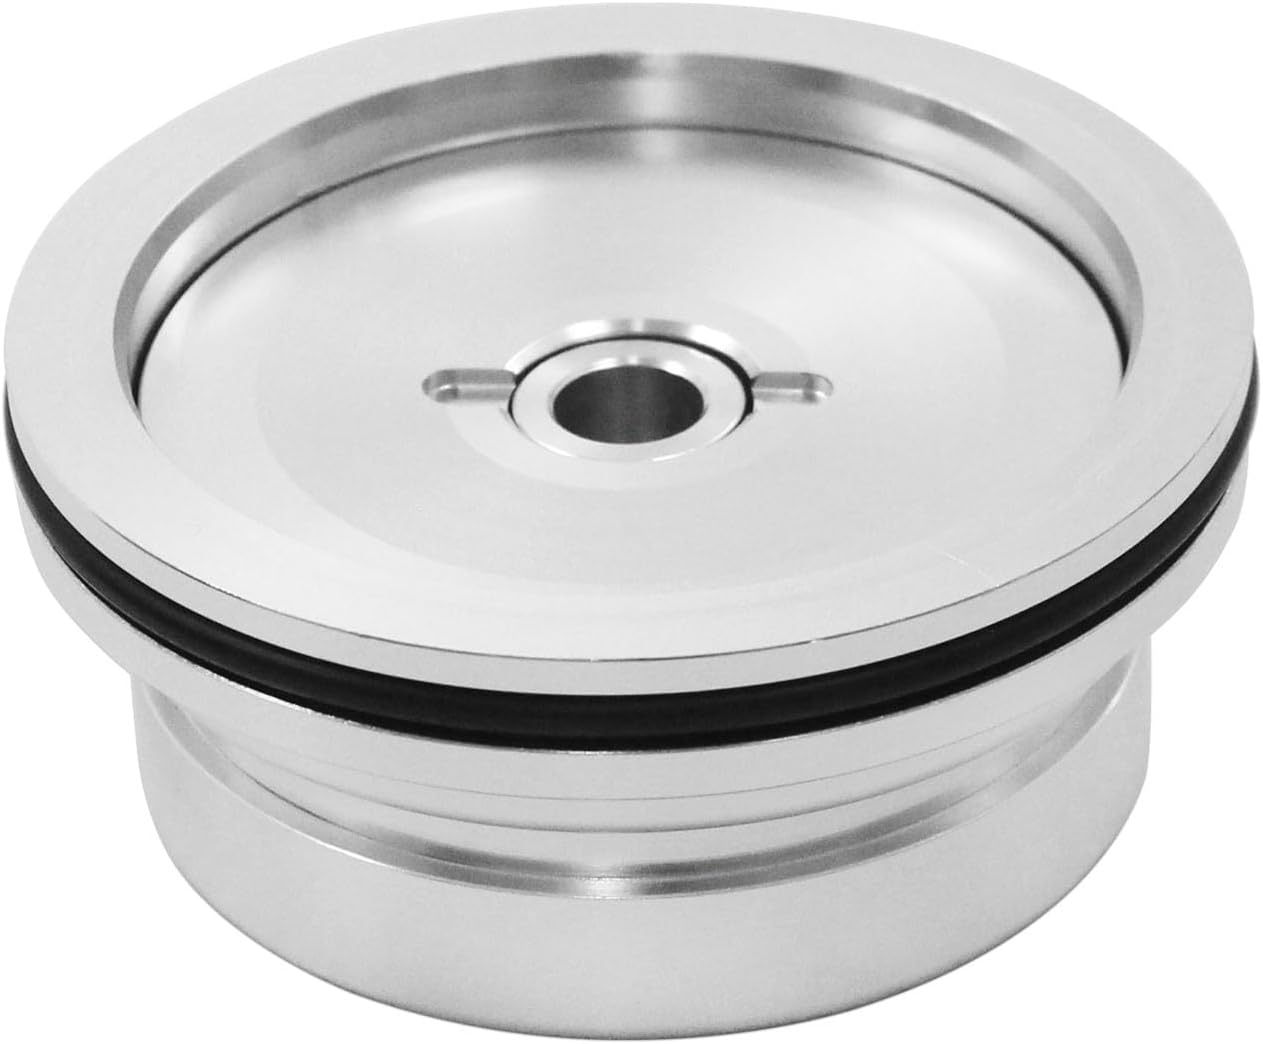
4L60E Corvette Servo Assembly — 2-4 Band Apply (1982–2014)
If your travel measurement is telling you the servo bore has had a hard life, this is the ready-to-install larger-apply 2-4 servo with the apply pin supplied — the honest starting point for a rebuild that needs more hold than the stock V6/V8 piston gives. Set pin travel to spec after it goes in. Full range at the 4L60E parts collection.
Shop the 4L60E Corvette Servo (2-4 Band Apply) →Verify release before the pan goes on
Setting travel is a number. Confirming release is a check you can do with your hands, and it takes thirty seconds. Sonnax spells it out: if servo travel is insufficient, the band will not be able to fully release. Look up into the case near the manual shaft while turning the output shaft — the band drum should rotate freely inside the band. If it drags, you are too long, and no amount of driving will "wear it in."
Two more things to check while you are in there:
- The 4th apply piston return spring. A weak or collapsed return spring on the apply pin can prevent full band release on the 4-3 downshift. Compress the spring on the bench with it still on the pin, hold it about 30 seconds, release, then check for servo pin movement back and forth in the piston assembly. Endplay there means the spring is done.
- The servo bore itself. Wear in the case where the servo piston and pin travel becomes a leak path, and a leaking bore drops apply force no matter how perfect your pin is. That is bore work or a case, not a pin.
Also worth knowing on 2004 units: do not reuse the flat-sided servo-to-case retaining ring found on model-year 2004 builds up to mid-April 2004. Sonnax cites GM bulletin 04-07-30-025A on this — reusing that ring risks case damage. Use the current ring.
What throws your setting off later
A correct measurement on the bench can still be wrong six months out if the rest of the servo area is not right.
A wide band on a used drum. This is the one that catches experienced builders. Sonnax is blunt about it: never install a wider band on a used drum. The old, narrower band has compressed the drum and left a subtle dish in the surface. Put a wide band on that dish and you get slipping in 2nd, glazing and burning, and it will eventually throw off the band adjustment you just set. New wide band means new or properly resurfaced drum.
The #7 checkball. The 3rd accumulator checkball assembly sits in the servo area of the case, and Sonnax ties even minor leakage there directly to band and 3-4 clutch failure. Vacuum test it. A leak there undoes your pin work by bleeding off the pressure that was supposed to hold the band.
Cushioning the 1-2. If the 1-2 comes in harder than you want after a servo change, the factory answer is an additional cushion spring, GM part 8681195, which softens the 1-2 apply and reduces the 3-2 downshift clunk. That is the right lever to pull. The wrong ones, per Sonnax's build guidance, are eliminating the cushion spring, reducing 1-2 accumulator piston stroke, leaving out the 1-2 checkball, or over-drilling the 1-2 feed hole — all of which move damage into the band, shafts, and sprag.
Band oil flow. The 4L60 2-4 band is full of holes for a reason. As Transtar's Dave Hritsko explained in a Transmission Digest segment on 4L60/E band and case issues, that big hole allows a constant flow of oil between the band and the drum — it is cooling, not a defect. Builders who assume the perforated band is a cheap knockoff and "upgrade" to something solid create the burn problem they were trying to avoid.
Confirming it on the road
Pin travel is a bench spec, but you can confirm the result with a scan tool. On later 4L60E and 4L65E/4L70E units with an internal input speed sensor, the PCM compares input speed to output speed to calculate actual gear ratio. Watch that ratio at steady throttle: 2nd gear should sit at 1.63:1 and 4th at 0.70:1 and hold there. A ratio that creeps numerically upward under load in 2nd or 4th is band slip, and if the band and drum are new, the pin is the first thing to re-examine. On earlier units without an input speed sensor, use engine RPM against output speed at a steady cruise for the same comparison — less precise, but slip is slip and it shows up as RPM that climbs without road speed following.
Do the drive on a warm unit. A band that only drags cold, or only slips hot, is telling you something different than a band that is simply set wrong.
Deeper on the servo hardware itself: our writeup on the 2-4 band and the Corvette servo upgrade covers choosing apply area, and the bench air check procedure is how you prove the circuit before the unit goes back in the truck.
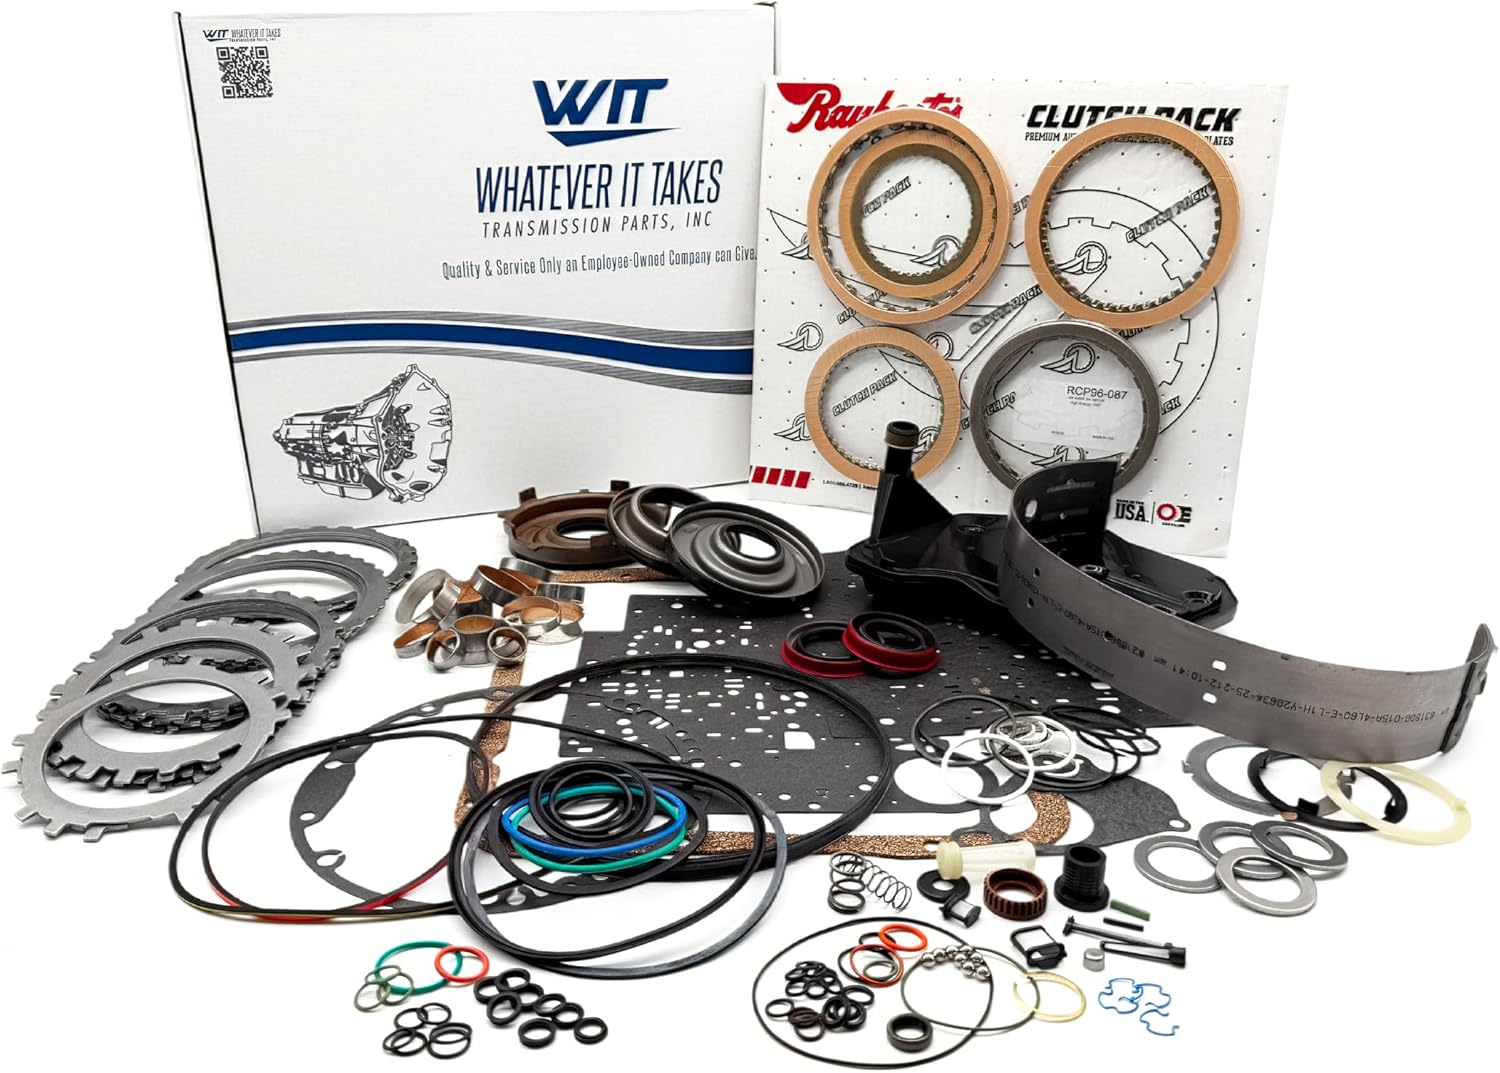
2-4 bands, servo assemblies and apply pins, seal kits, rebuild kits, Dexron VI and the bench tools to set travel — shipped fast from the USA.
Shop 4L60E parts →Sources
- Sonnax — Installation instructions, GM 4L60/4L60-E/4L65-E/4L70-E 2nd Gear Super Hold Servo Kit 77911-03K. Backs the.075"–.125" servo travel spec, the dial indicator procedure, the GM J33037 gauge window translation table, the.050" travel reduction from the 77767K dual servo, the 3/8"-washer spherical radius grinding gauge, GM cushion spring 8681195, and the GM bulletin 04-07-30-025A retaining ring warning. 77911-03K install instructions (PDF)
- Sonnax — Installation instructions, GM 4L60/4L60-E/4L65-E/4L70-E 4th Gear Super Hold Dual Servo Kit 77767K. Backs the drum-rotation release check at the manual shaft, the dual-servo pin travel compensation procedure, and the same.075"–.125" target. 77767K install instructions (PDF)
- Sonnax — "First, Do No Harm: Things You Should Know about Performance Servos," Gregg Nader. Backs hydraulically powered release on synchronized-shift servos, the.46:1 to.74:1 OE apply-to-release ratio range for 700-R4/4L60/E, and the 1.01:1 slab-servo pin bias effect. sonnax.com/tech_resources/630
- Sonnax — "Building the Killer 4L60E: Top Tips for Optimizing Your Transmission Upgrades." Backs "never shim the servo," the warning against installing a wider band on a used drum, the #7 (3rd accumulator) checkball leakage link to band and 3-4 clutch failure, and the 1-2 cushioning do-nots. sonnax.com/tech_resources/293
- U.S. Patent and Trademark Office — US Patent 5,944,627, "Piston with two piston members for transmission servo assembly," Darling-Owen and Jackson, assigned to Sonnax Industries, filed December 9, 1997, issued August 31, 1999. Backs the description of 2nd clutch fluid acting on the 2nd apply piston and 4th clutch fluid feeding through the hollow distal end of the apply pin. USPTO full-text PDF, patent 5944627
- Transmission Digest — "4L60/E Band and Case Issues," with Transtar's Dave Hritsko. Backs the explanation that the holes in the 4L60 2-4 band allow constant oil flow between band and drum, and the servo-bore wear leak path. transmissiondigest.com/4l60-e-band-and-case-issues